Hello,
Quickly writting that tutorial from my experiments but a more official tutorial on the wiki should definitely replace this.
First, gather the source files. We will consider a material with a standard PBR shader. All the folders are relative path, so find this location on your pc :Half-Life Alyx\content\hlvr_addons\your_addon\ And then place the files over there :
- The model itself : \models\folder\mesh.fbx
- The collision if you have one : \models\folder\includes\mesh_physbox.fbx
- The diffuse (must end with _color) : \materials\models\folder\mesh_color.png
- The normalmap (must end with _normal) : \materials\models\folder\mesh_normal.png
- The Roughness (must end with _rough) : \materials\models\folder\mesh_rough.png
Note : You can use PNG, but also TGA, JPG or even PSD Note 2 : The normalmap doesn't have its vertical values inverted like it was the case on Source 1. If you import a normalmap from Source 1, don't forget to invert the green channel !
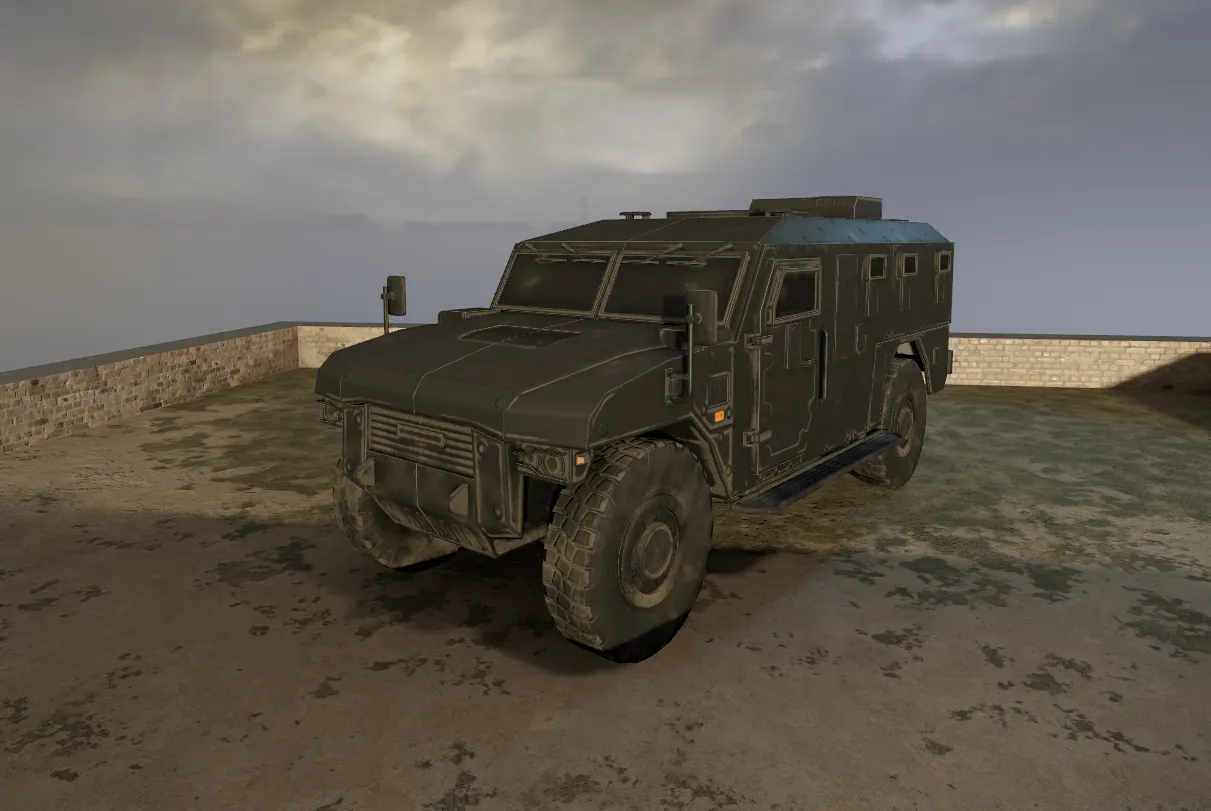
In my case, it's a vehicle that I'll name "vehicle_sherpa", so here are my files :
- The model : \models\vehicle\vehicle_sherpa.fbx
- The collision : \models\vehicle\includes\vehicle_sherpa_physbox.fbx
- The diffuse : \materials\models\vehicle\vehicle_sherpa_color.png
- The normalmap : \materials\models\vehicle\vehicle_sherpa_normal.png
- The Roughness : \materials\models\vehicle\vehicle_sherpa_rough.png
- The AO : \materials\models\vehicle\vehicle_sherpa_ao.png
Then, we'll start by creating the material. On the asset Browser window, find the Material Editor and open it.
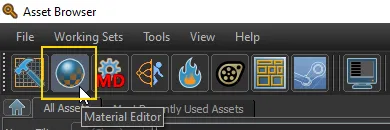
And then immediately save (File → Save or CTRL + S) to define a location of your vmat. In my case, it will go along with with the textures I just imported : \materials\models\vehicle\vehicle_sherpa.vmat
Note : once the files are compiled, you'll get the same hierarchy over the game folder than the content folder. Once the vmat will be compiled, it will become vmat_c (compiled material) and will have vtex_c with it (combined texture).
We will keep the Vr Simple shader
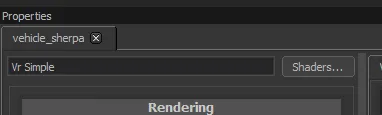
And you can start importing the textures by clicking on the folder icon next to each field. It will only look for files ending with the right suffix, hence the importance of naming your files to make your work easier afterwards. In my case, I have an AO texture so I'll check "Ambiant Occlusion Texture" on the left but it's optionnal. In the end, it should look like this :
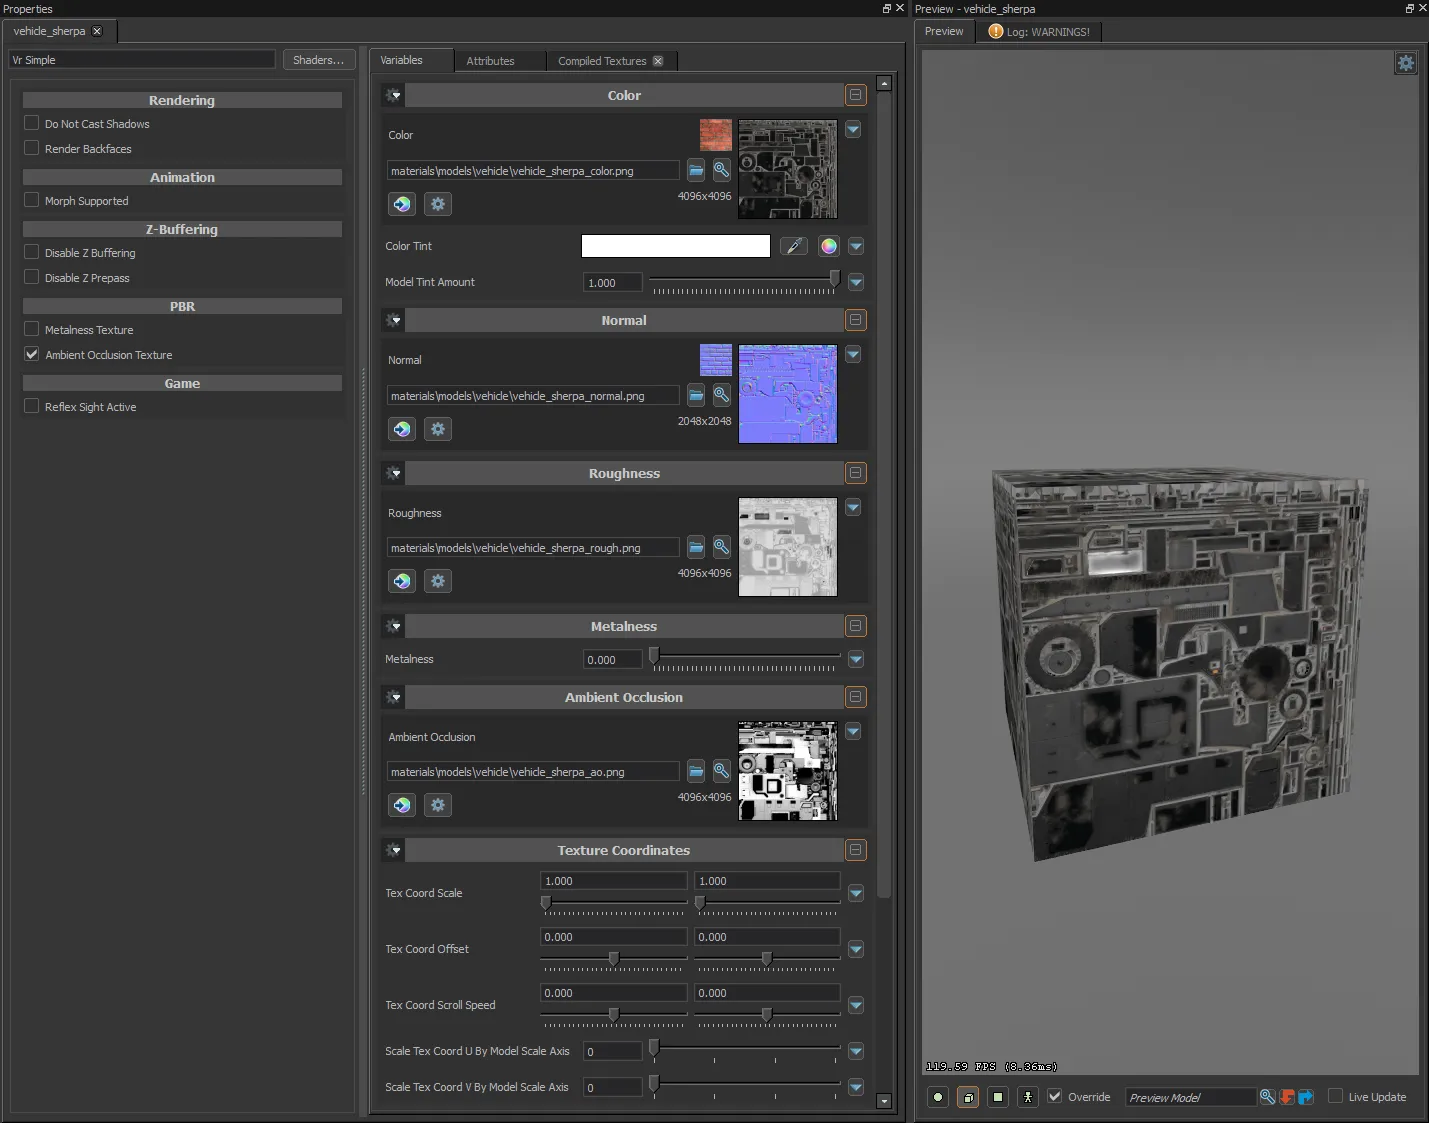
Feel free to use more complex shaders and to tweak things better. My model should definitely use a metalness texture but it's fine for this demonstration.
Ok now save and you can quit the material editor.
Back on the Asset Browser, find the ModelDoc Editor
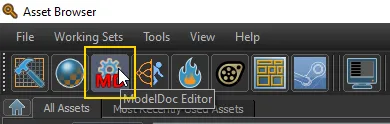
Same thing, start by saving your model. In my case it will go there : \models\vehicle\vehicle_sherpa.vmdl
Start by selecting an archetype, for this we will do a simple Static Prop Model. And then, import your mesh by using that cute little star button :
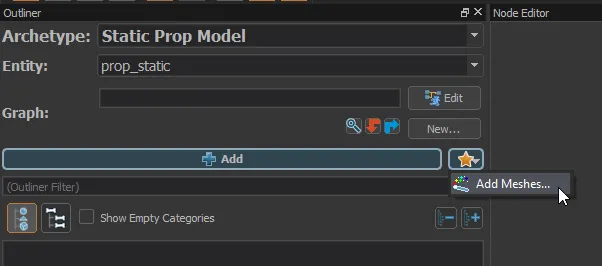
Once your mesh added, it will feel like nothing is happening. Try pressing the compile button on the right. That's right, you need to press that compile button to make sure to compile stuff. It wasn't the case for the material editor, everything was being compiled automatically.
Your model should be a ref wireframe because it doesn't have any material assigned to it, so let's start with that.
On the left pannel, check "Show Empty Categories", it will show you "categories" for which you can configure stuff (i'm vague because ... i don't know most of these stuff for now).
Right clic on the category "MaterialGroupList" → Add DefaultMaterialGroup And then, if the item "DefaultMaterialGroup" is selected, in the Node Editor pannel you'll be able to assign a material. I assume you can manage with this category the multiple materials you might need for your model. For my simple example, there's only one material so I will stick with 1 group.
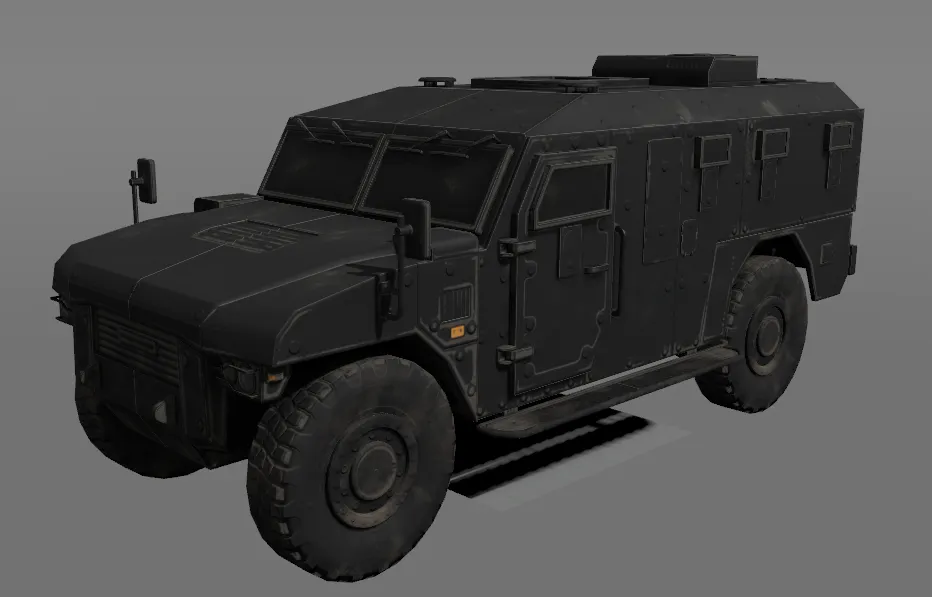
Compile your model and it should start to look like something ! 
You can move like in Hammer (hold RMB/press Z and move with WASD) or you can rotate around the mesh by holding ALT + LMB.
Cool !
Now let's add a collision. Right clic on the category PhysicsShapeList and you'll notice multiple options to add collision
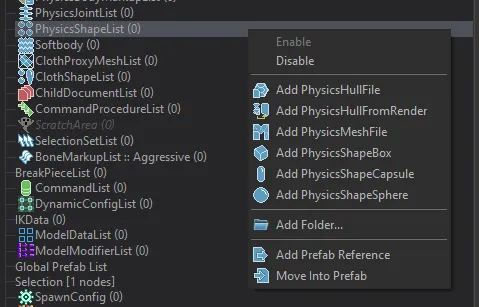
I assume it's there because you might be able to add shapes (box, capsules and spheres) by hand or you can decide to generate a collision from ModelDoc. By in my case I have a mesh, so I'll pick "Add PhysicsMeshFile" and gives the physbox FBX I imported earlier. It should look like this in your 3D view
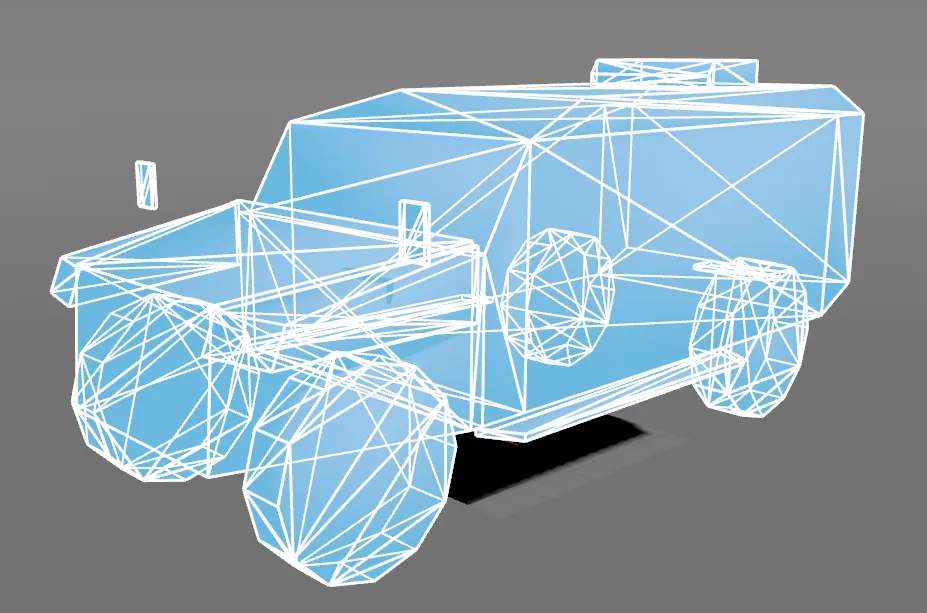
Compile your model and you can try to place your model in hammer !