1. Forums
  2. Discord
  3. About Mapcore
  4. Patreon Supporters
  • Login
  • Register
  • Search
This Thread
  • Everywhere
  • This Thread
  • This Forum
  • Articles
  • Pages
  • Forum
  • More Options
  1. Mapcore
  2. Discussions
  3. Level Design

Blender: Square UV map for models?

  • Anduriel
  • October 5, 2017 at 4:52 PM
  • Anduriel
    • October 5, 2017 at 4:52 PM
    • #1

    Hi there,

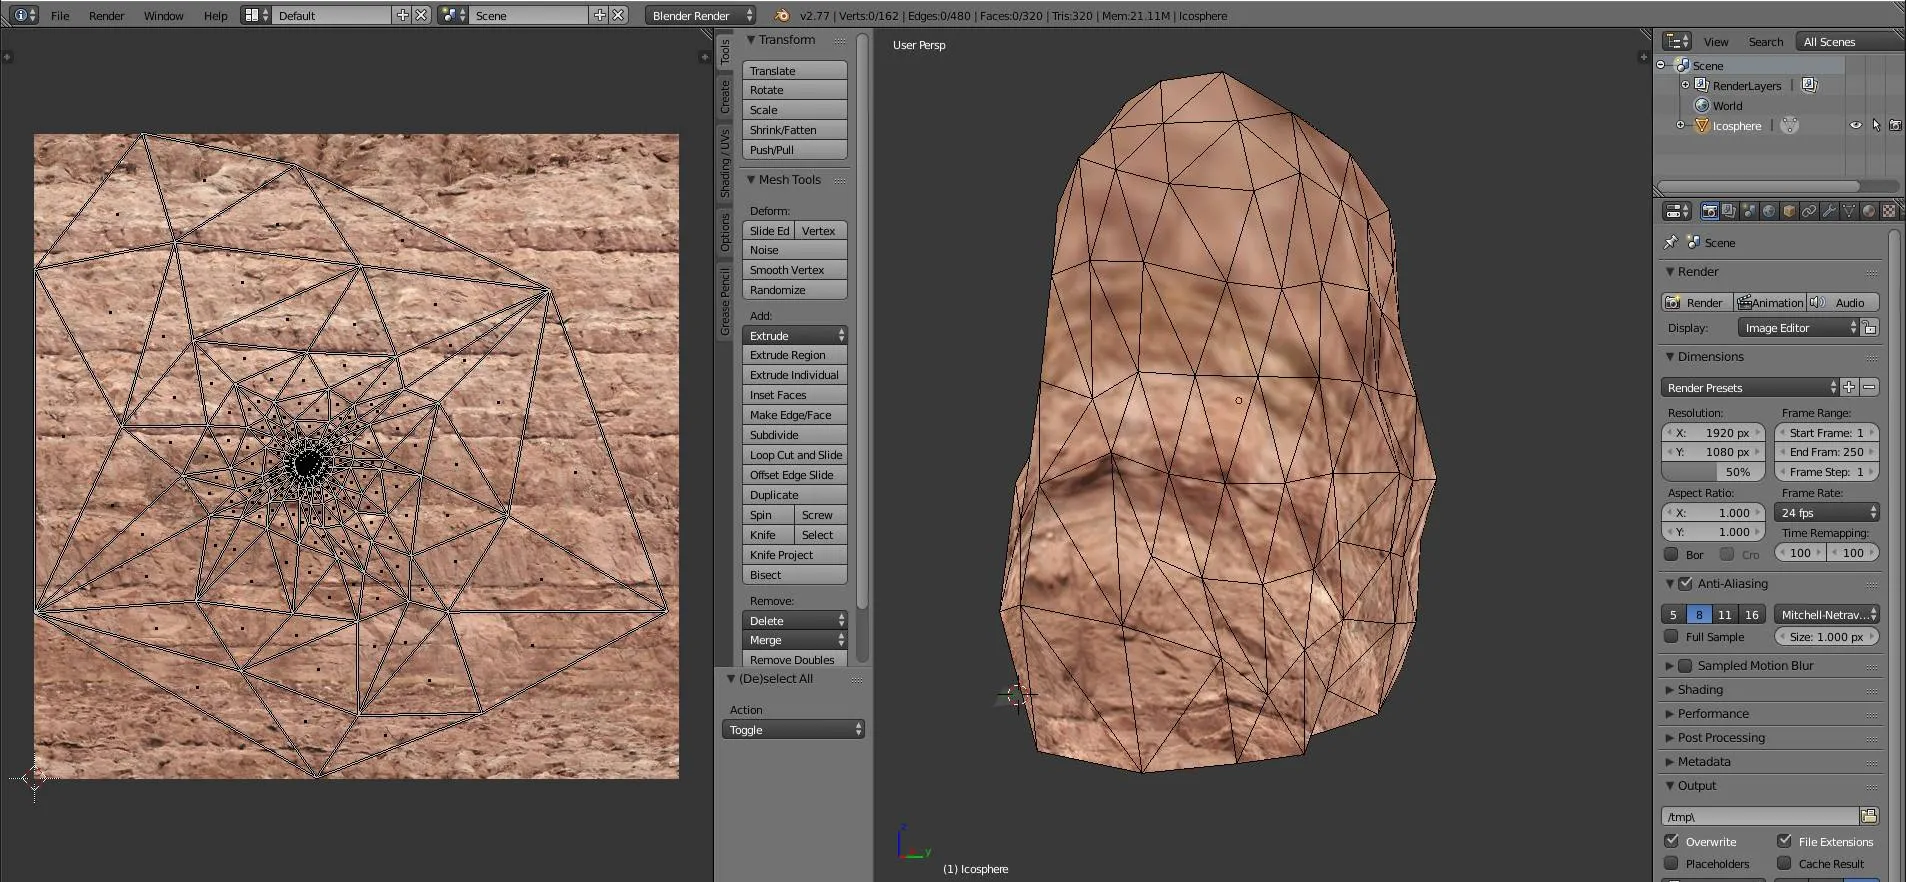
    while I know what UV mapping is and how to unwrap objects in Blender, I still have a beginner question. How do I create a square UV map for a seamless texture?

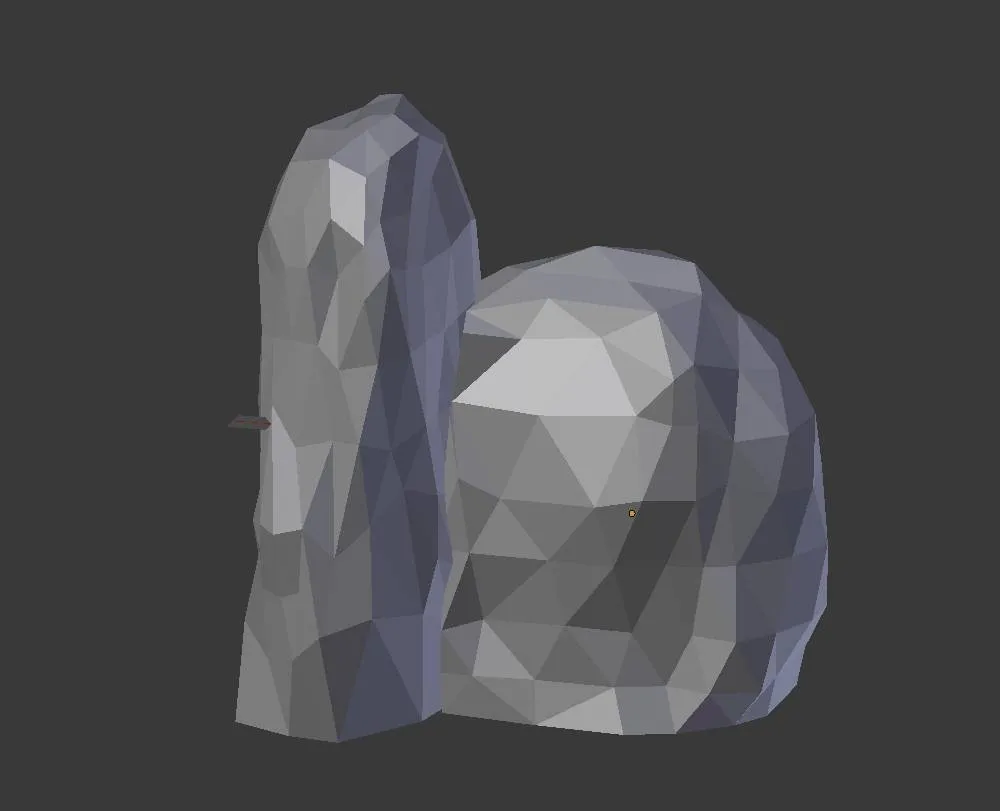
    I want to to texture the two rocks in the attached picture with a seamless texture because I think this would be the best solution, right? Each rock has 320 faces, but I don't know how I can tell Blender to just use a square UV map and not a complicated unwrapped pattern.
  • Radix
    • October 6, 2017 at 4:35 PM
    • #2

    I personally used to place the seams where the shape requires them to be to get little distortion and preferably where they are barely visible. Then just hit "unwrap" and scale/rotate/move the unwrapped UV mesh so that it looks fine.

    Something like this: (a rock from cs_militia)

    [Blocked Image: https://i.imgur.com/iUQshal.png]


    For better results (baked normals/AO/spec map/invisible seams) there are some tutorials on youtube. This one is pretty helpful imo:

    External Content www.youtube.com
    Content embedded from external sources will not be displayed without your consent.
    Through the activation of external content, you agree that personal data may be transferred to third party platforms. We have provided more information on this in our privacy policy.

    Or do you want something like this? (Will cause too much distortion imo)

    External Content www.youtube.com
    Content embedded from external sources will not be displayed without your consent.
    Through the activation of external content, you agree that personal data may be transferred to third party platforms. We have provided more information on this in our privacy policy.

  • Anduriel
    • October 6, 2017 at 9:33 PM
    • #3

    So I watched that tutorial and it looks amazing what this guy does, but it's hard to follow at some points. I don't know if I can reproduce that with my low skills :D

    Anyway thanks for the help Radix, I think I understand it now. What I need to do is cutting the UV in two halves and then just use blenders built-in texture paint to edit my diffuse map until I got rid of all visible seams. I will try that.

  • Radix
    • October 6, 2017 at 10:19 PM
    • #4
    Quote from Anduriel

    30 minutes ago, Anduriel said: So I watched that tutorial and it looks amazing what this guy does, but it's hard to follow at some points. I don't know if I can reproduce that with my low skills :D

    Anyway thanks for the help Radix, I think I understand it now. What I need to do is cutting the UV in two halves and then just use blenders built-in texture paint to edit my diffuse map until I got rid of all visible seams. I will try that.

    Yeah, a lot of new stuff if you are a beginner (I'm pretty new to making models as well). So maybe just go step by step and start with something easy. I don't think that your rock props really need to be seamless (pretty much all CS:GO default rock props are NOT).

    Don't forget to switch to smooth shading (screenshot you posted above). ;)

  • Anduriel
    • October 6, 2017 at 11:38 PM
    • #5
    Quote from Radix

    1 hour ago, Radix said: Yeah, a lot of new stuff if you are a beginner (I'm pretty new to making models as well). So maybe just go step by step and start with something easy. I don't think that your rock props really need to be seamless (pretty much all CS:GO default rock props are NOT).

    Don't forget to switch to smooth shading (screenshot you posted above). ;)

    Thanks for the reminder :)

    Also I never noticed the seams on Valve models. All those errors in the details players fail to see... ;) I will try it with a normal unwrap.

    By the way: Why is the UV unwrap on your picture larger than the texture. Any reason for that?

    Quote from Pericolos0

    27 minutes ago, Pericolos0 said: Any reason why you want it to be square? Any texture size that is a power of 4 should work in most game engines!

    Originally I thought I could just use a "normal" texture which is used on brushes and get it applied randomly on the model so I don't have to worry about the seams.

  • Radix
    • October 7, 2017 at 12:03 AM
    • #6
    Quote from Anduriel

    30 minutes ago, Anduriel said: By the way: Why is the UV unwrap on your picture larger than the texture. Any reason for that?

    This model is from cs_militia (+some other official maps), I just imported it to Blender for learning purposes.

    It doesn't matter if the UV unwrap is larger than the texture. The texture just gets tiled then. But the texture has to be seamless in this case.

    This rock texture is used on a couple of different rock props. For small rocks the UV unwrap will be smaller than the texture, while (like in this case) for bigger rocks it can be larger than the actual texture, just to avoid that it gets blurred/pixelated.

  • Anduriel
    • October 15, 2017 at 3:25 PM
    • #7

    I have to get back to this thread because I'm running into more problems. What I want is an UV like this:

    Quote from Radix

    On 10/6/2017 at 5:35 PM, Radix said: I personally used to place the seams where the shape requires them to be to get little distortion and preferably where they are barely visible. Then just hit "unwrap" and scale/rotate/move the unwrapped UV mesh so that it looks fine.

    Something like this: (a rock from cs_militia)

    [Blocked Image: https://i.imgur.com/iUQshal.png]

    The UV islands represent their relative scale which results in evenly spread detail across the model.

    What I get when I unwrap is something like this:

    In this case I added a seam to the bottom of the model, this just serves the demonstration of the issue. The closer a face is to the seam, the larger it's UV island becomes. For the upper part of the rock Blender just generated really tiny faces. This obviously results in a totally blurry texture.

    When I add a seam across the middle then I get roughly right scaled UV islands. But this divides the UV in two parts and results in an ugly visible seam across the model. I would have to paint over it.

    But maybe there is a better solution and someone can tell me what the cause of this behavior is. Btw I already went in object mode and hit Ctrl+A to "Apply Rotation & Scale", so this can't be the issue.

  • grapen
    • October 15, 2017 at 4:49 PM
    • #8

    You dont have to make multiple islands, but you need more seams. Look at your ref and see all the cuts they made. You can hide seams with more geo, that would also make the rock look more interesting imo.

Participate now!

Don’t have an account yet? Register yourself now and be a part of our community!

Register Yourself Login
Discord

The Mapcore Discord is our lively IRC channel of the 2000s reborn. Chat about level design, gaming, and more.

Latest Posts

  1. How to Use a Free Kundali Maker for Accurate Future Predictions

    astr09
    July 23, 2026 at 6:35 AM
  2. Tangerine

    Harry Poster
    July 18, 2026 at 11:10 AM
  3. Any of the old guard still around? D:

    Warby
    July 12, 2026 at 8:23 PM
  4. About our archived forums

    Thrik
    June 30, 2026 at 2:12 PM
  5. Mapcore Discord

    mason_fan123
    June 24, 2026 at 8:52 PM
  6. [CS2] Valley

    Serialmapper
    June 22, 2026 at 11:56 AM
  7. Free Music / SFX Resource - Over 2500 Tracks

    Eric Matyas
    June 18, 2026 at 12:32 PM
  8. Pango [WIP]

    Elowen
    June 11, 2026 at 10:13 AM
  9. [CS2] Dvina

    Jeremy Rivera
    June 11, 2026 at 10:03 AM
  10. Bridges 2.0 by NEXSIDE, MAP SHOWCASE. ( Steam Workshop )

    MrTrane18
    June 1, 2026 at 7:46 PM
  1. Privacy Policy
  2. Contact
Powered by WoltLab Suite™