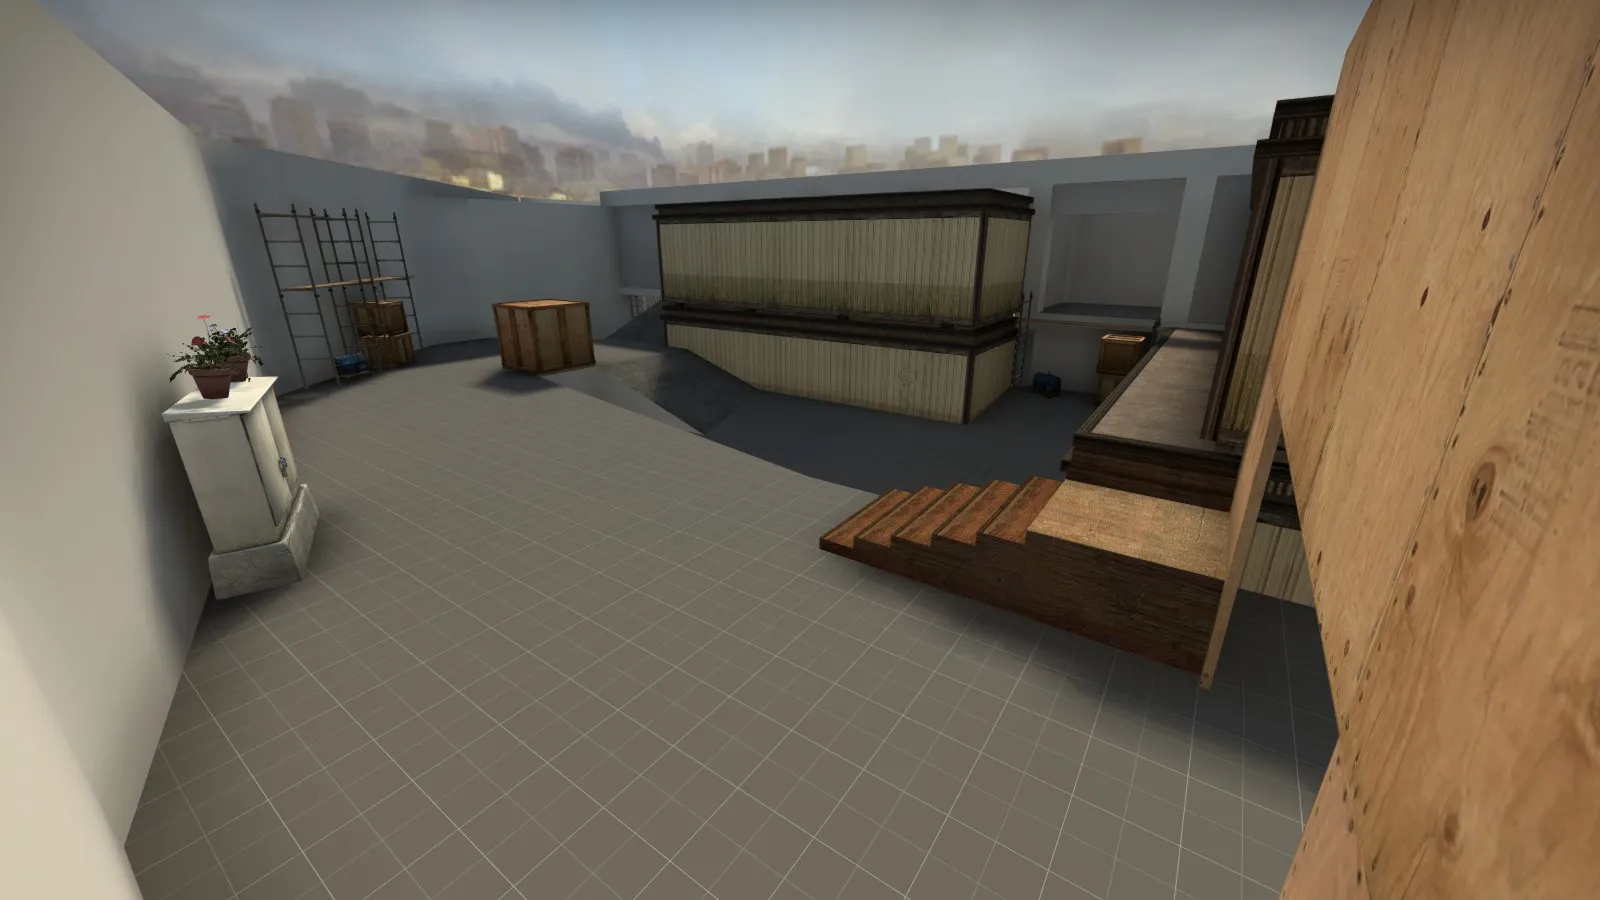
I was about to post some feedback, but you just updated the map, so it's kinda irrelevant 
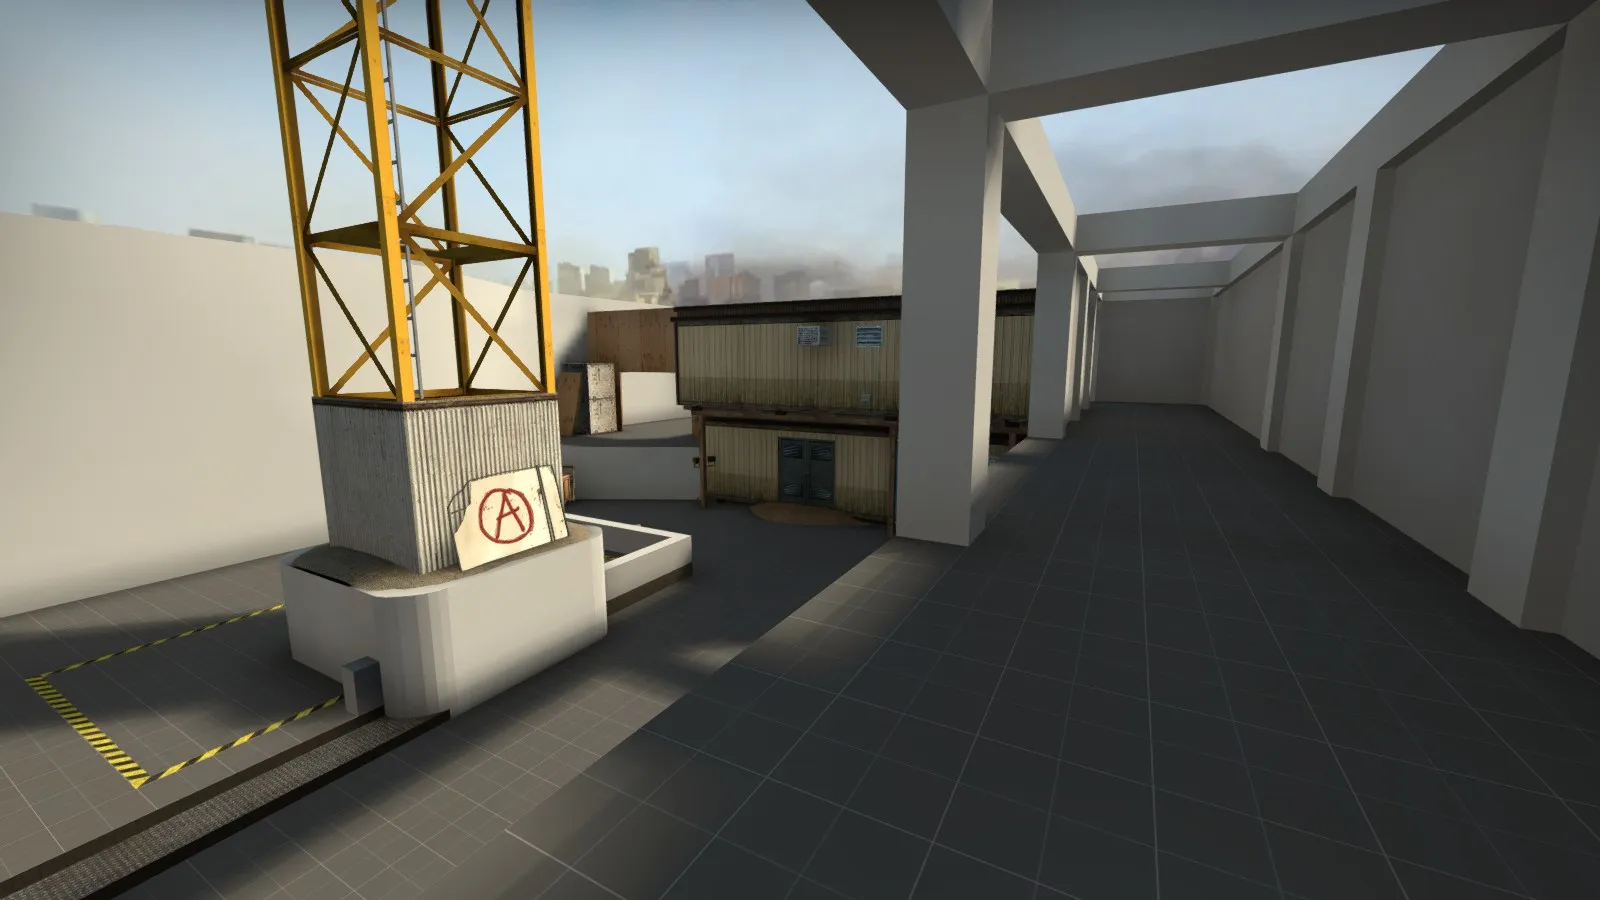
I guess I was the only one that liked the Vent-To-A?  My thoughts we're that if CT's were given a couple more seconds to set up they could boost up there, creating a strong defensive position.
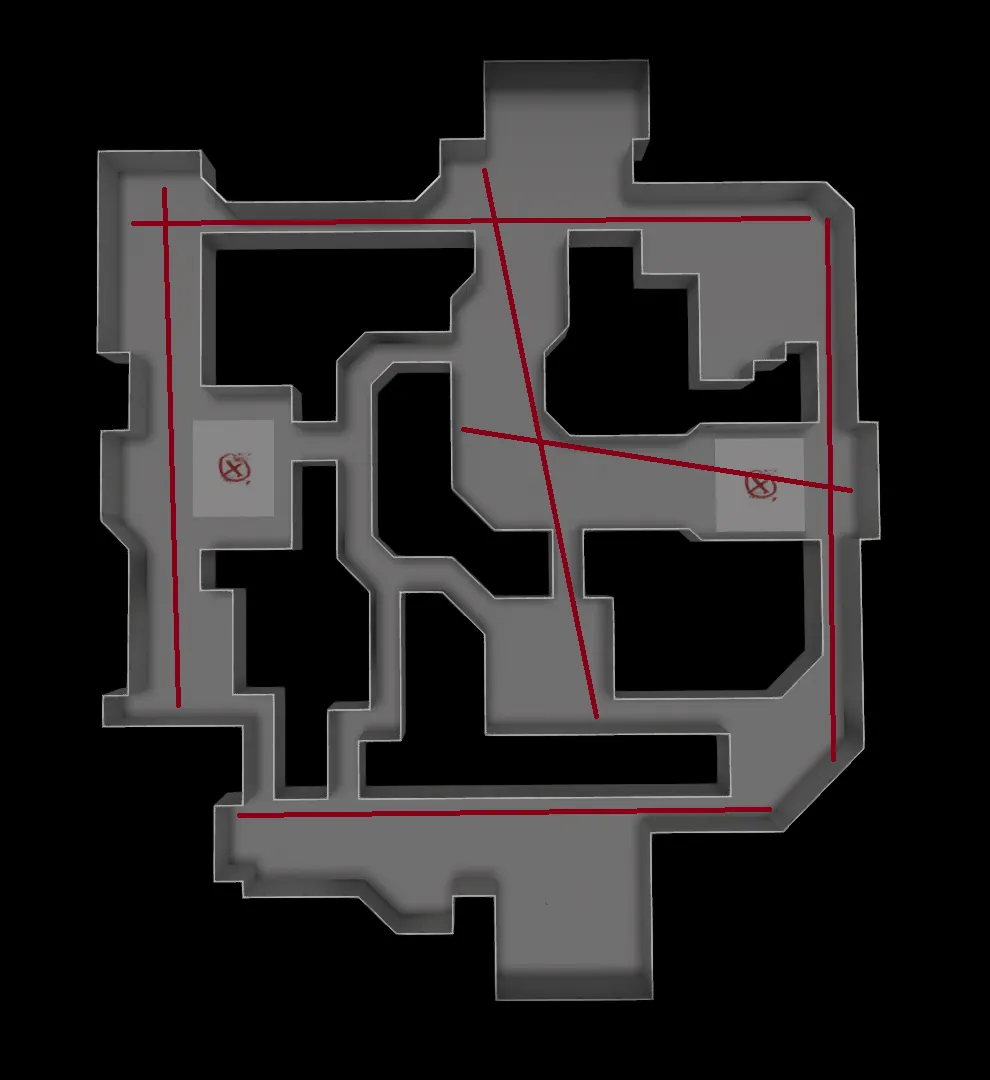
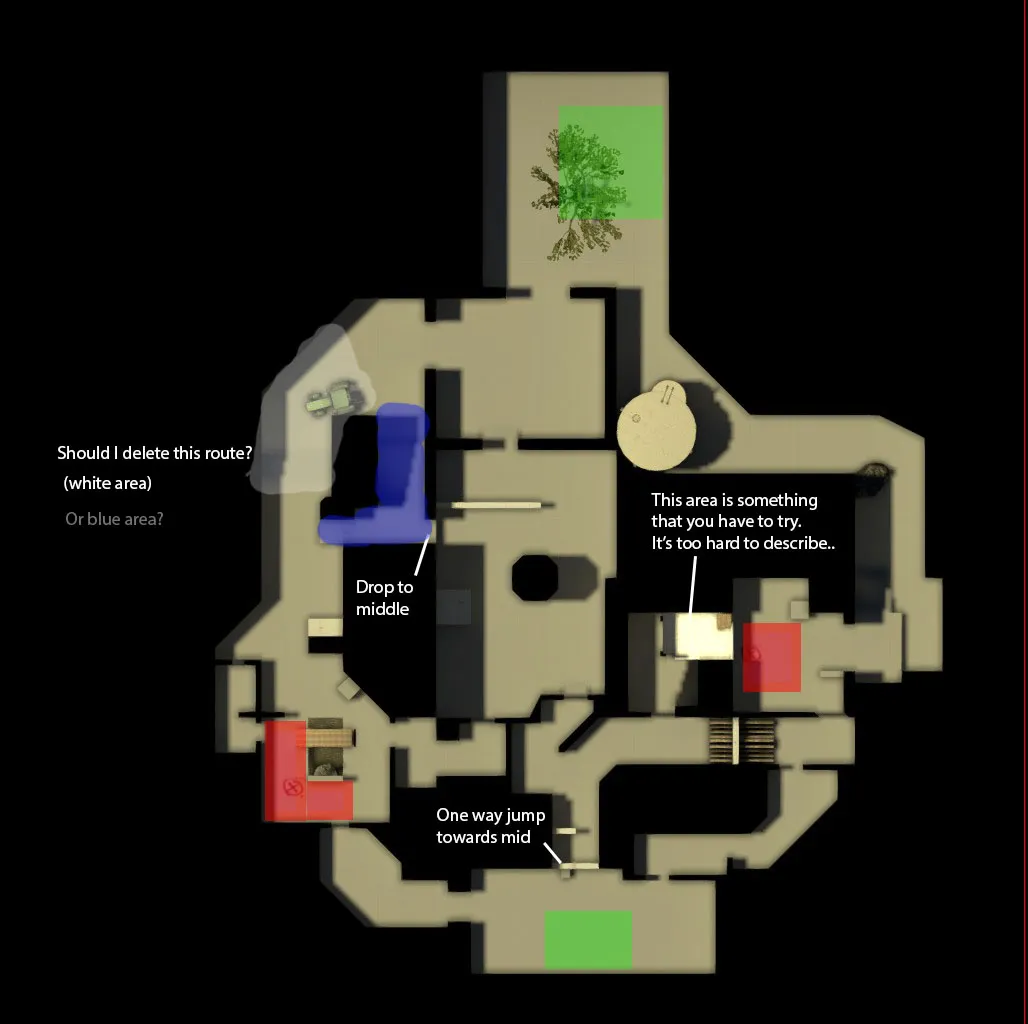
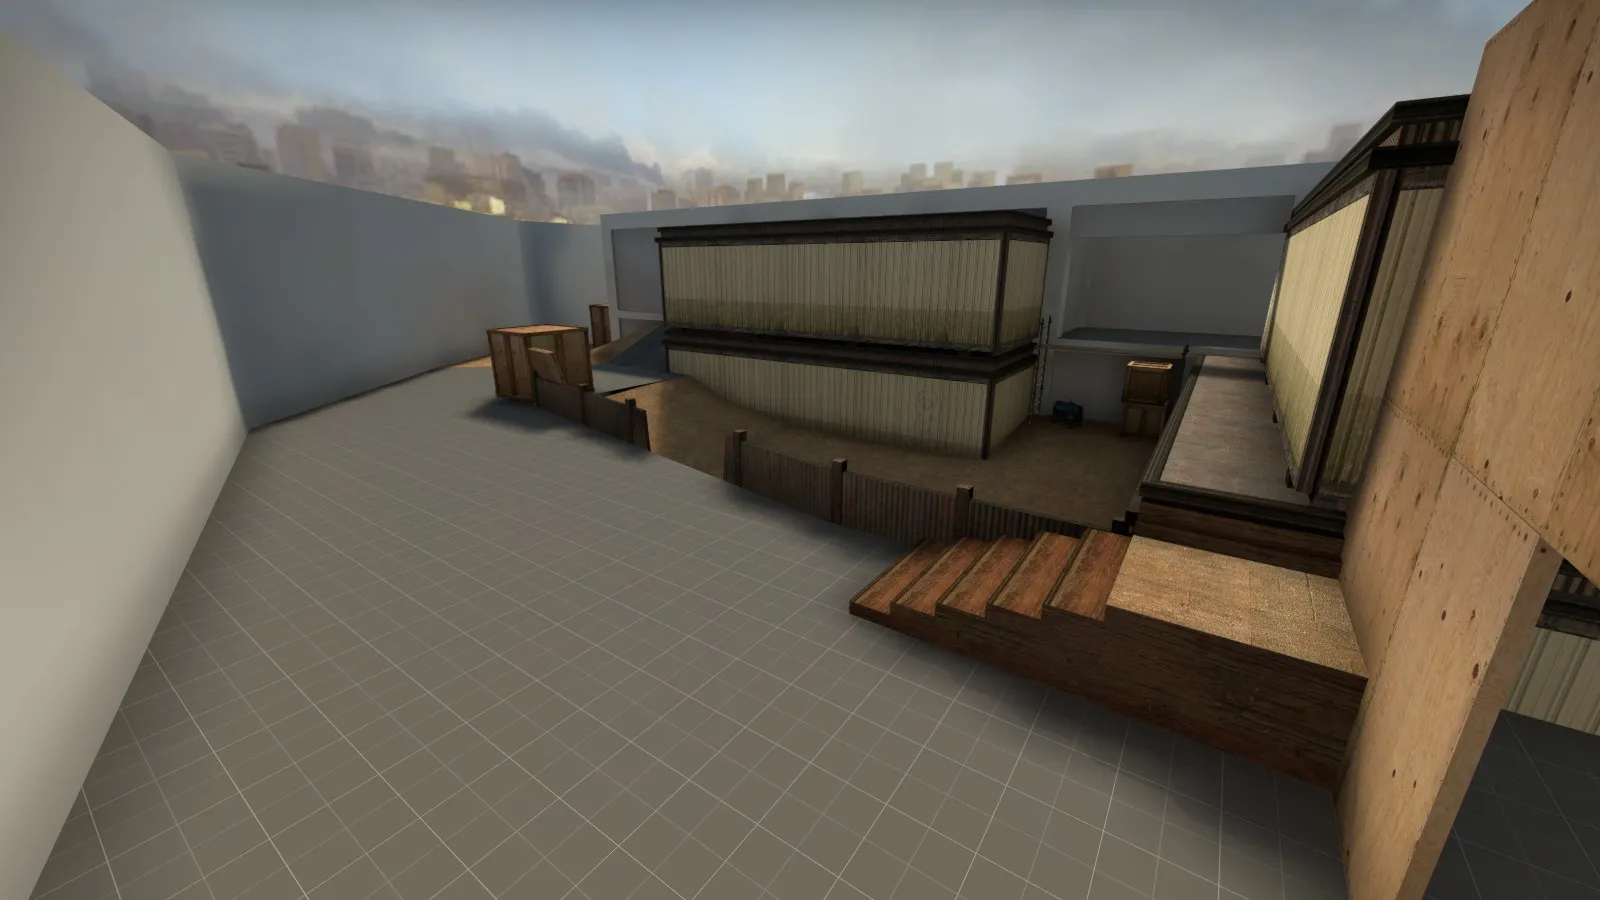
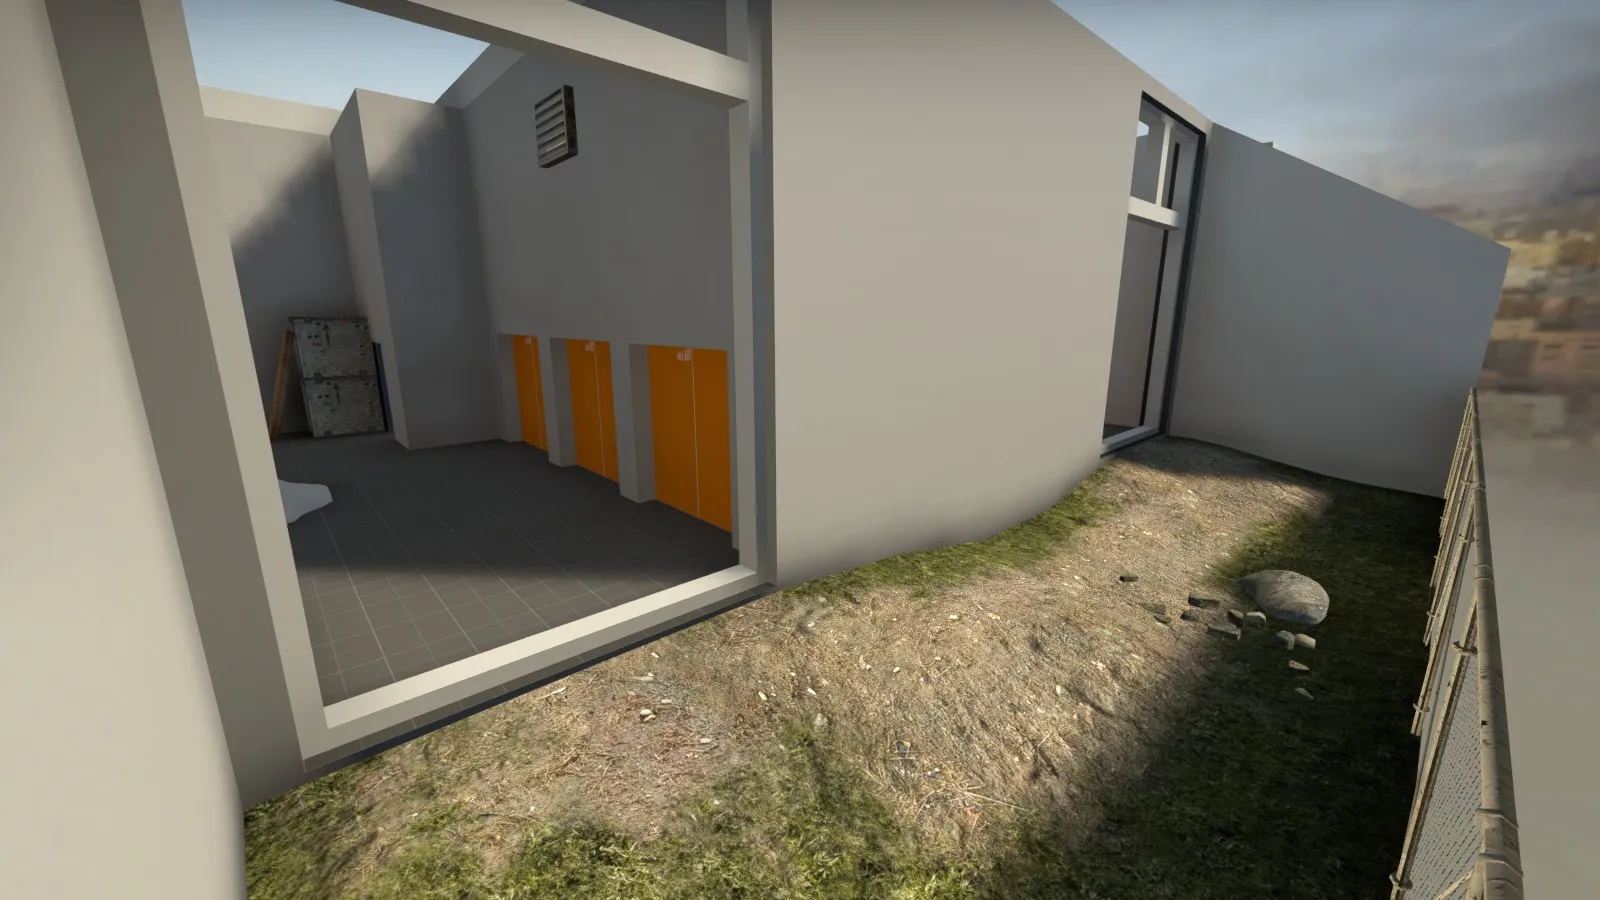
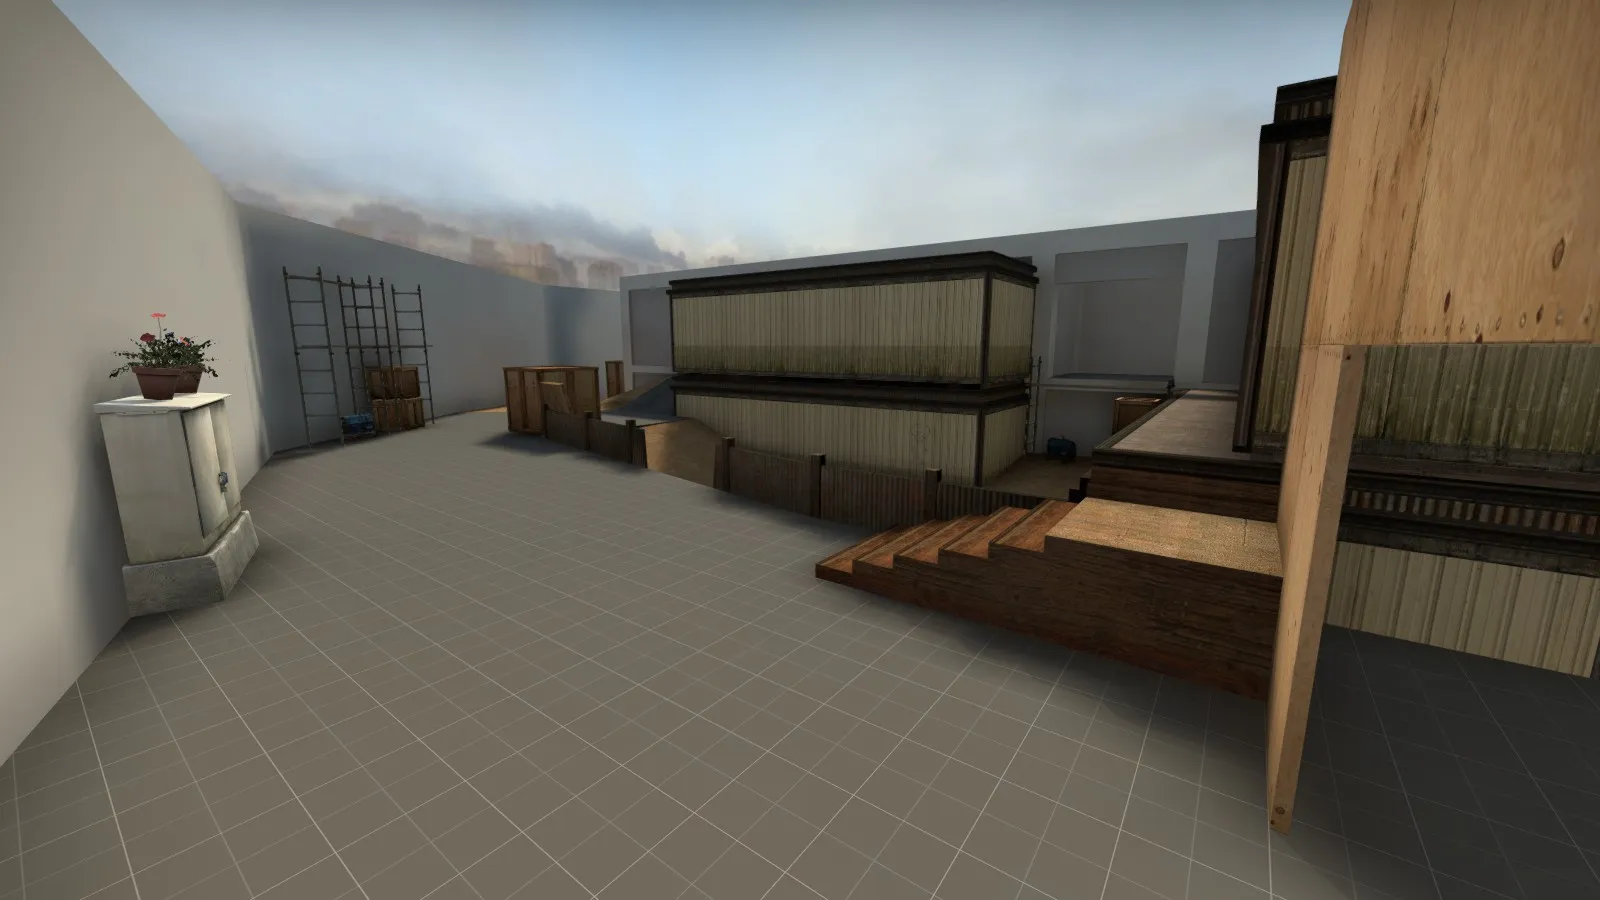
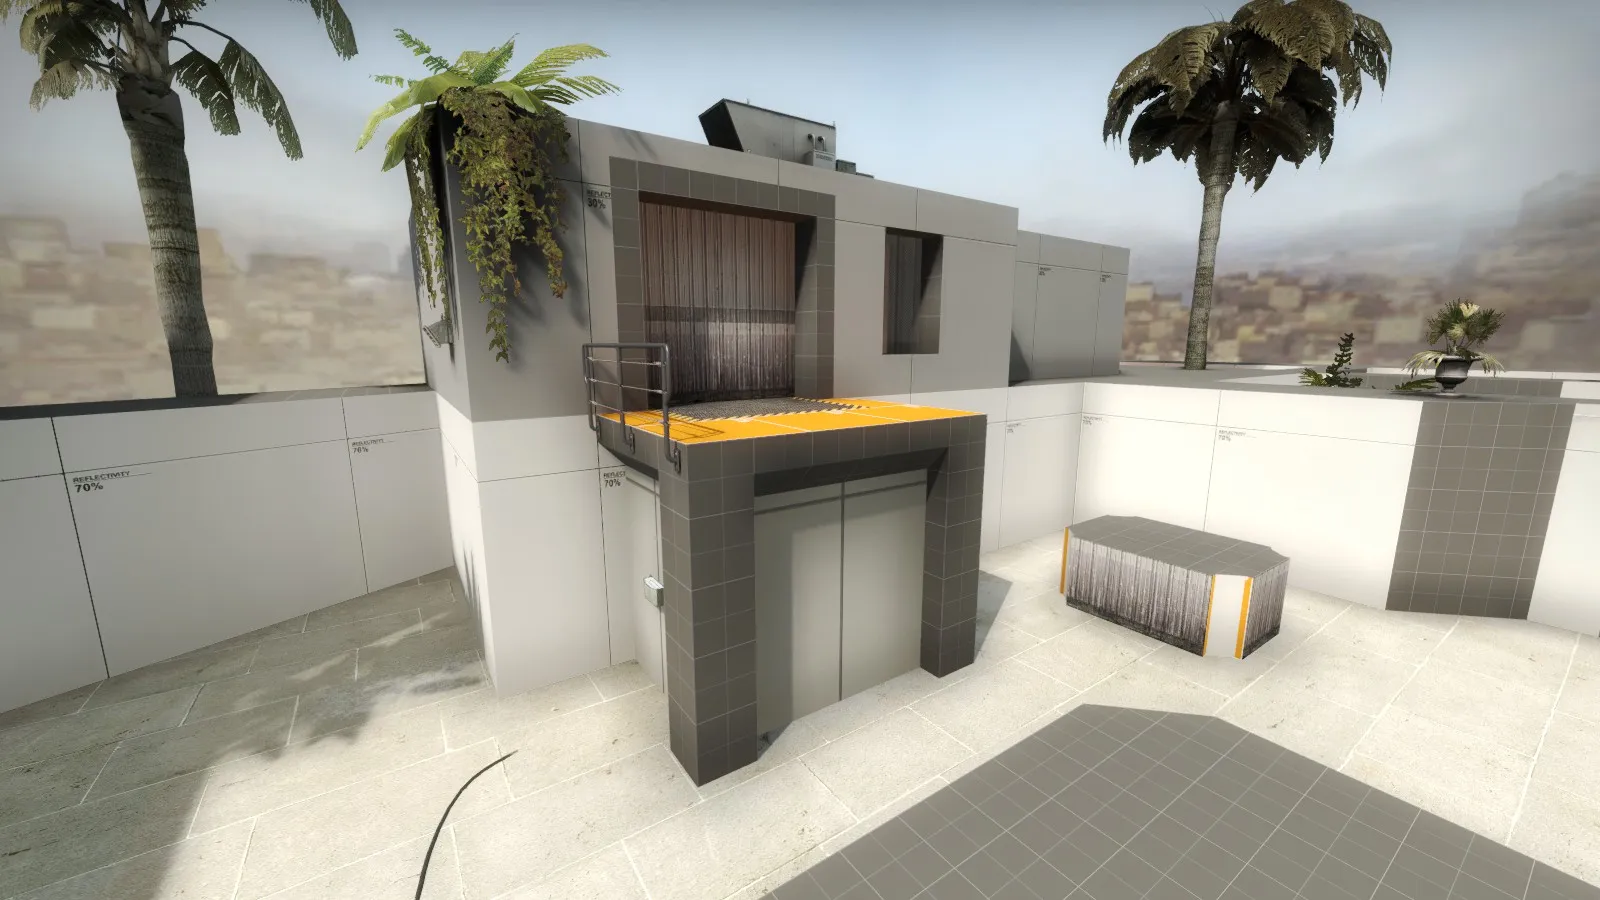
I still think that one major flaw remains, the defensive line for T's towards B. I managed to handle it pretty well in the playtest, but any organised push from the CT side would destroy the T's.
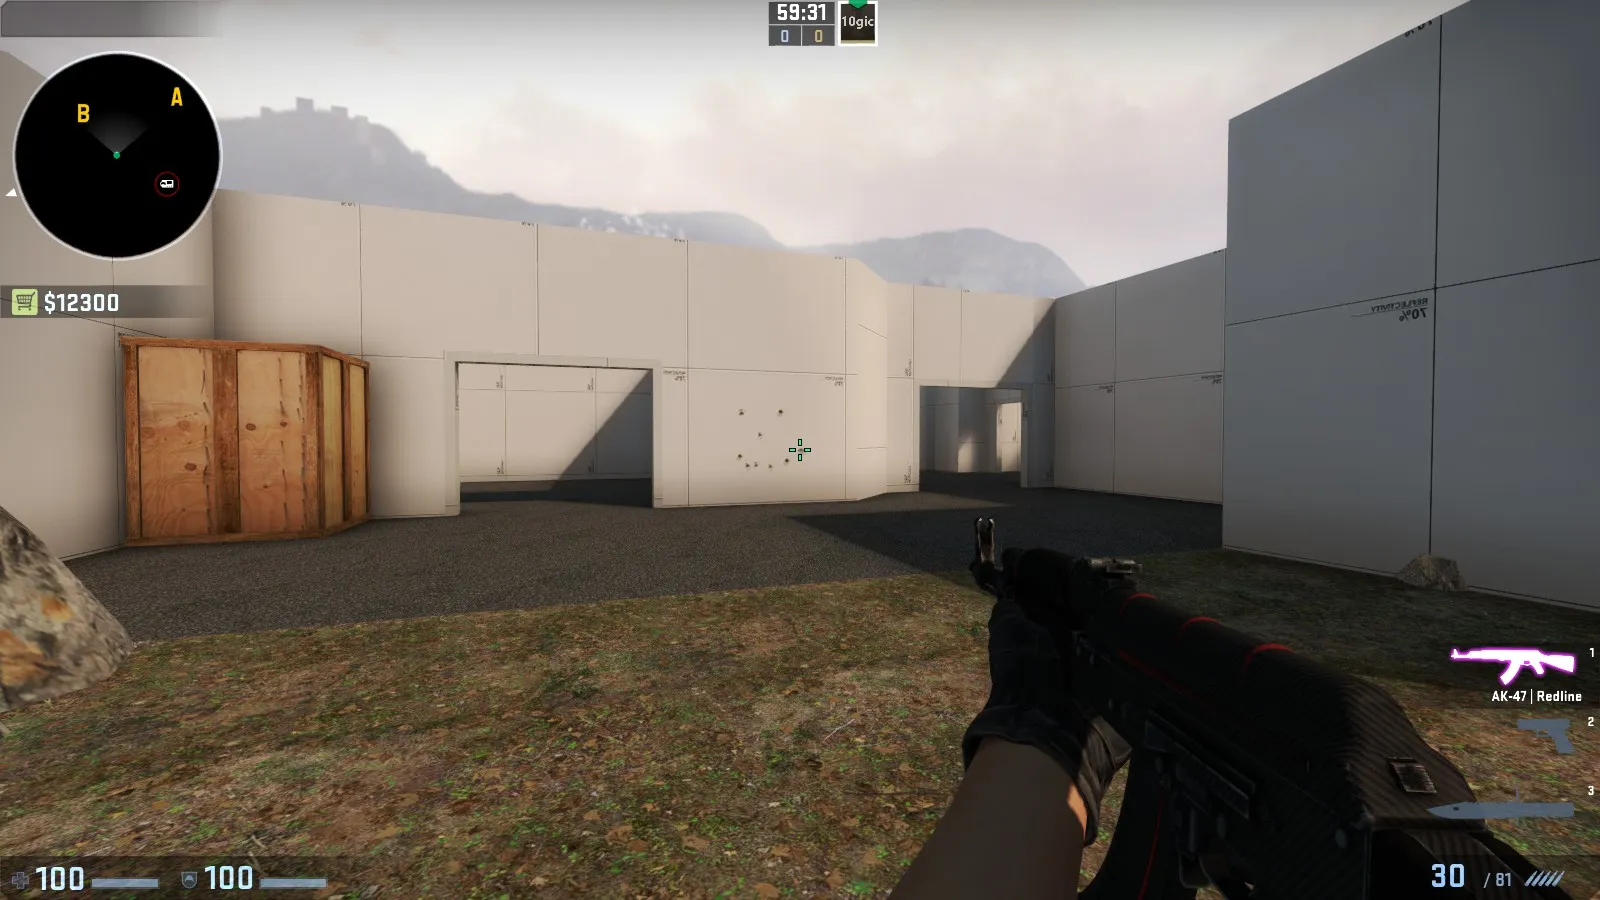
It's very hard to find a position that isn't exposed from another entrance and CT's has a couple of ridiculous lines of sight.
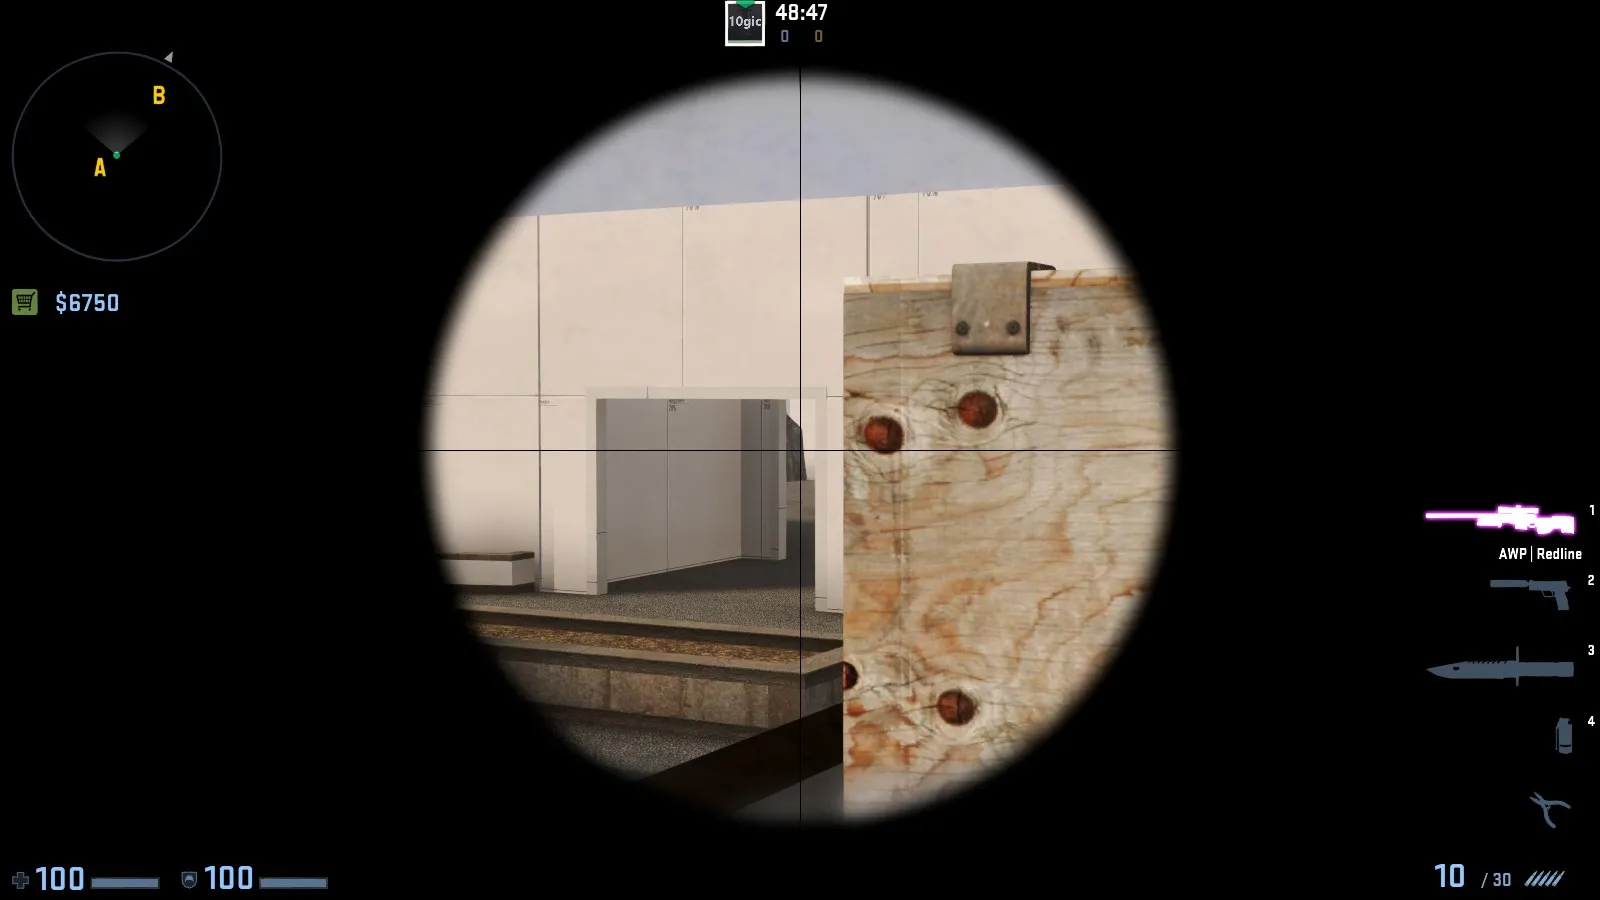
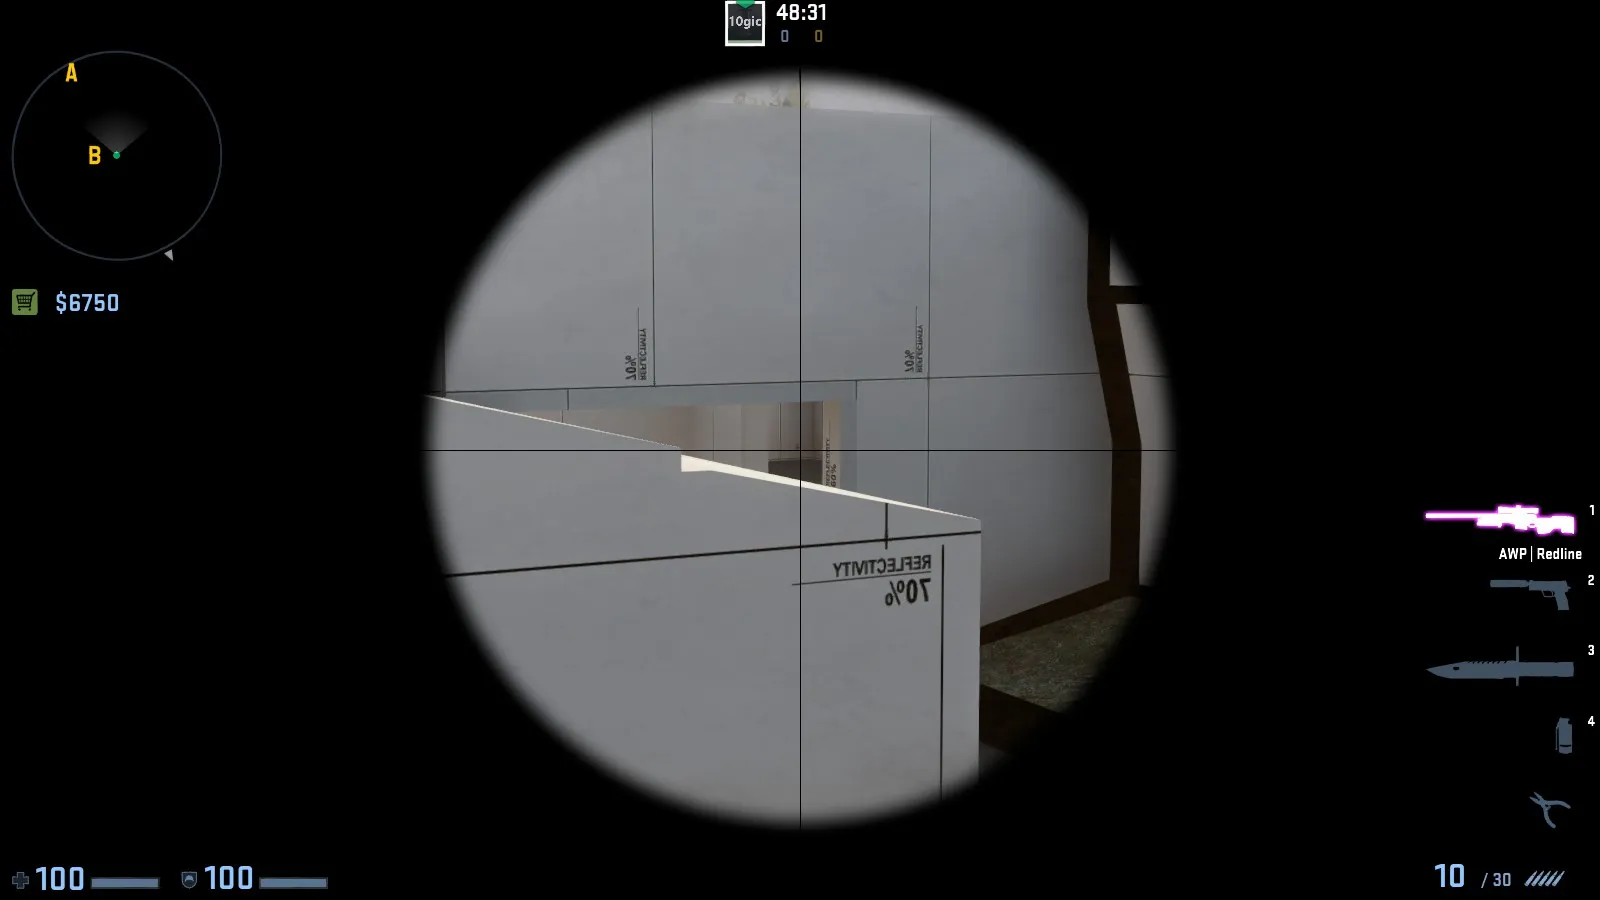
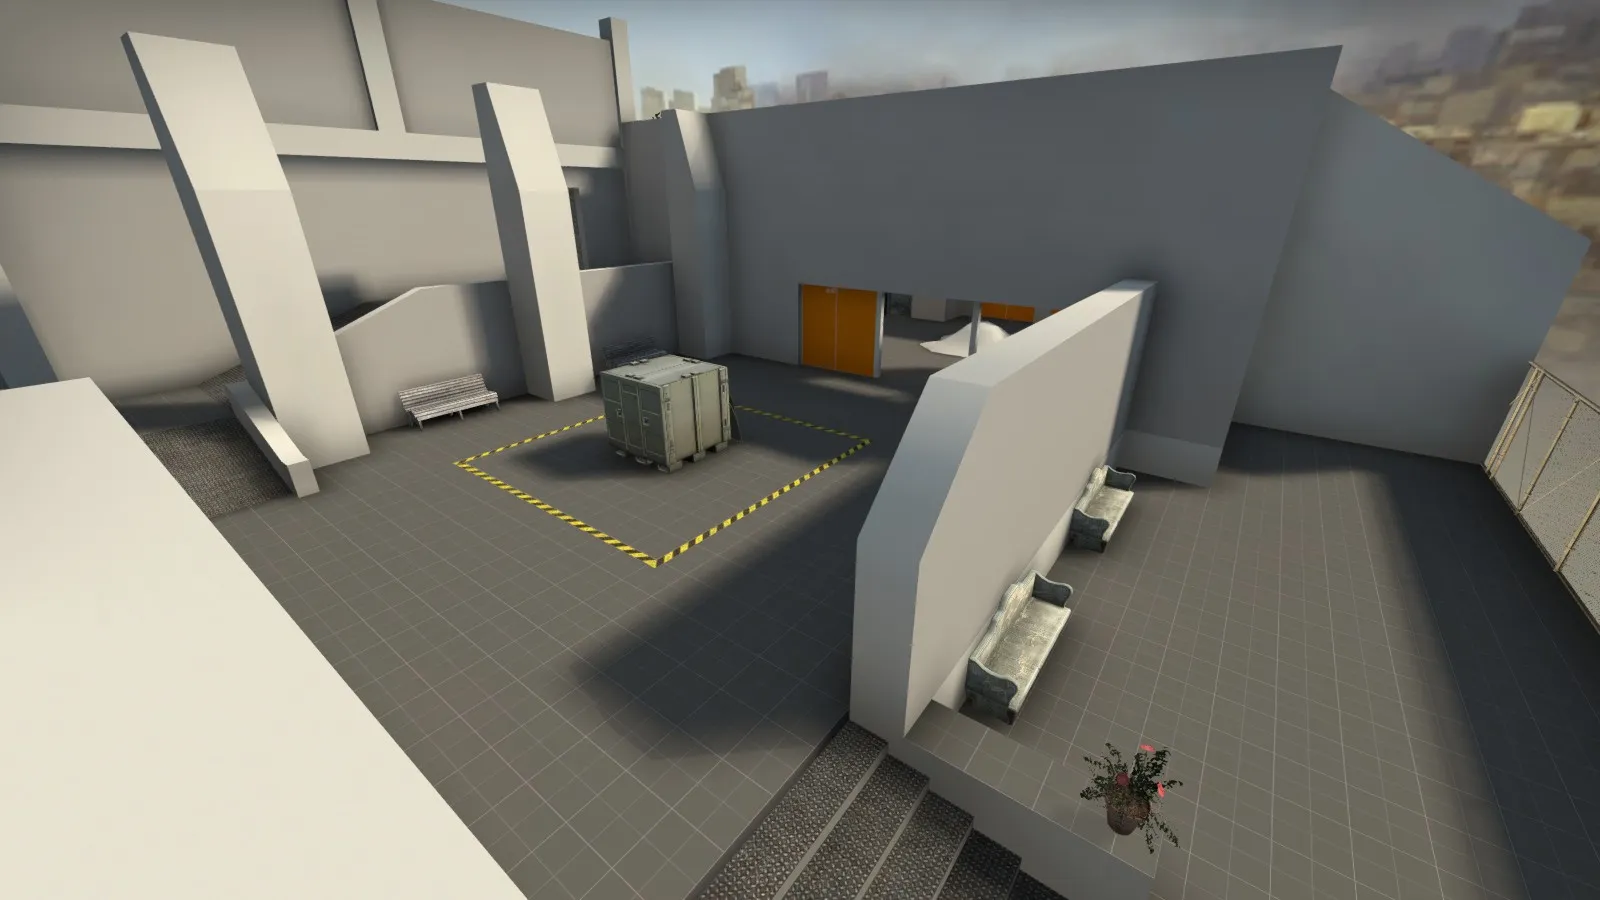
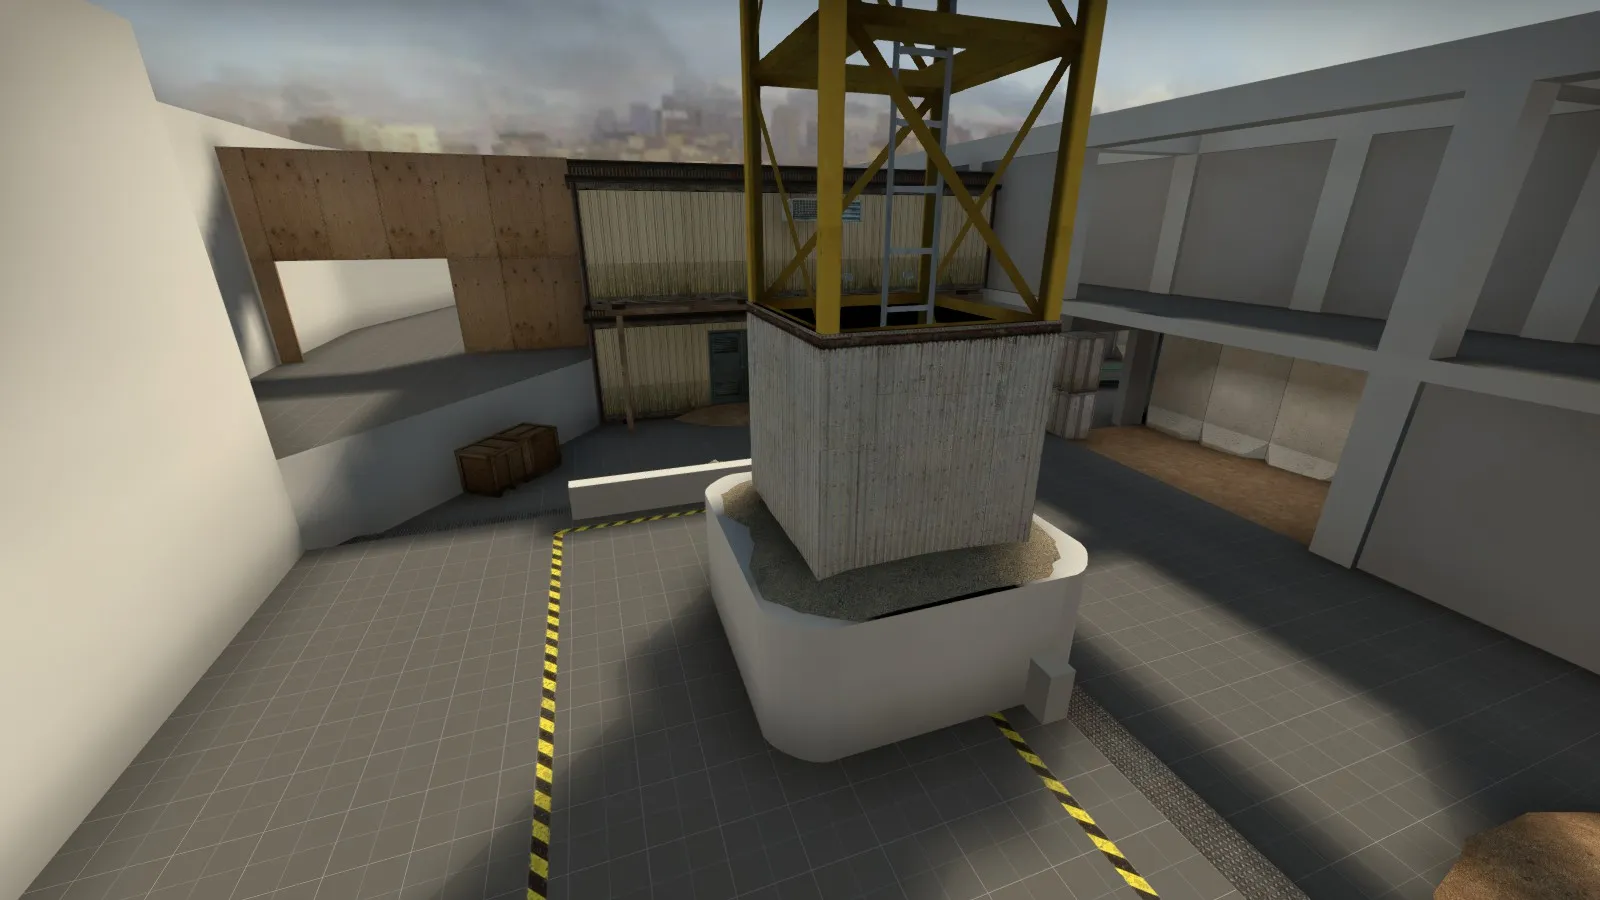
I think you should rework this area to something that 1-2 T's can defend. Some cover in the middle of the area would be nice 
 I'm unsure about how it would play though, might be really hard for CT's to hold it down since T's can come from several different angles.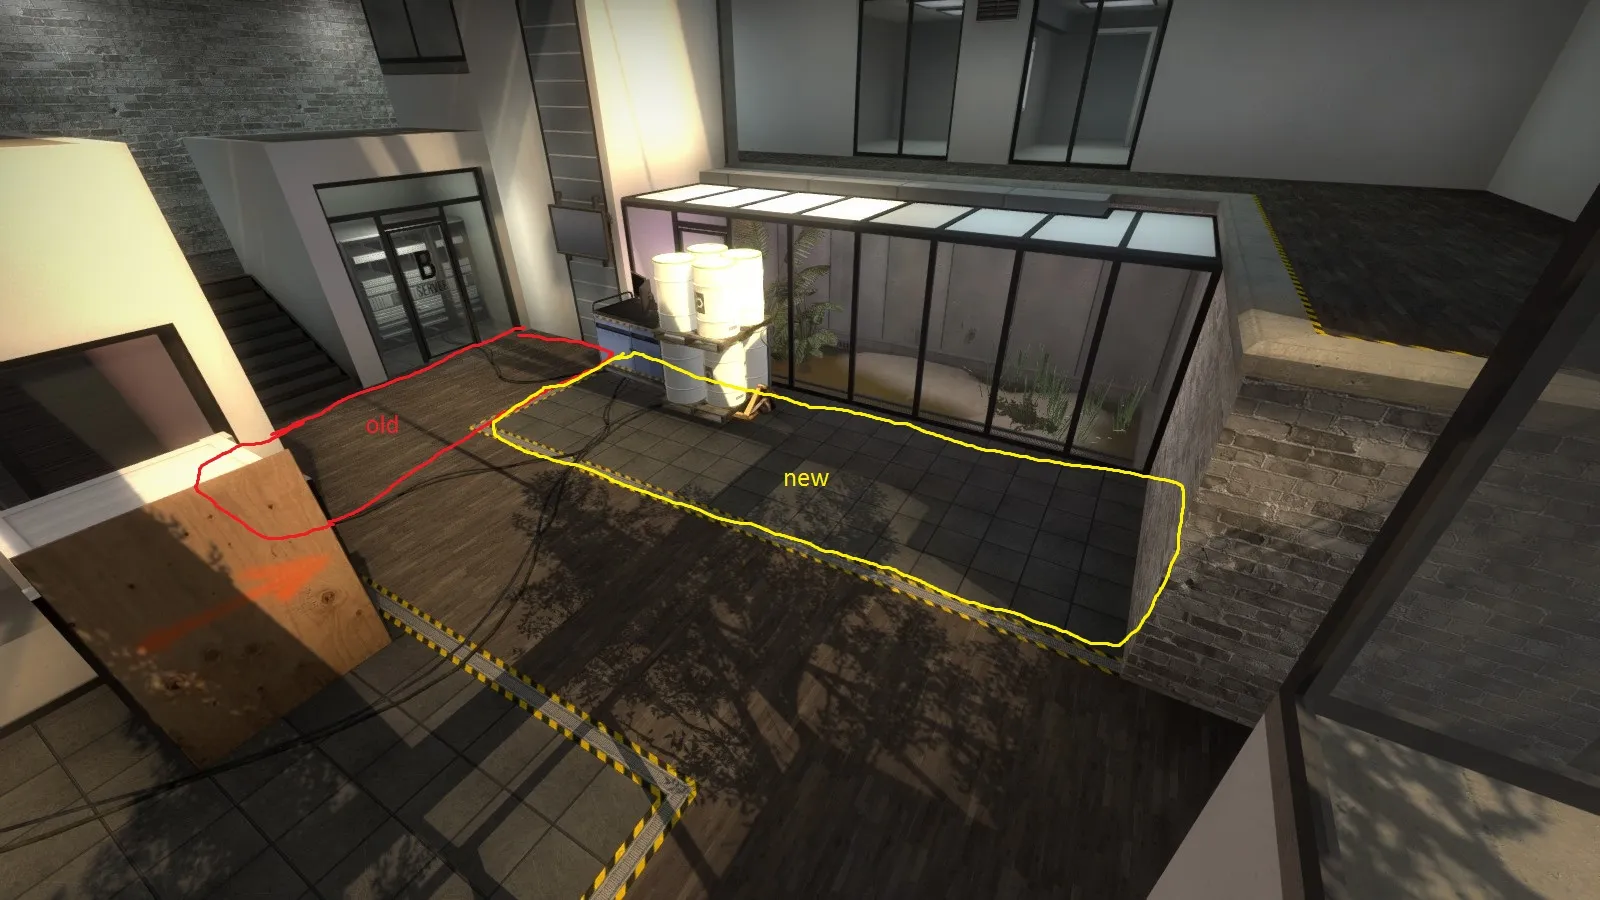
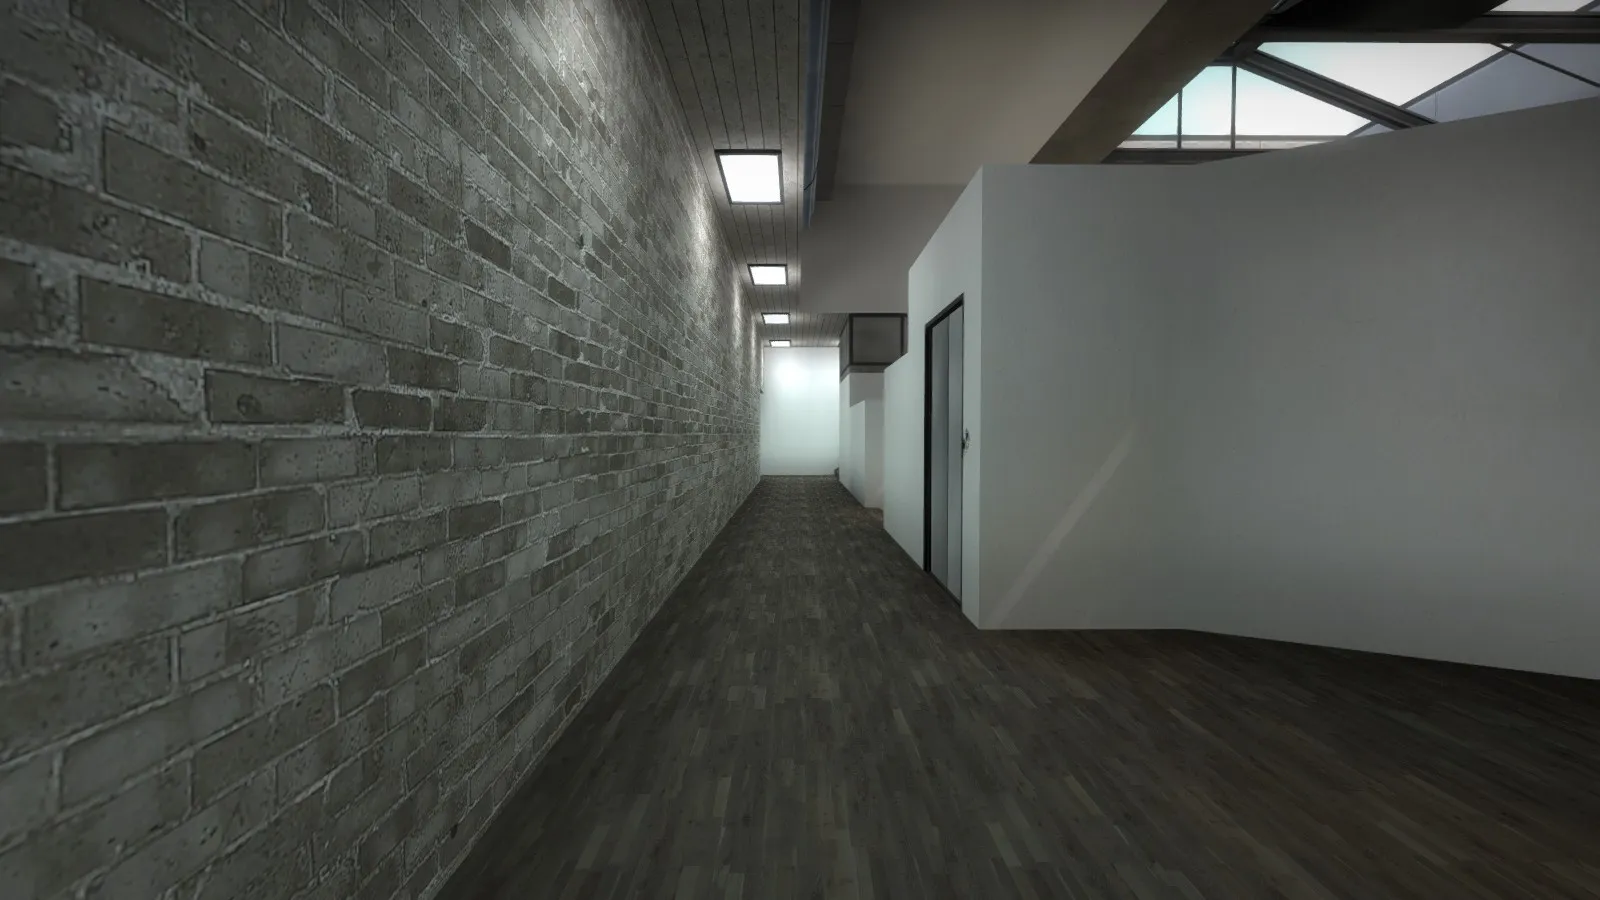
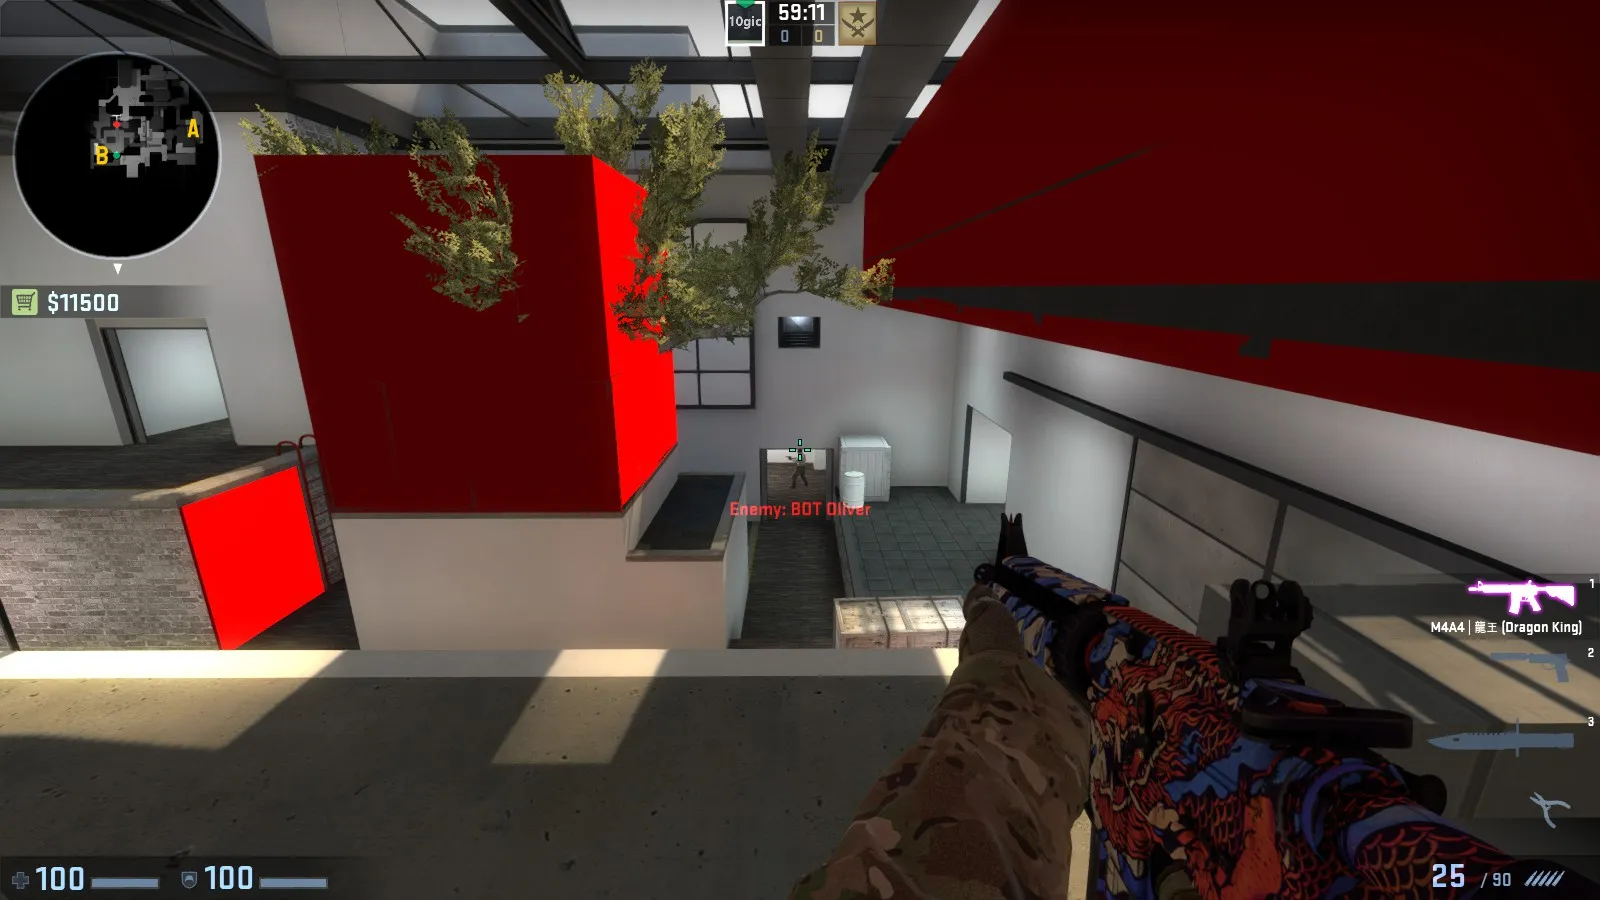
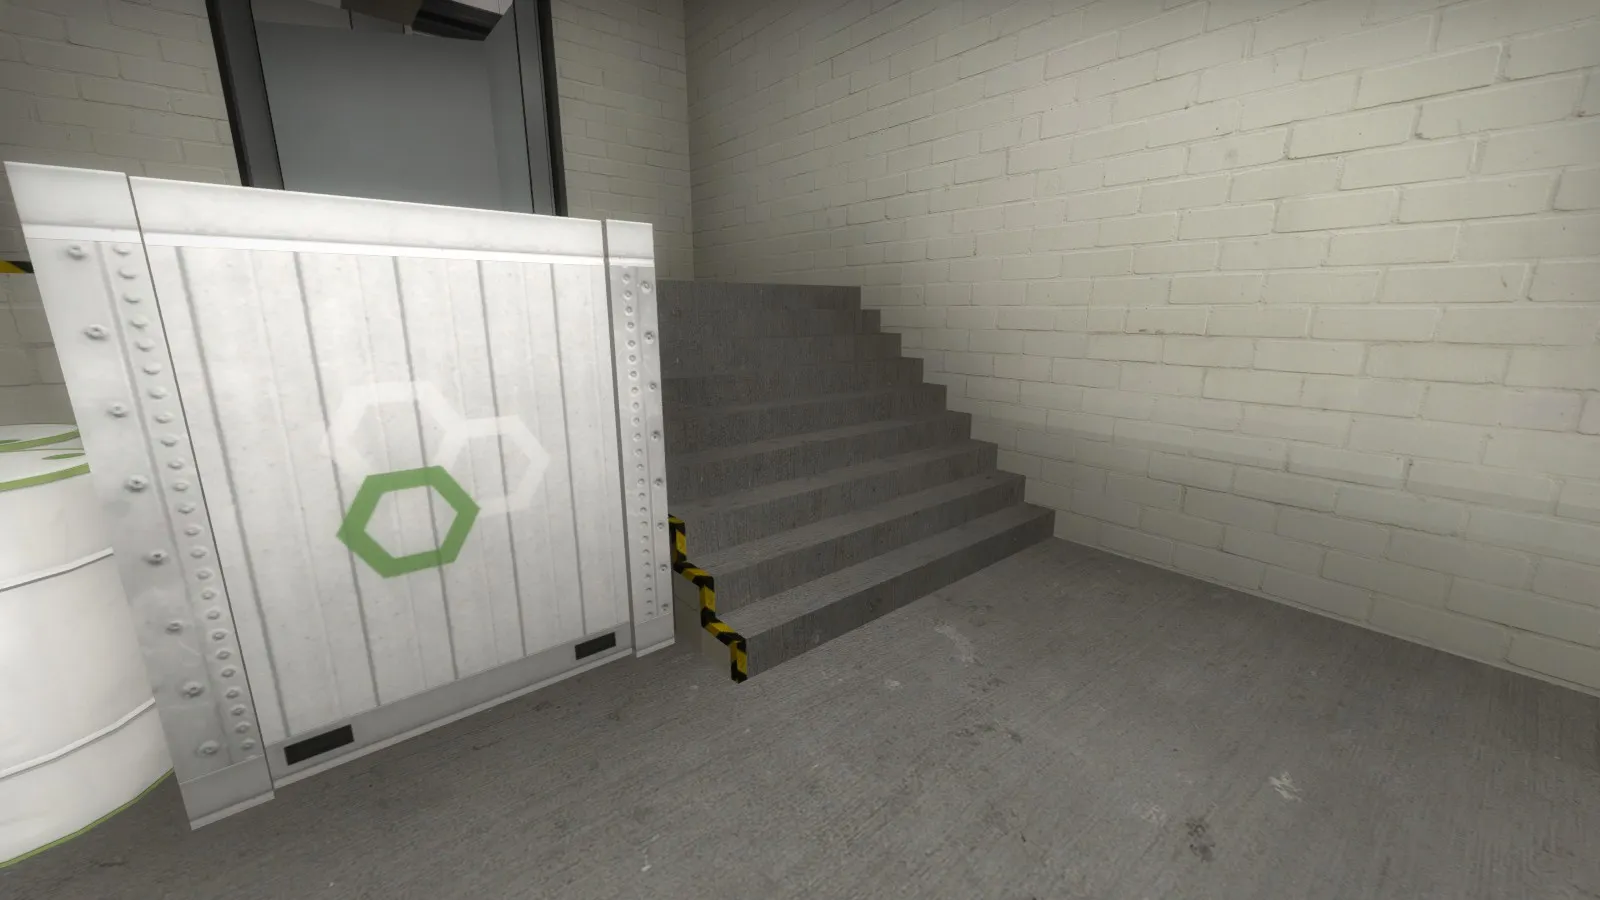

 Logic out!