1. Forums
  2. Discord
  3. About Mapcore
  4. Patreon Supporters
  • Login
  • Register
  • Search
Everywhere
  • Everywhere
  • Articles
  • Pages
  • Forum
  • More Options
  1. Mapcore
  2. Members
  3. Geno

Posts by Geno

  • Change any sketch into photorealistic landscape with AI.

    • Geno
    • March 19, 2019 at 11:14 AM

    Just came across this video. Making skyboxes will be so much easier with this.

    External Content www.youtube.com
    Content embedded from external sources will not be displayed without your consent.
    Through the activation of external content, you agree that personal data may be transferred to third party platforms. We have provided more information on this in our privacy policy.
  • Counter-Strike: Global Offensive

    • Geno
    • July 25, 2016 at 10:26 PM

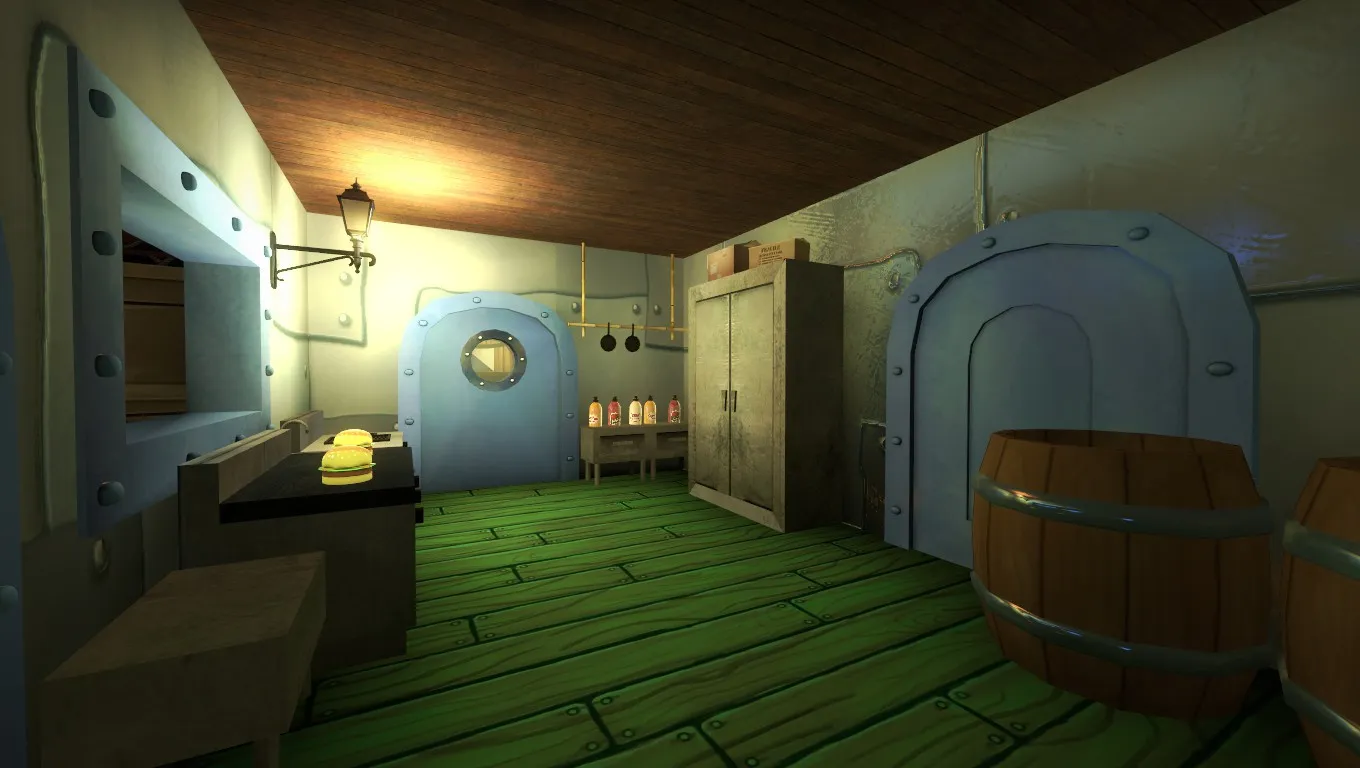
    I have been reporting all the comment spammers (the ones posting ad links) on my map. I delete all such comments. And one such guy then commented on my profile "report me and ask your friends as well to report". They know nothing's gonna happen. And even I got an offer for my map Bikinibottom, but I blocked the guy. I don't feel right about endorsing gambling sites. Edit:- Something happened? My map now has 1 lesser downvote. The upvotes are constant. And also, all the maps with gambling ads are not featuring on the front page anymore.

  • [CSGO] Calamari - Bomb/Defuse (All versions)

    • Geno
    • July 8, 2016 at 6:00 AM

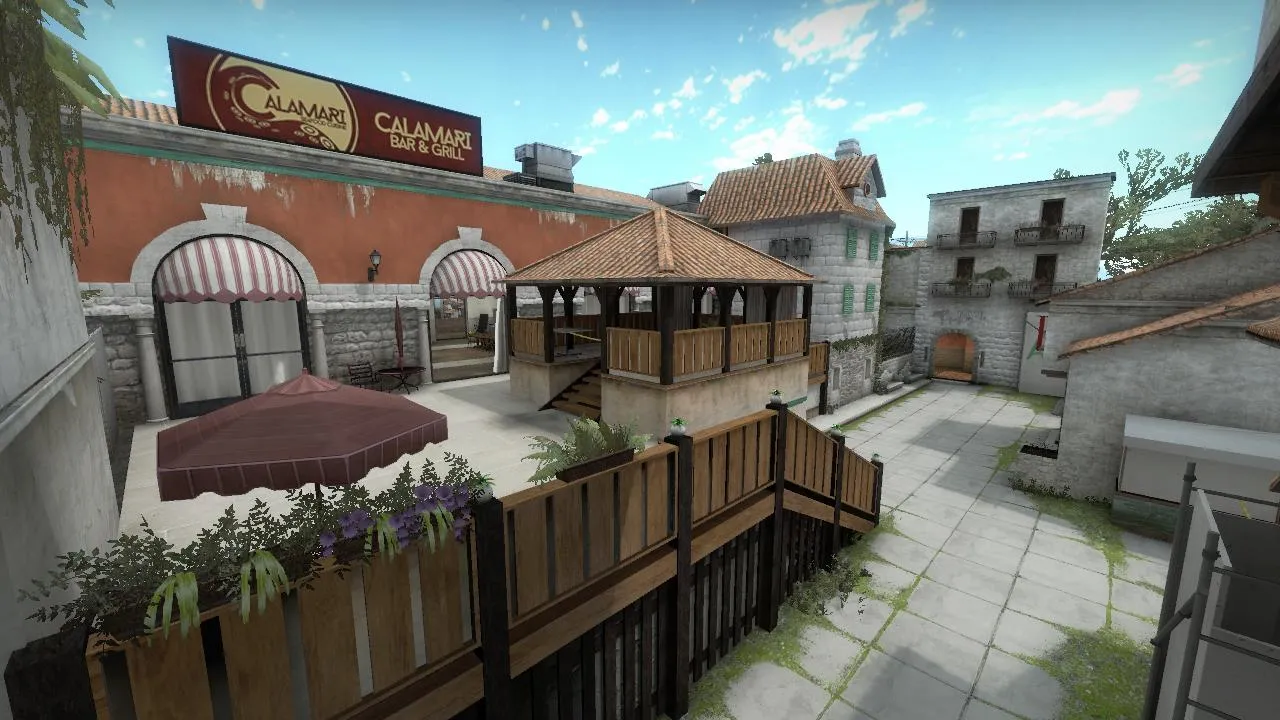
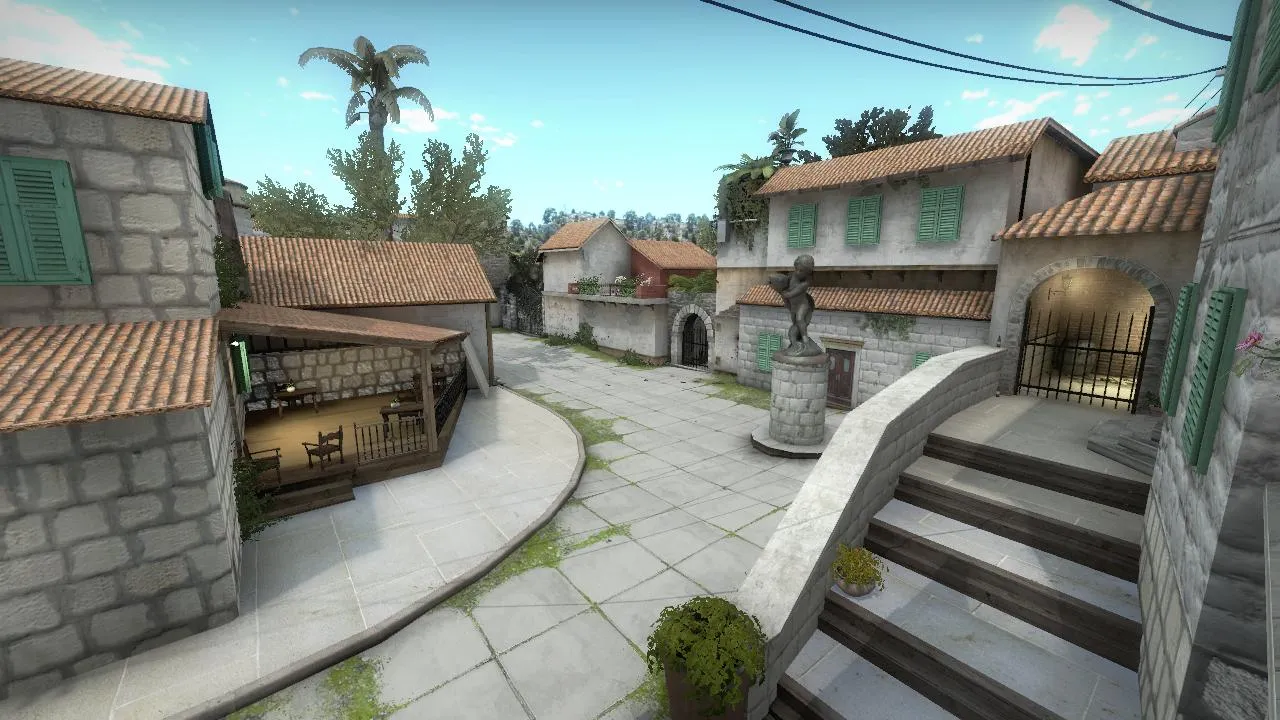
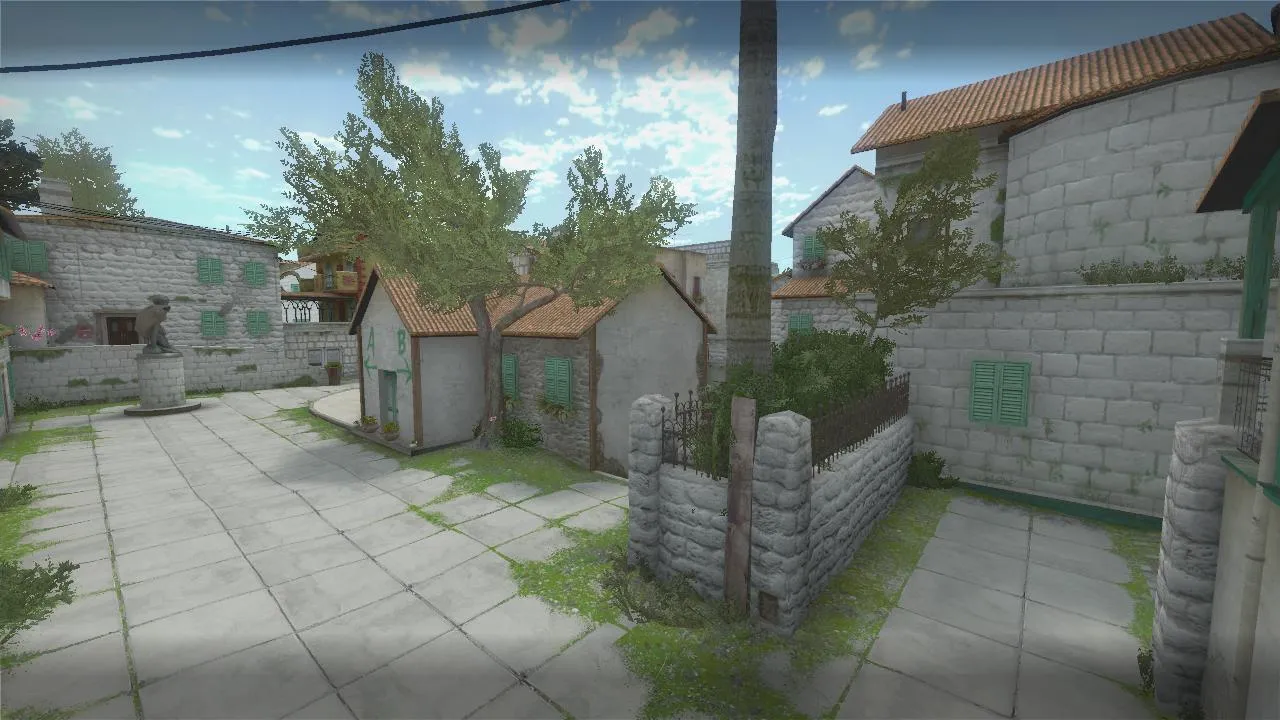
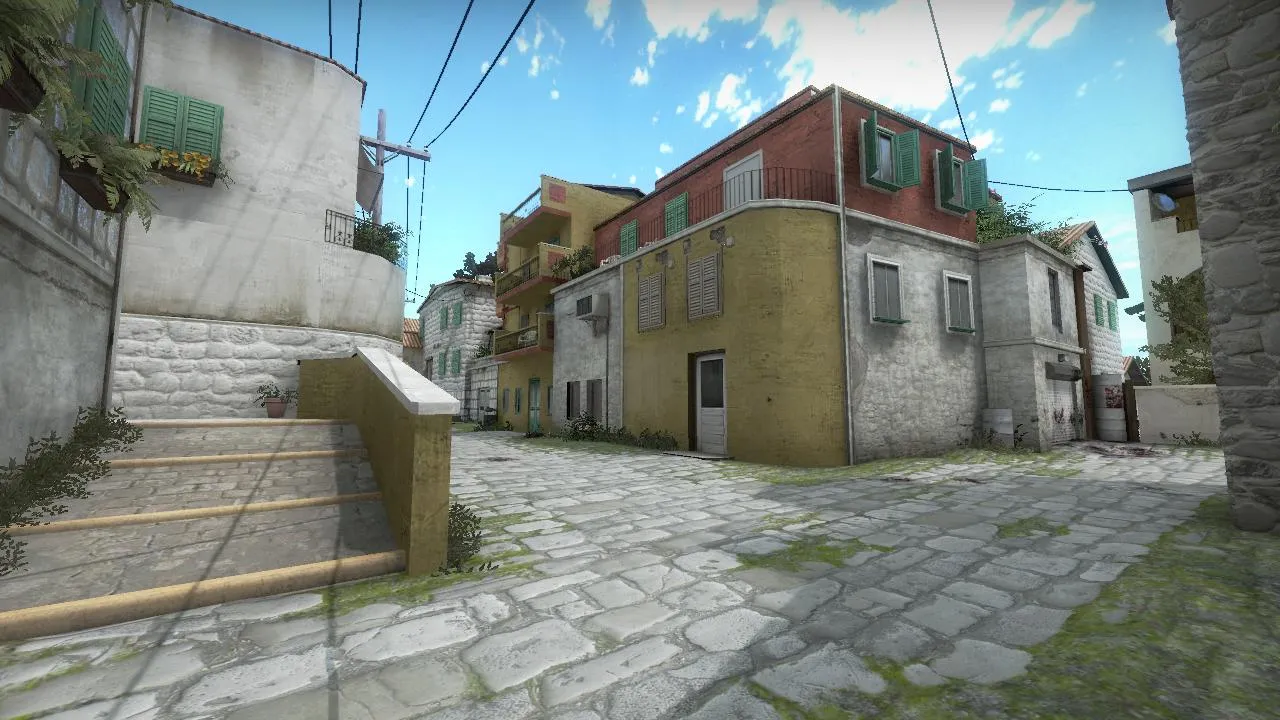
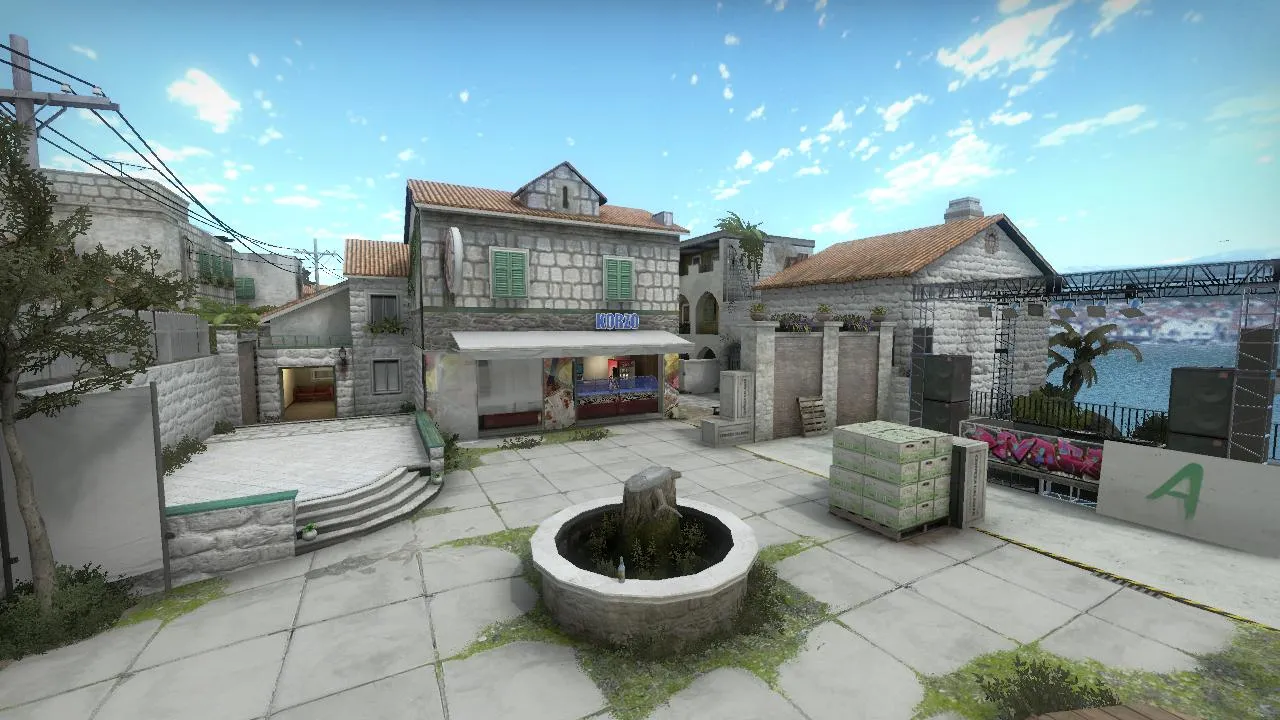
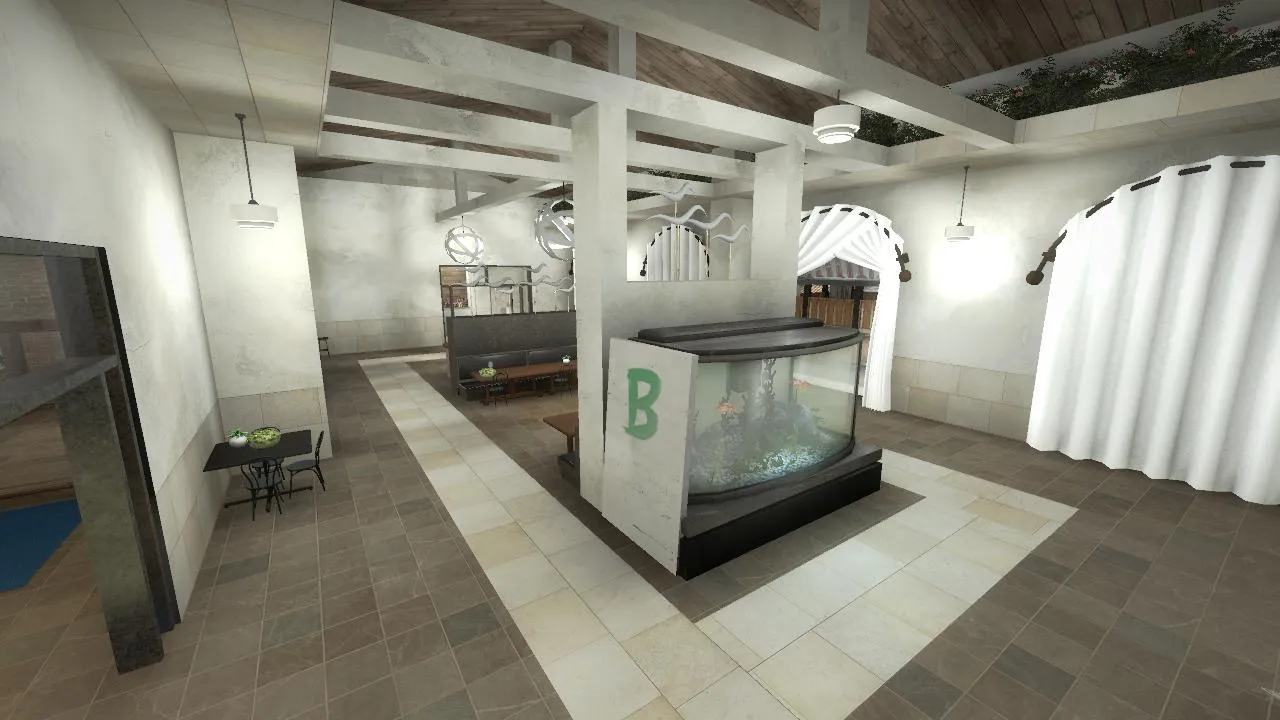
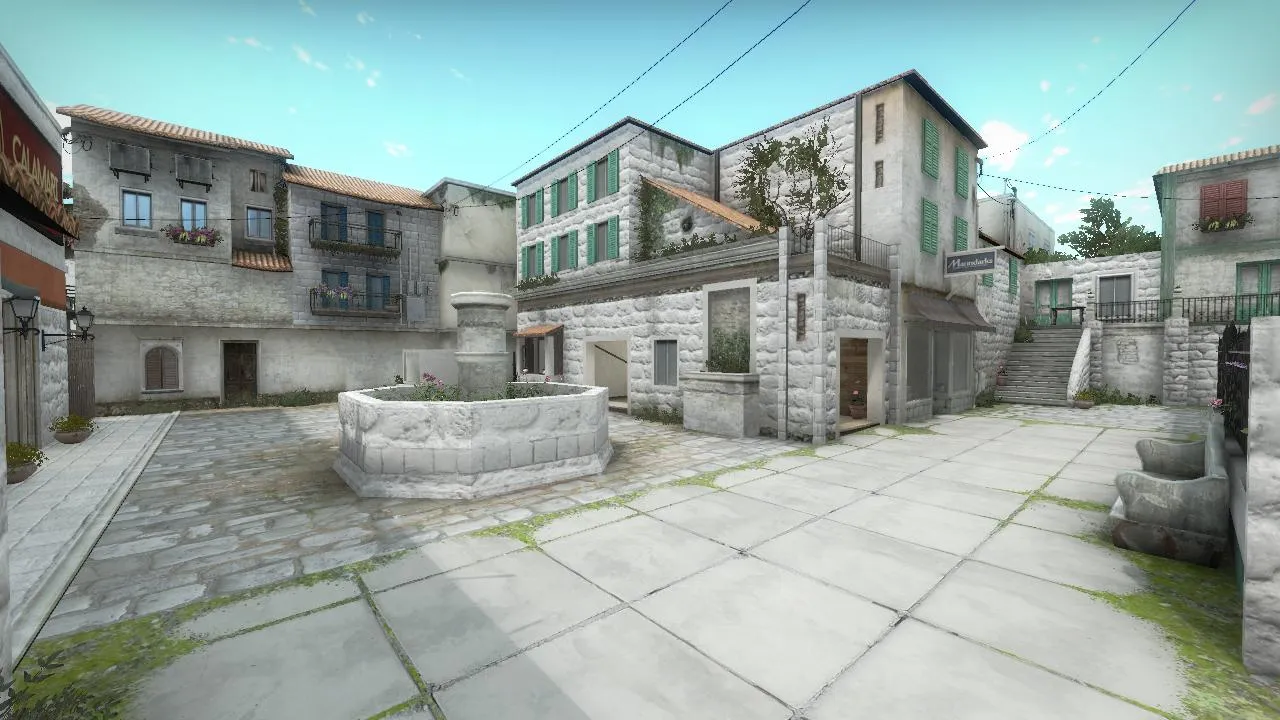
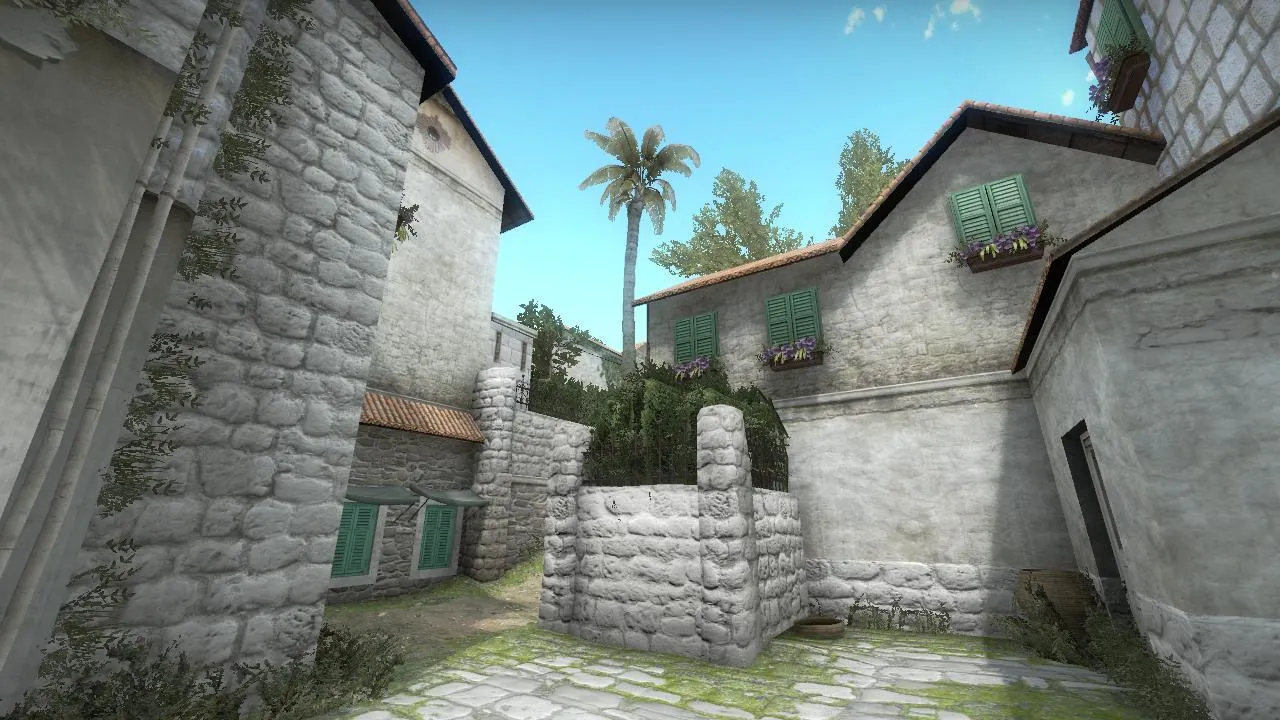
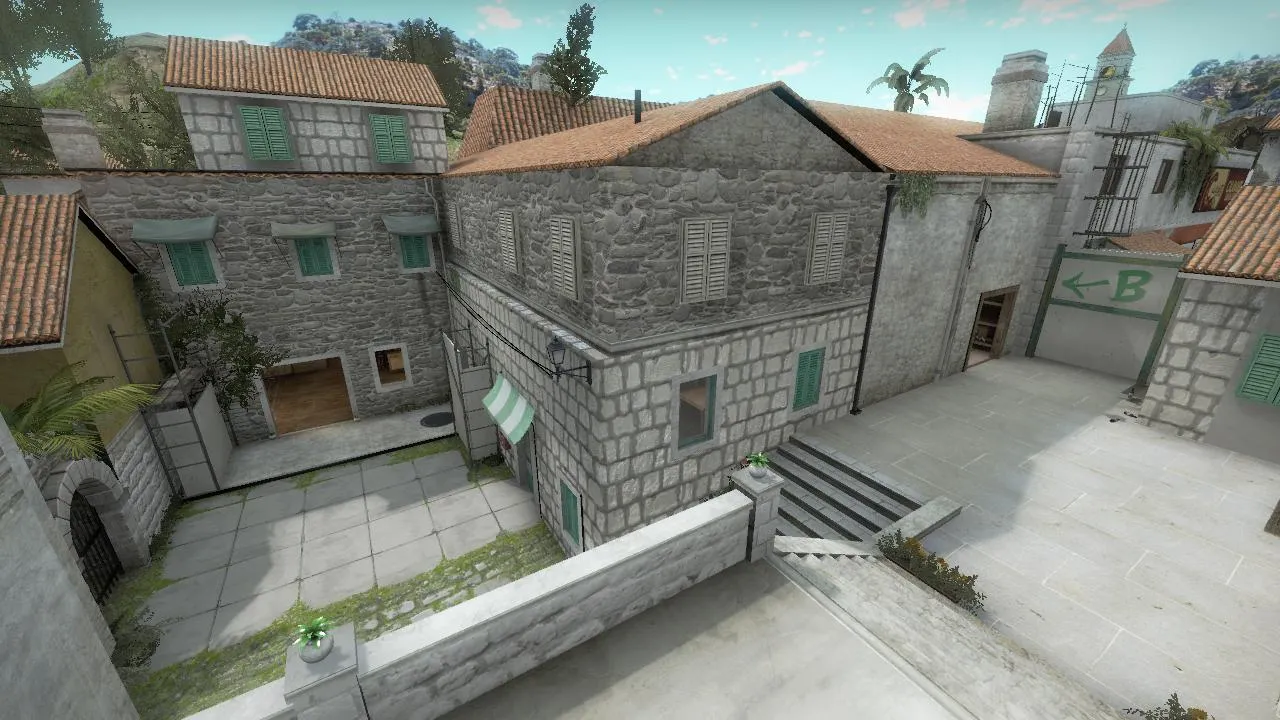
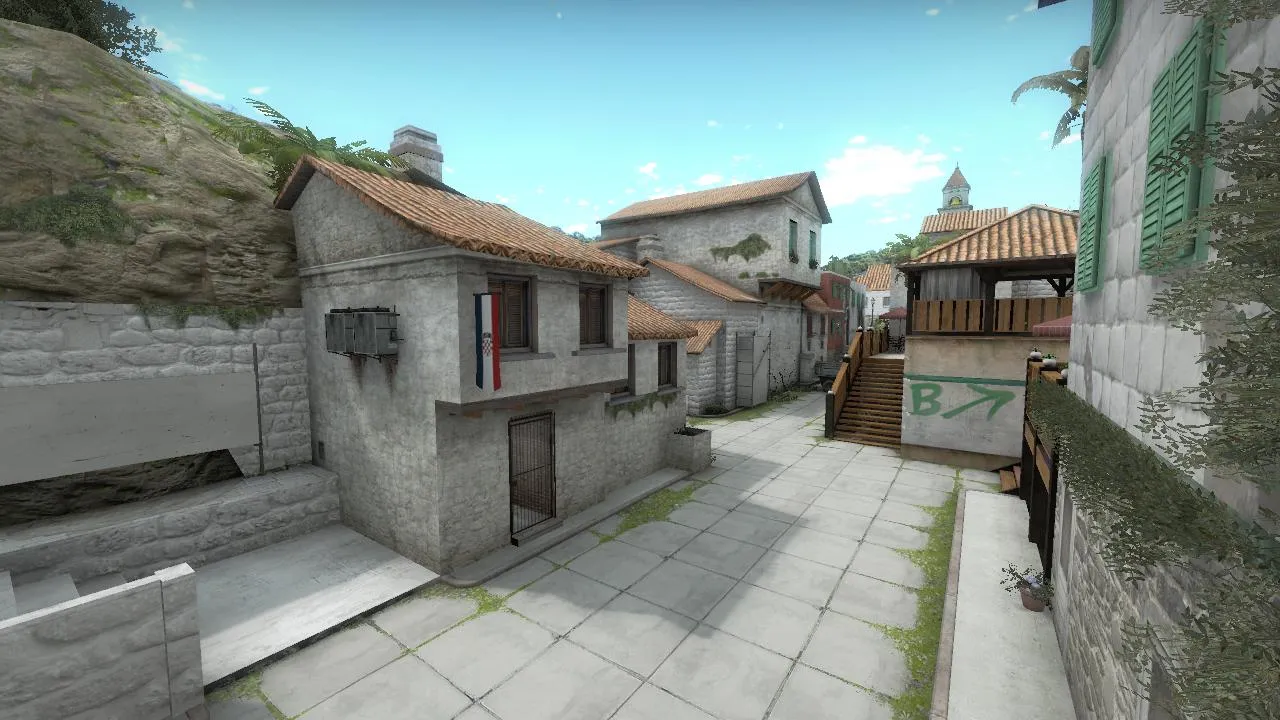
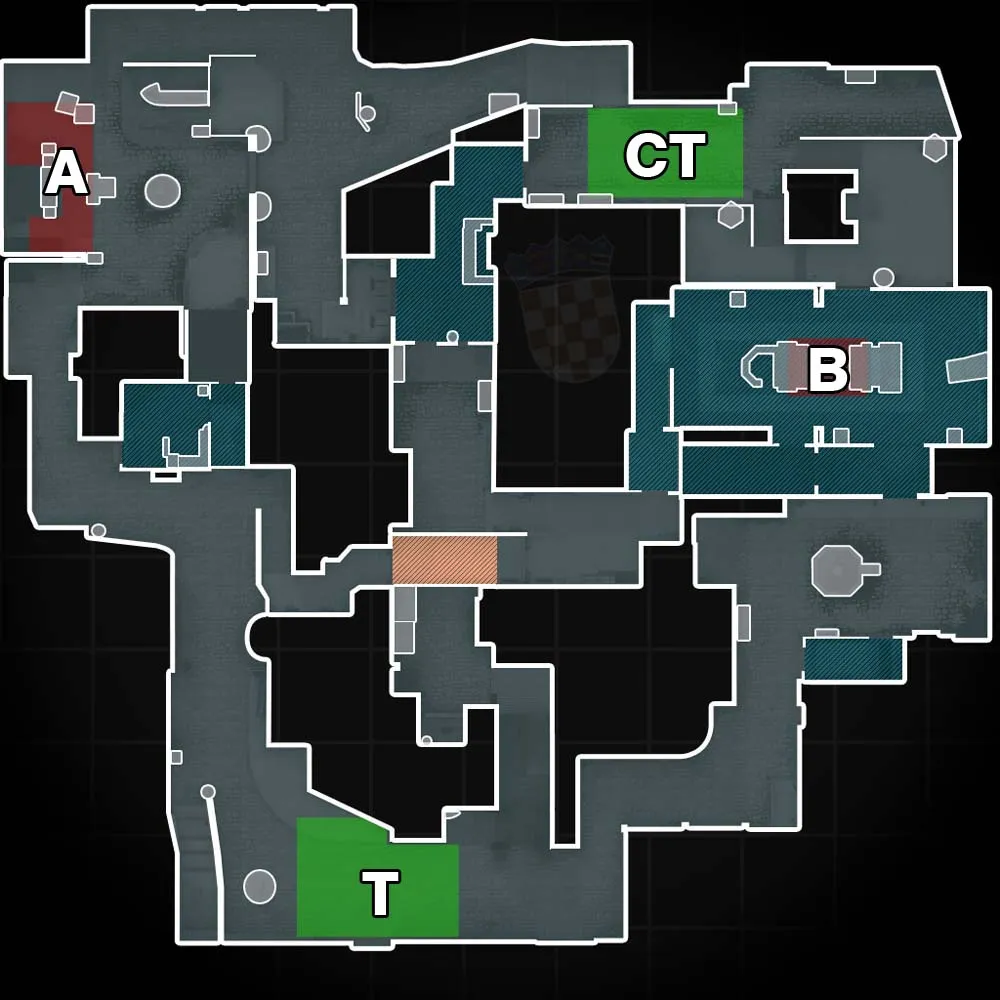
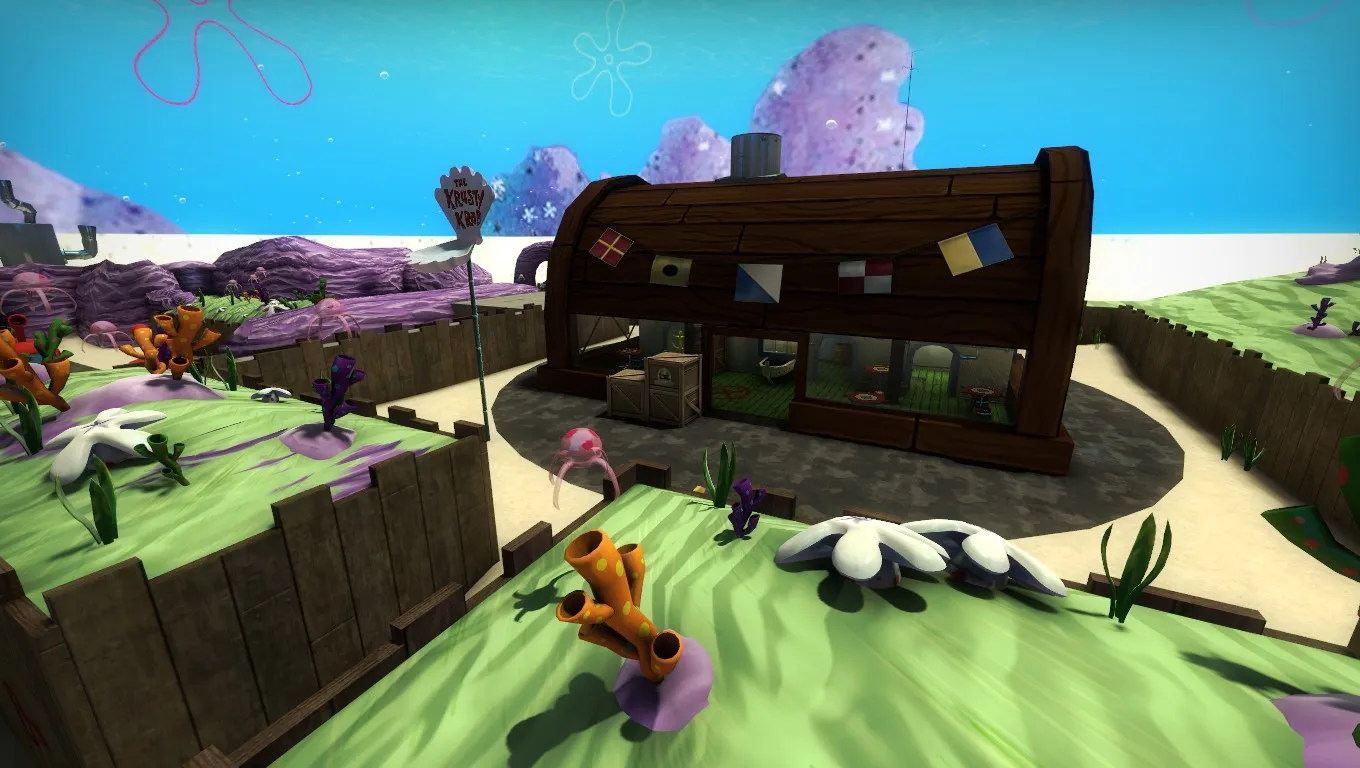
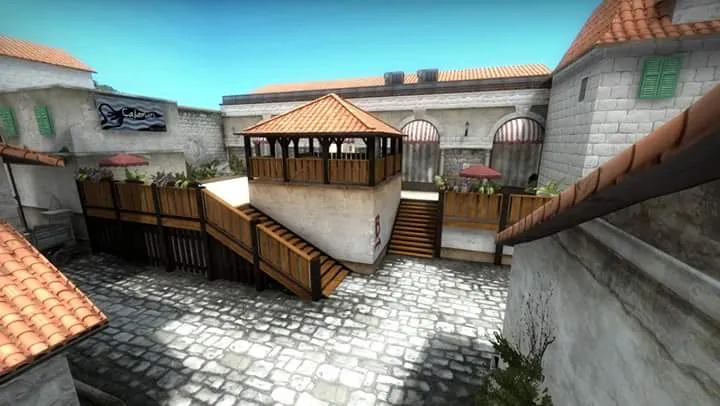
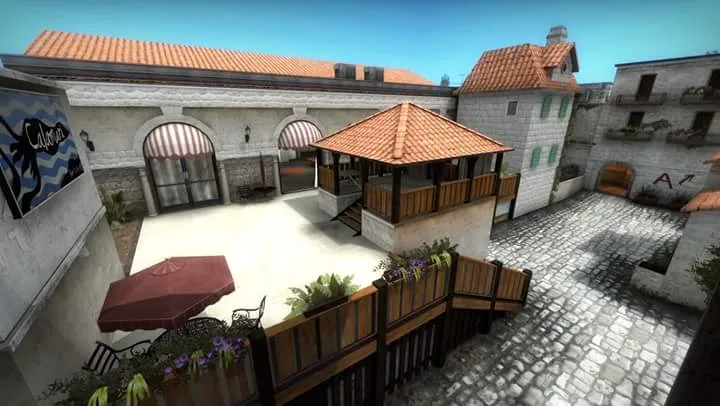
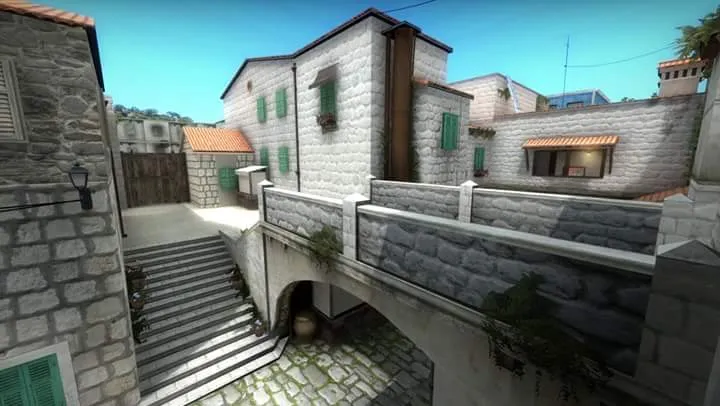
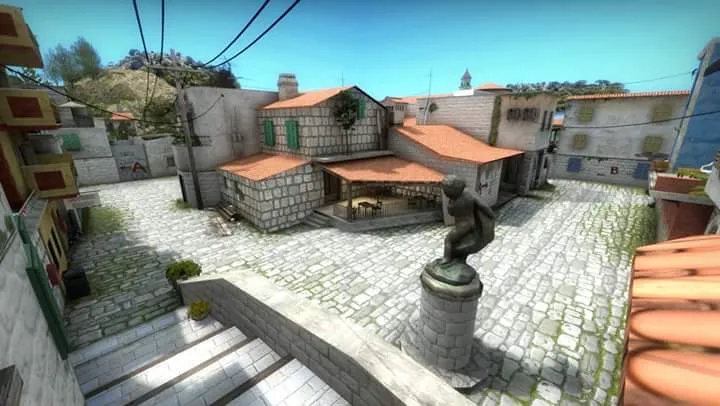
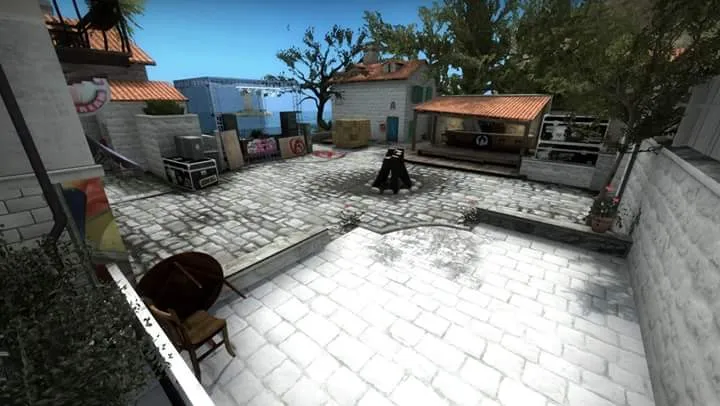
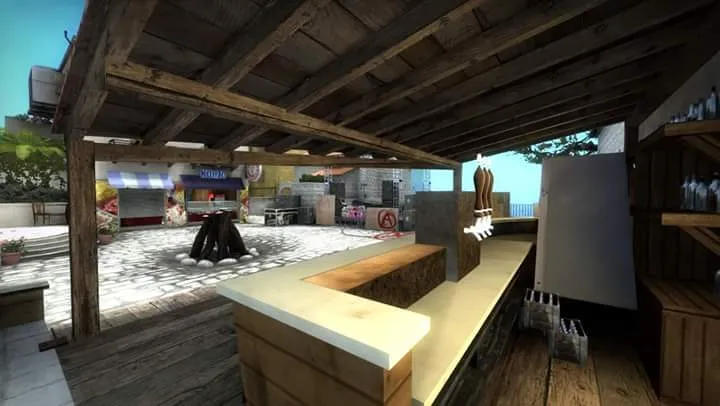
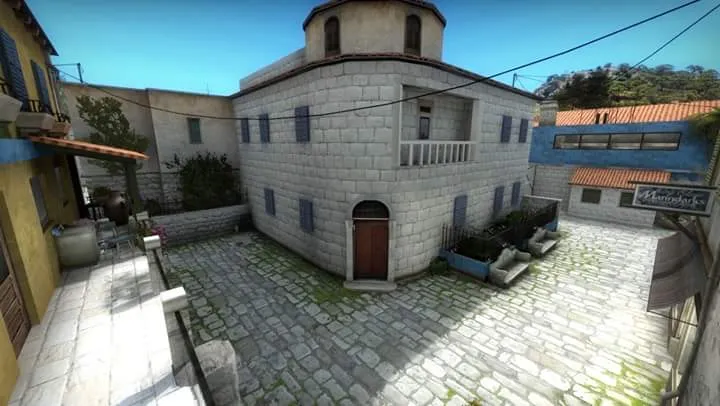
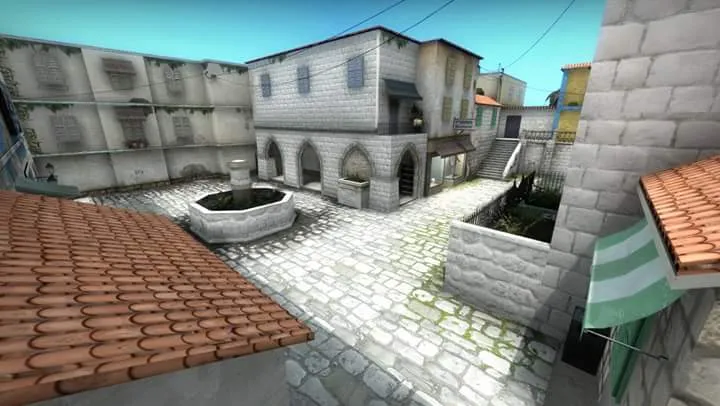
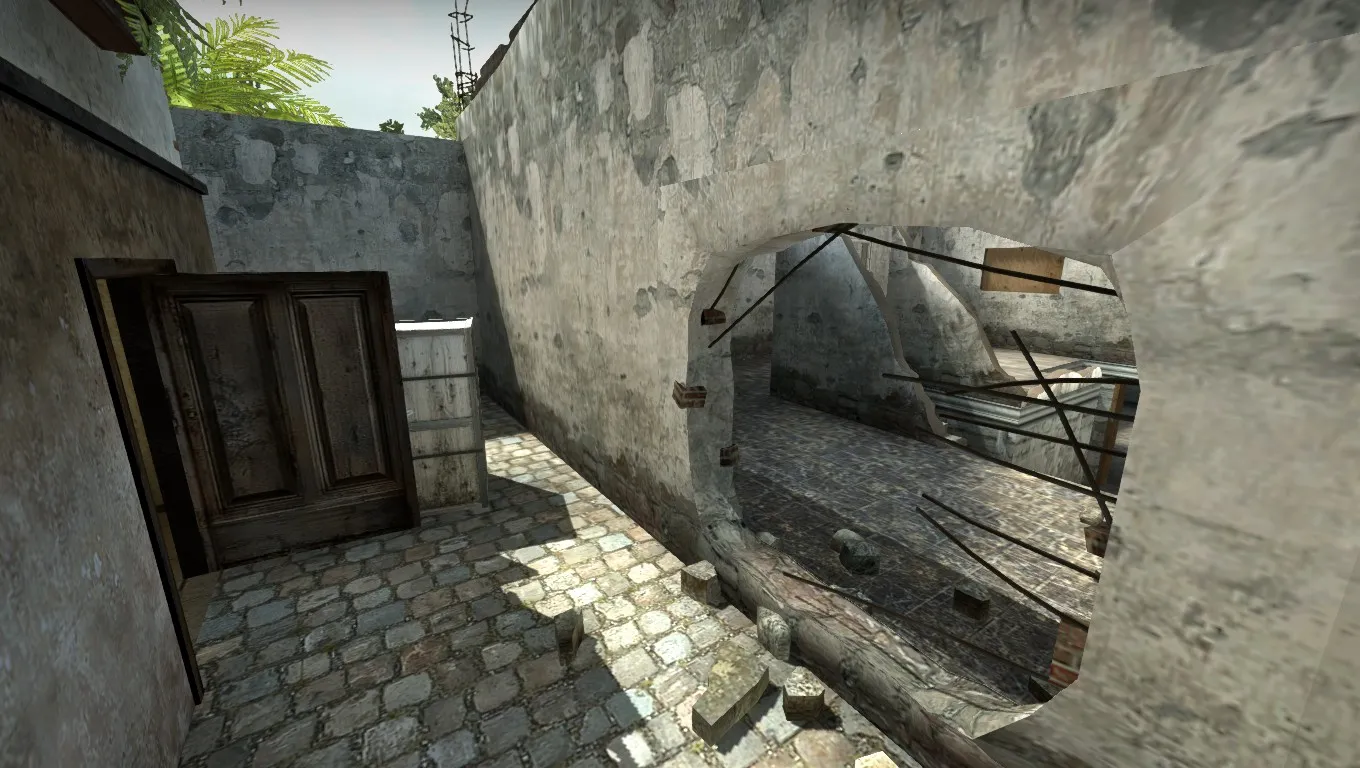
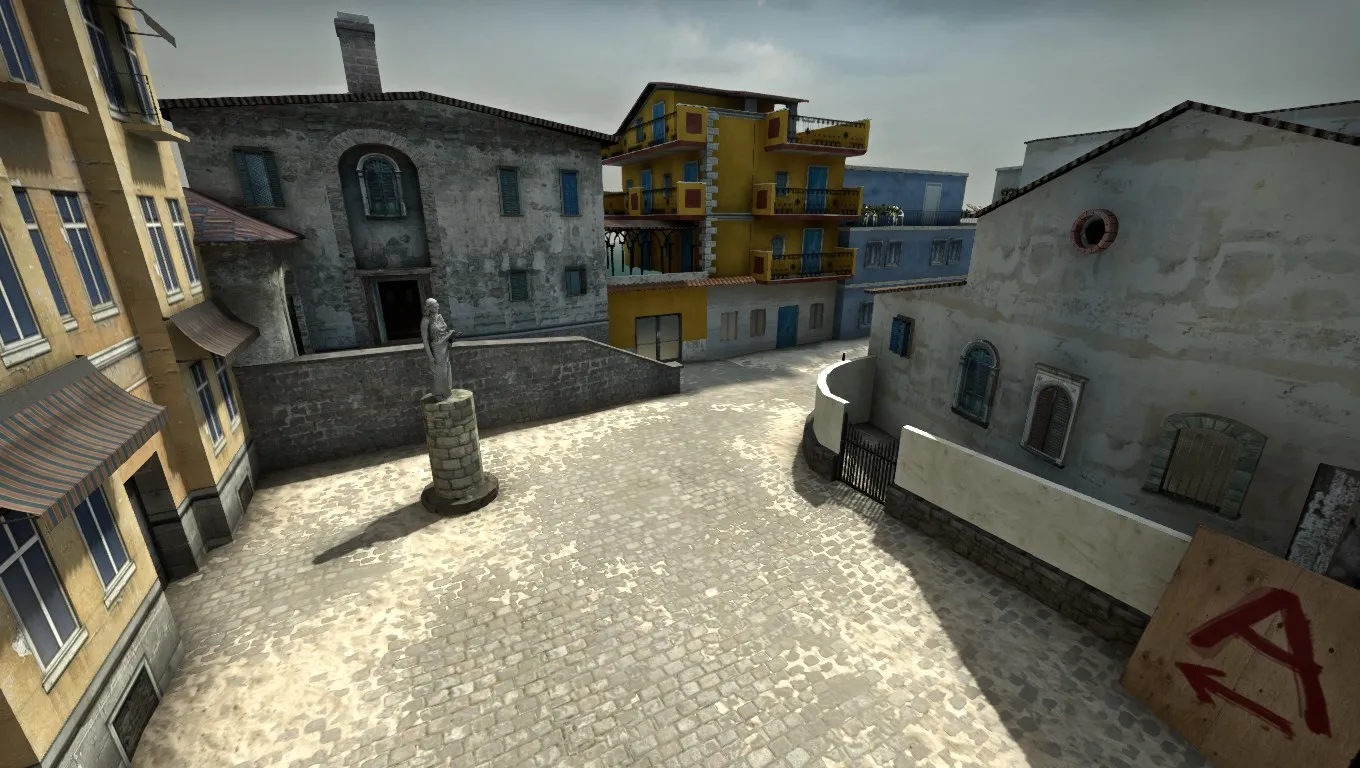
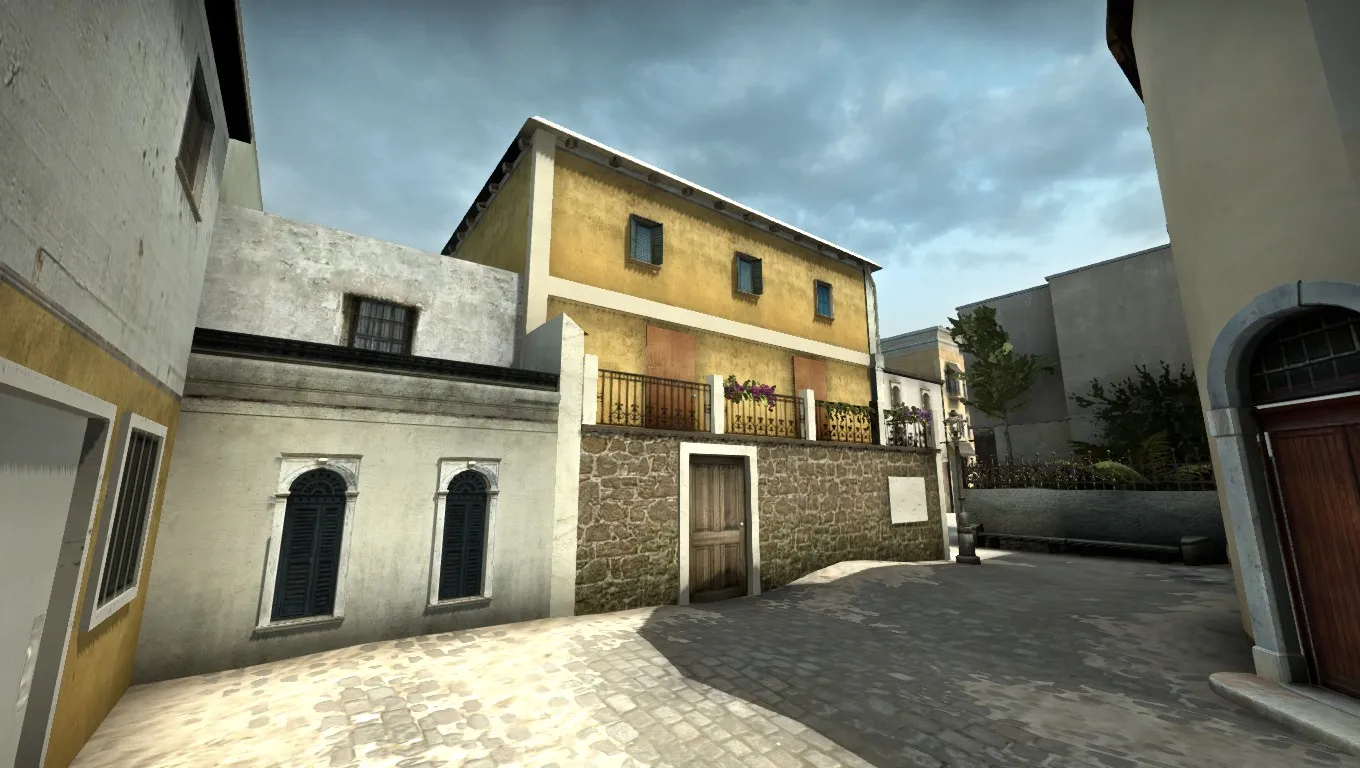
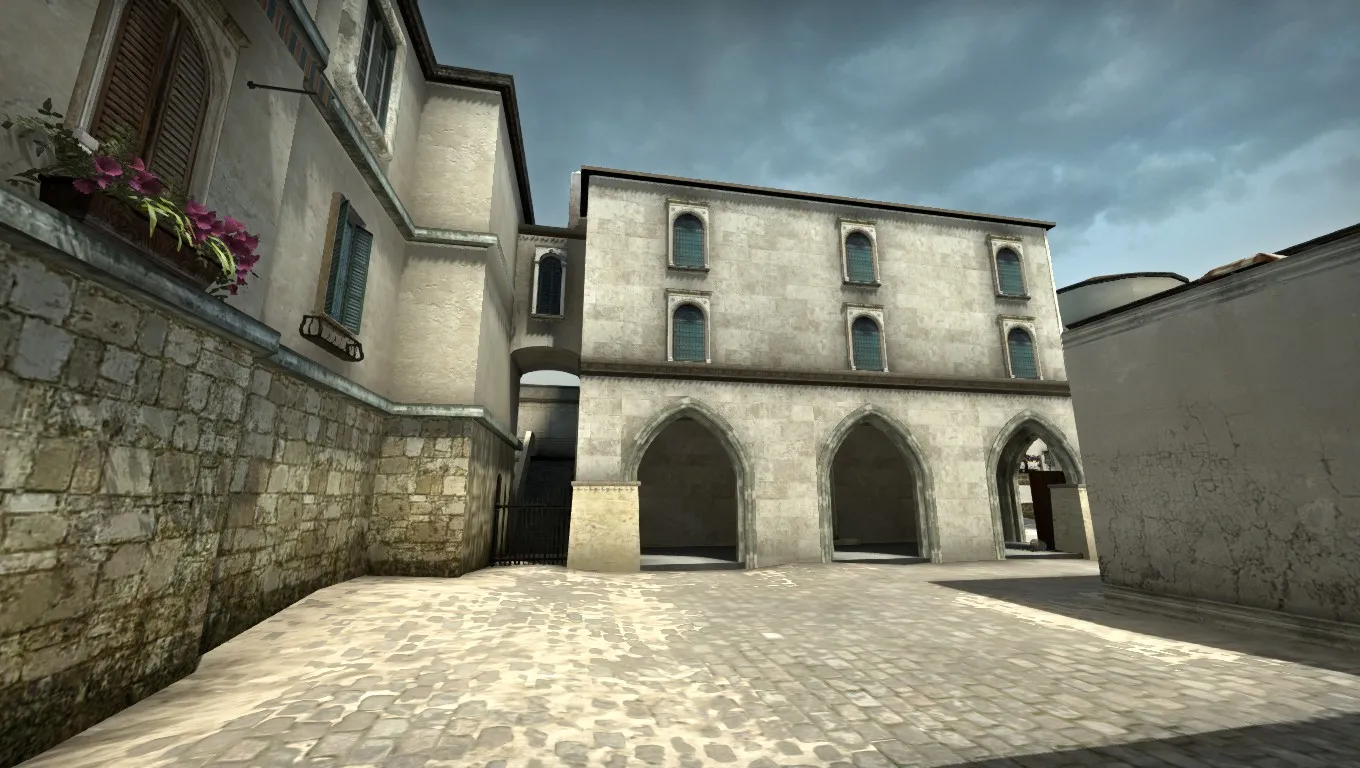
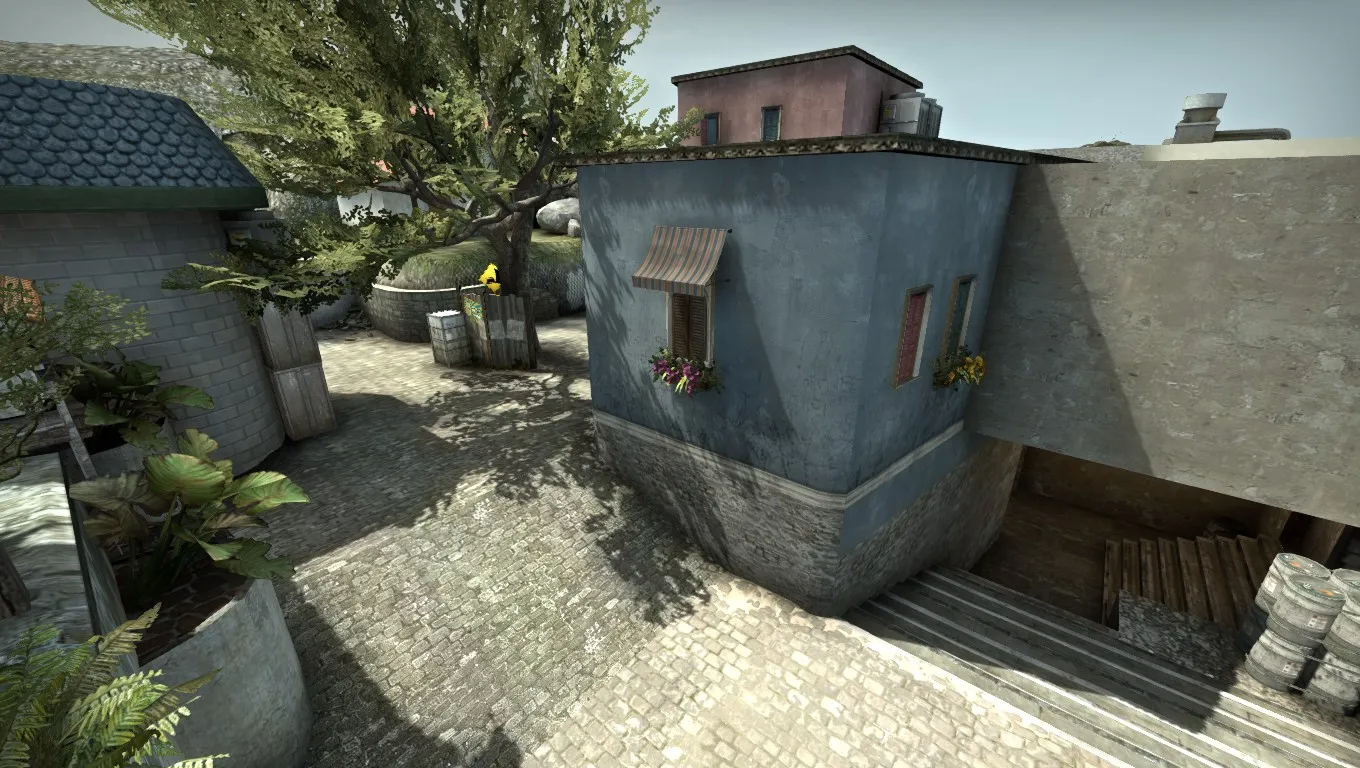
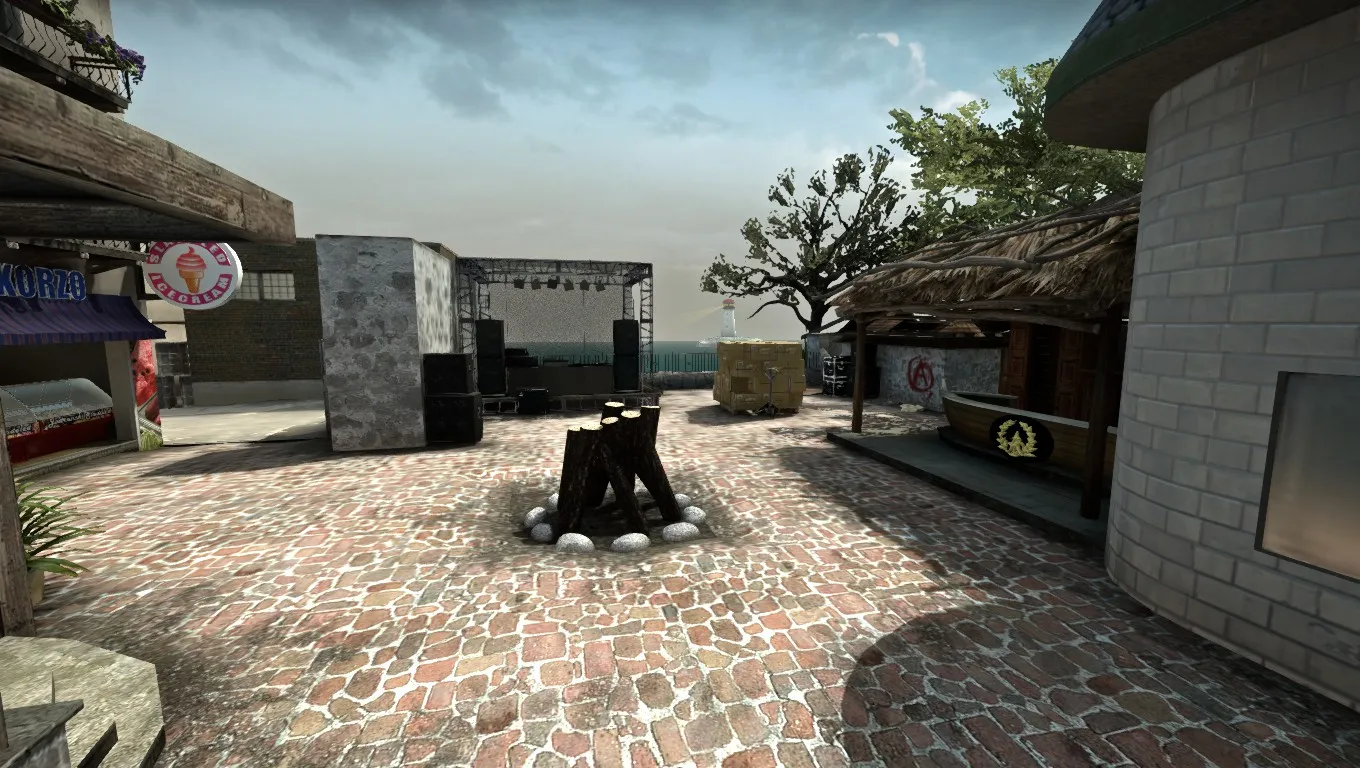
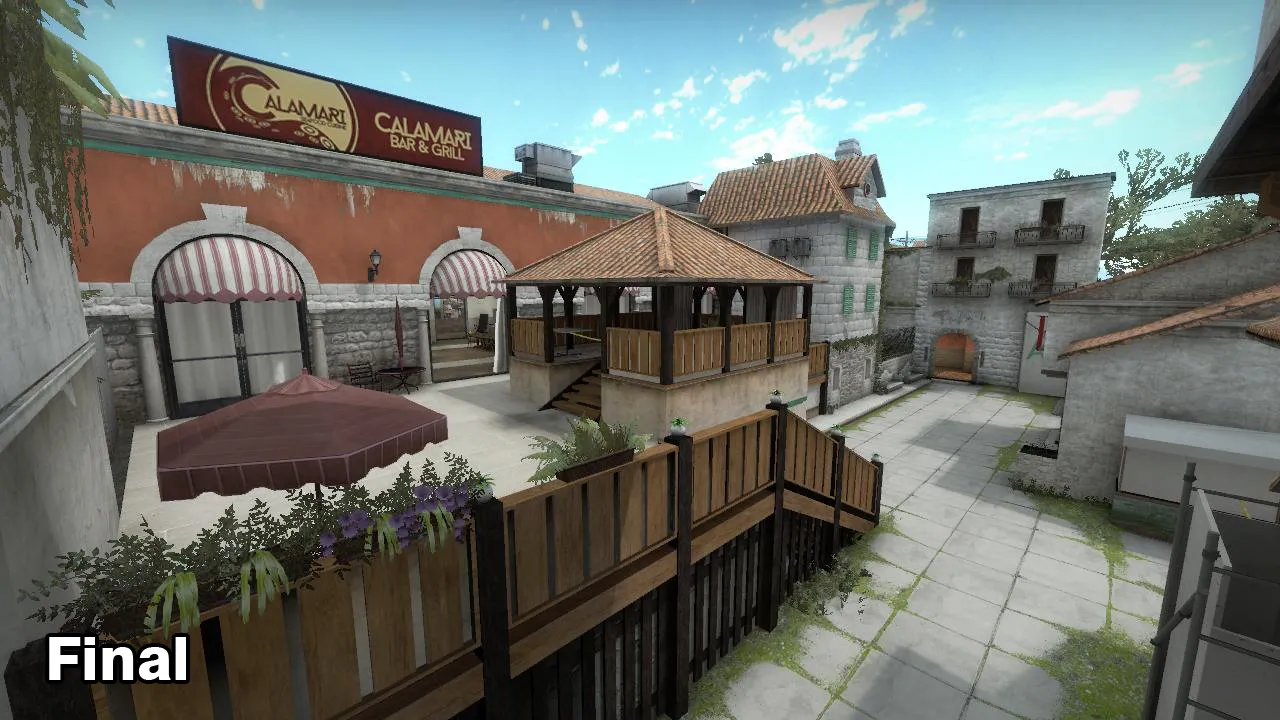
    This map has been under development for around 1.5 years. Over the time we have released 5 different versions of the map. Some of them are still available for you to play.

    Final Version

    Along with the Aesthetic changes, the final version came out with the removal of sniper's window at near T spawn and the Decon area that connected Alley to the mid. Another short rotation path from fountain to back entrance, which was added in B5 version was removed. An alternate path from Alley to A was also added. Both A site and B site were worked upon, and the covers were re-positioned.

    B5 Version

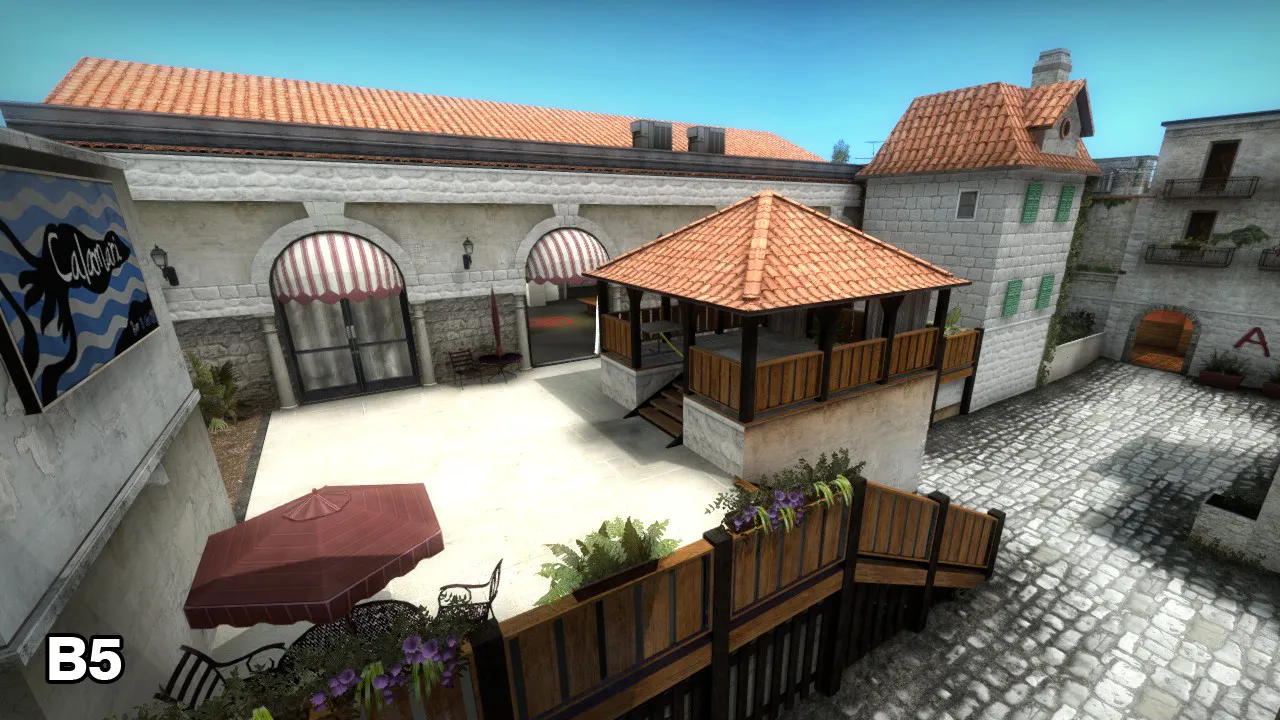
    There were only 2 significant changes made in this version. A ramp was added in front of connector. The other change was the addition of a quick rotation path from fountain to back entrance area.

    B4 Version

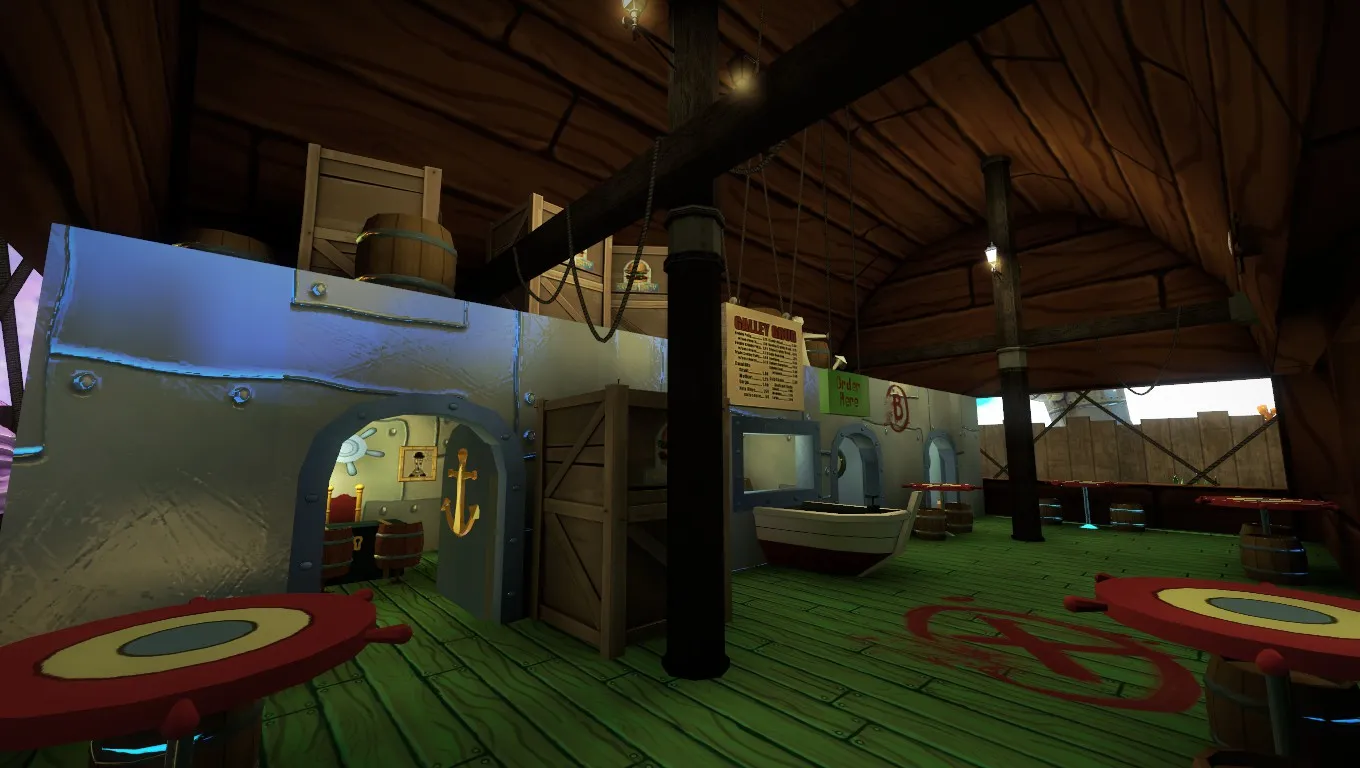
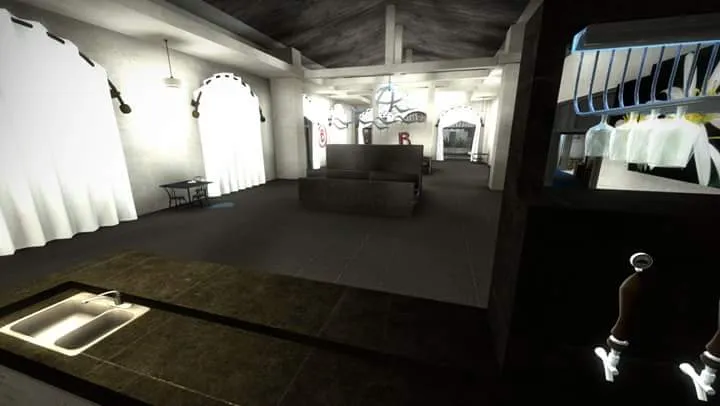
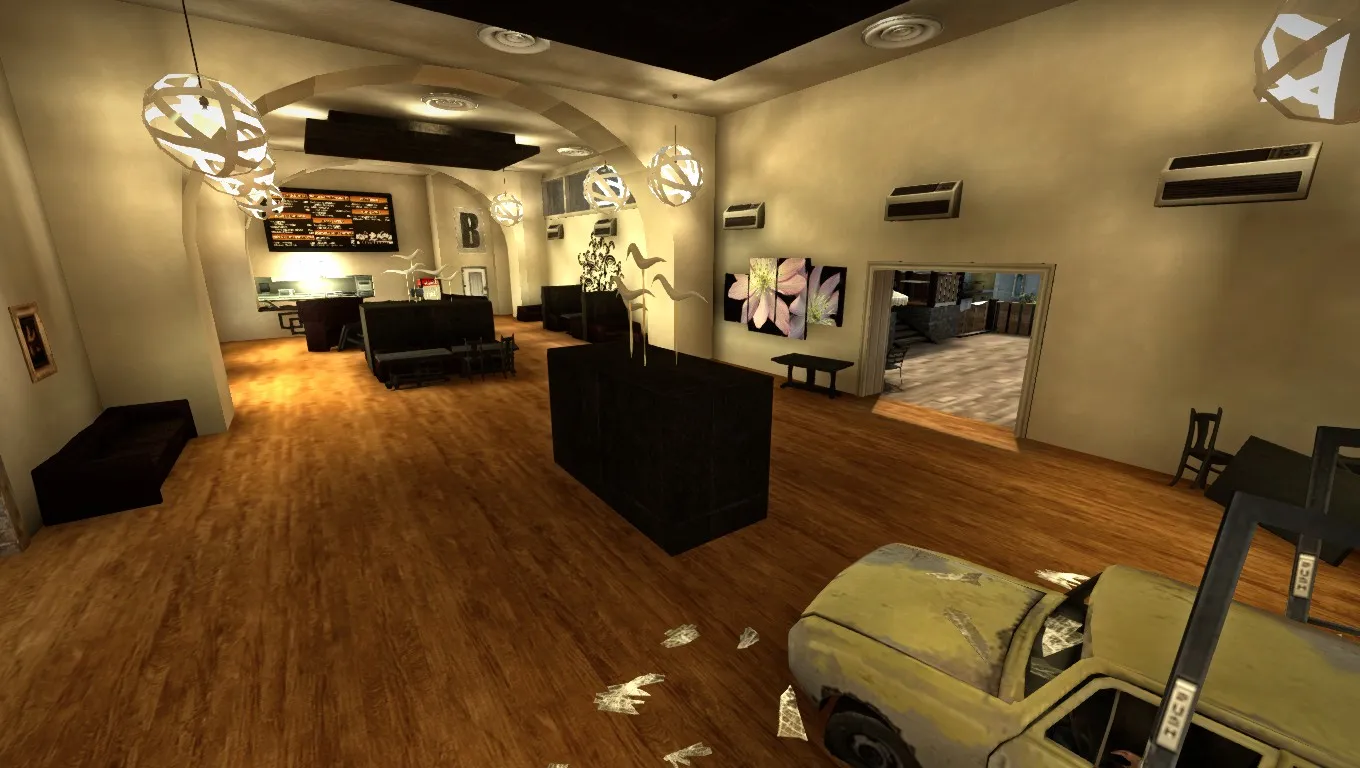
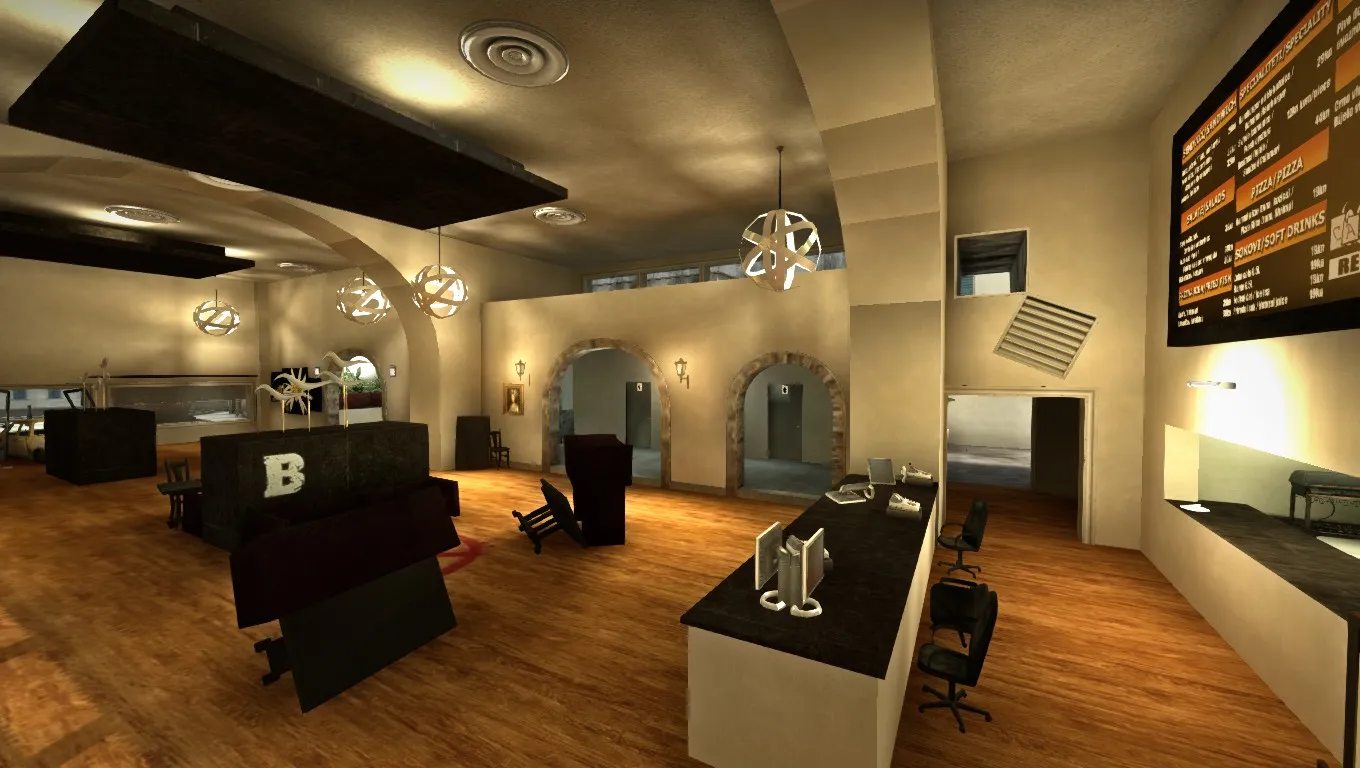
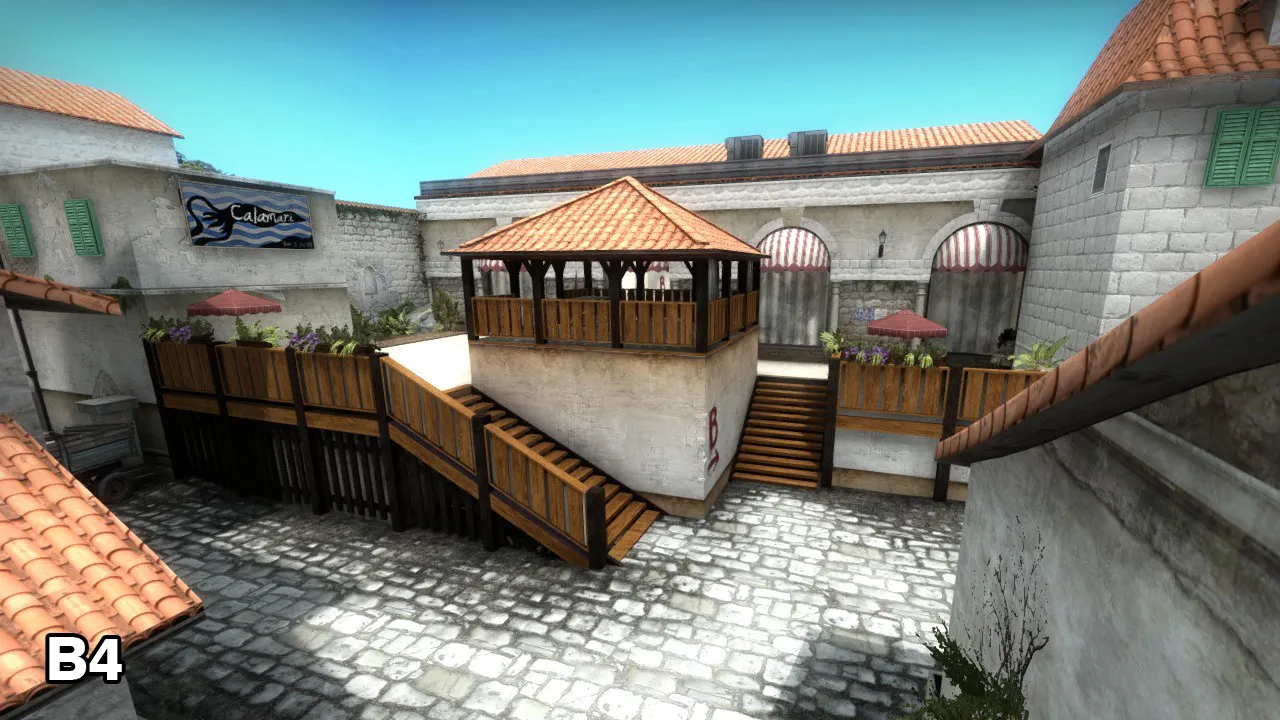
    The B4 version of Calamari came up with significant aesthetic changes that completely changed the looks and the ambiance of the map. B site was completely redone and the CT bar was added at the CT end of the mid. A site was altered a bit to make it feel a little less claustrophobic.

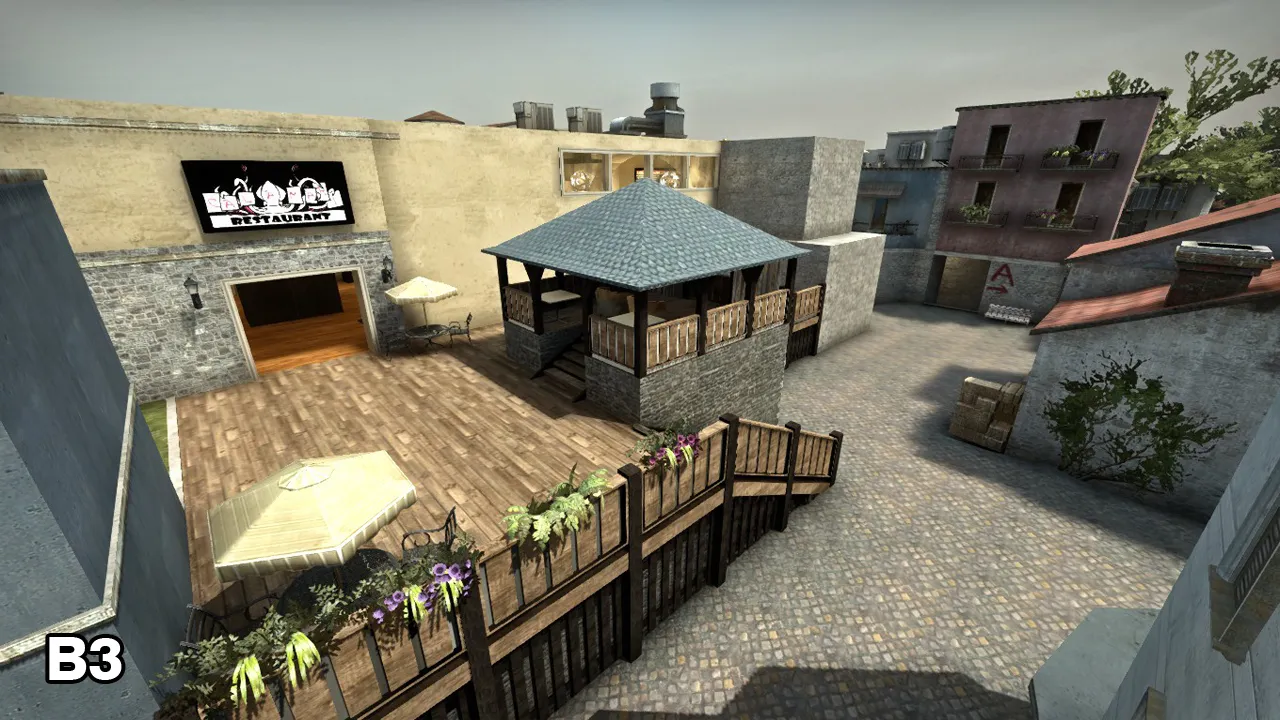
    B3 Version

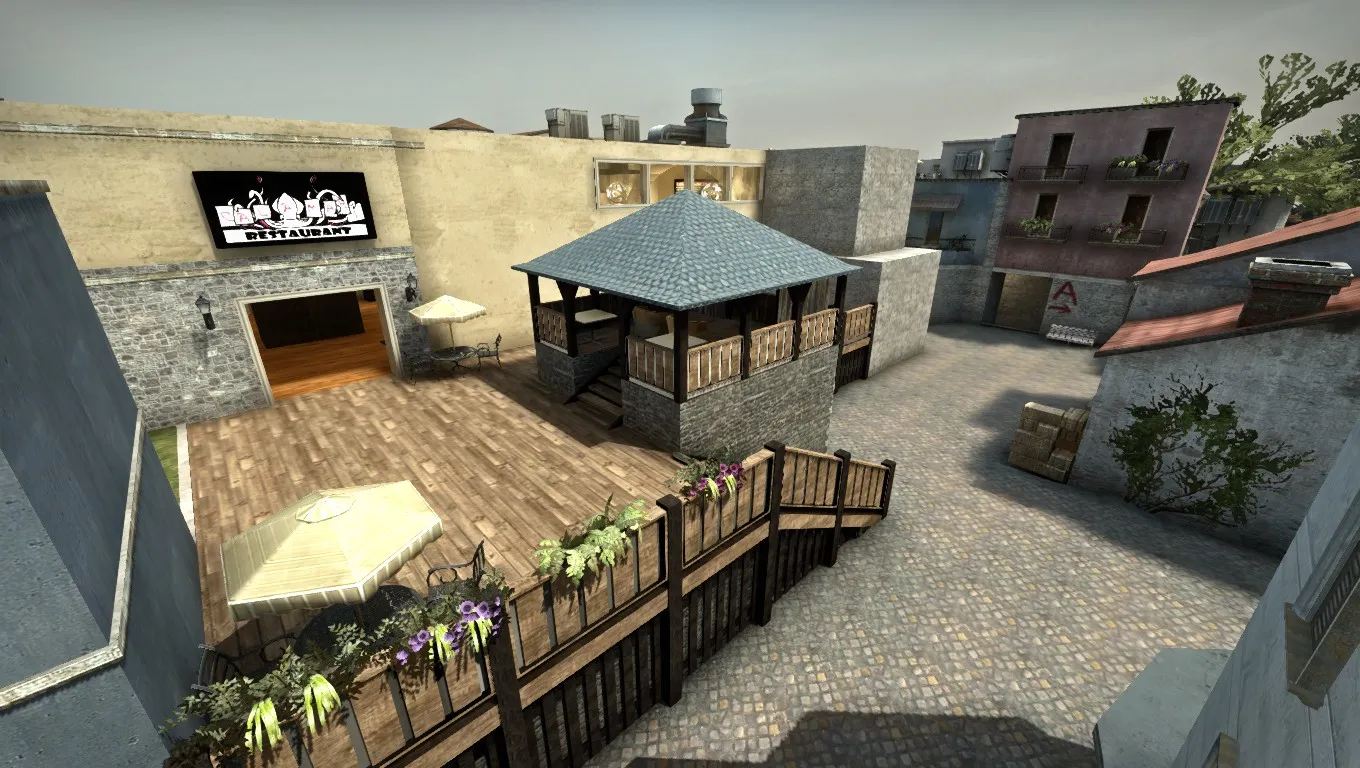
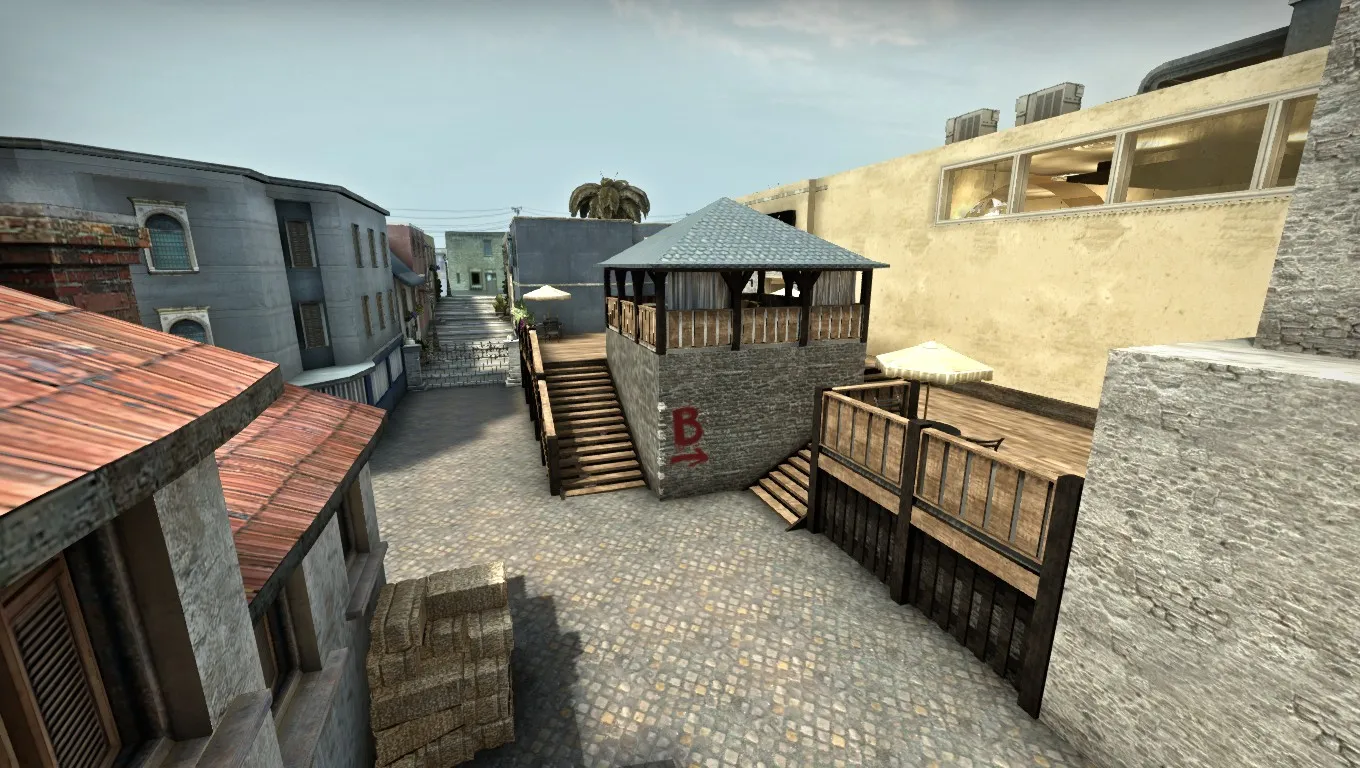
    A lot of details were added to the environment, a lot of buildings were redone. The patio area was added in place of the church. The open CT to mid route now went via a wine cellar. Window area was added near T base.

    B2 Version

    This version was never released. It was similar to the B3 version. The only difference was the Patio Area that was added in the B3 version.

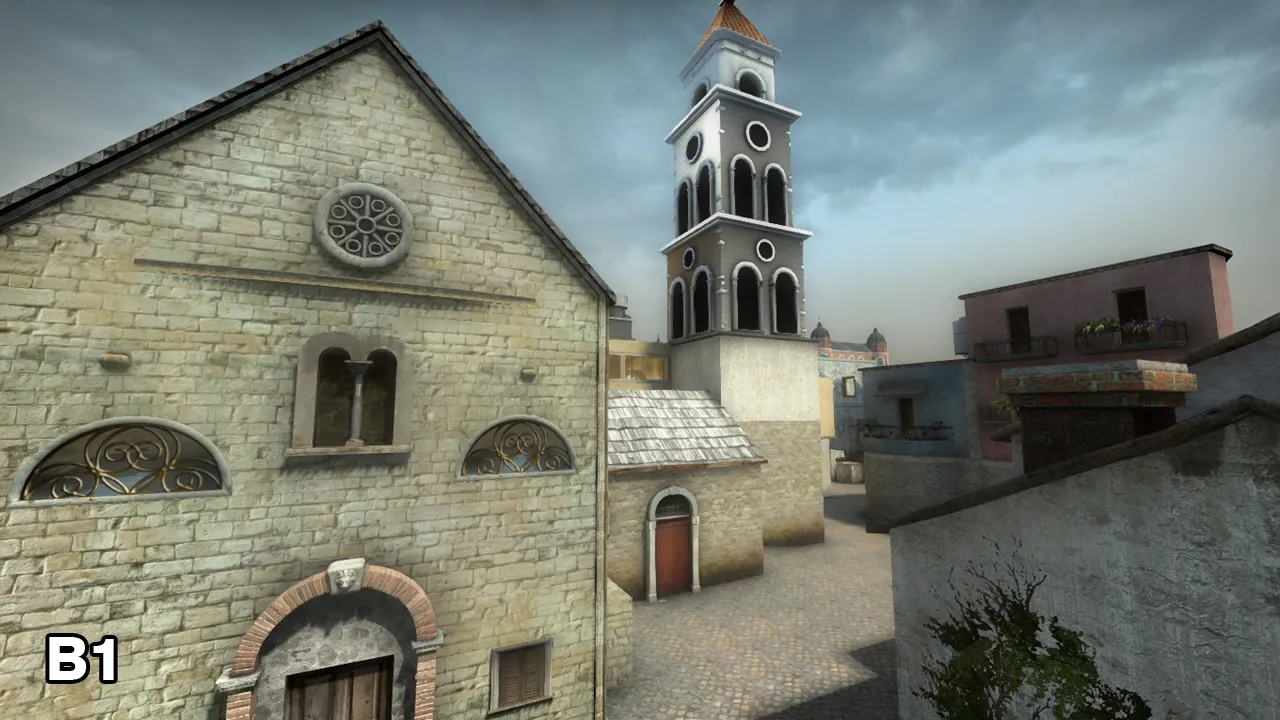
    B1 Version

    This was the first version that was released.

    Alpha stage screenshots

  • [WIP]De_Calamari (Final released)

    • Geno
    • July 8, 2016 at 5:47 AM

    Final Released .

  • EU Referendum

    • Geno
    • June 25, 2016 at 2:14 AM

    So EU now has a free space of exactly 1 GB?

  • [CSGO] Bikinibottom - Bomb/Defuse

    • Geno
    • June 21, 2016 at 1:49 PM

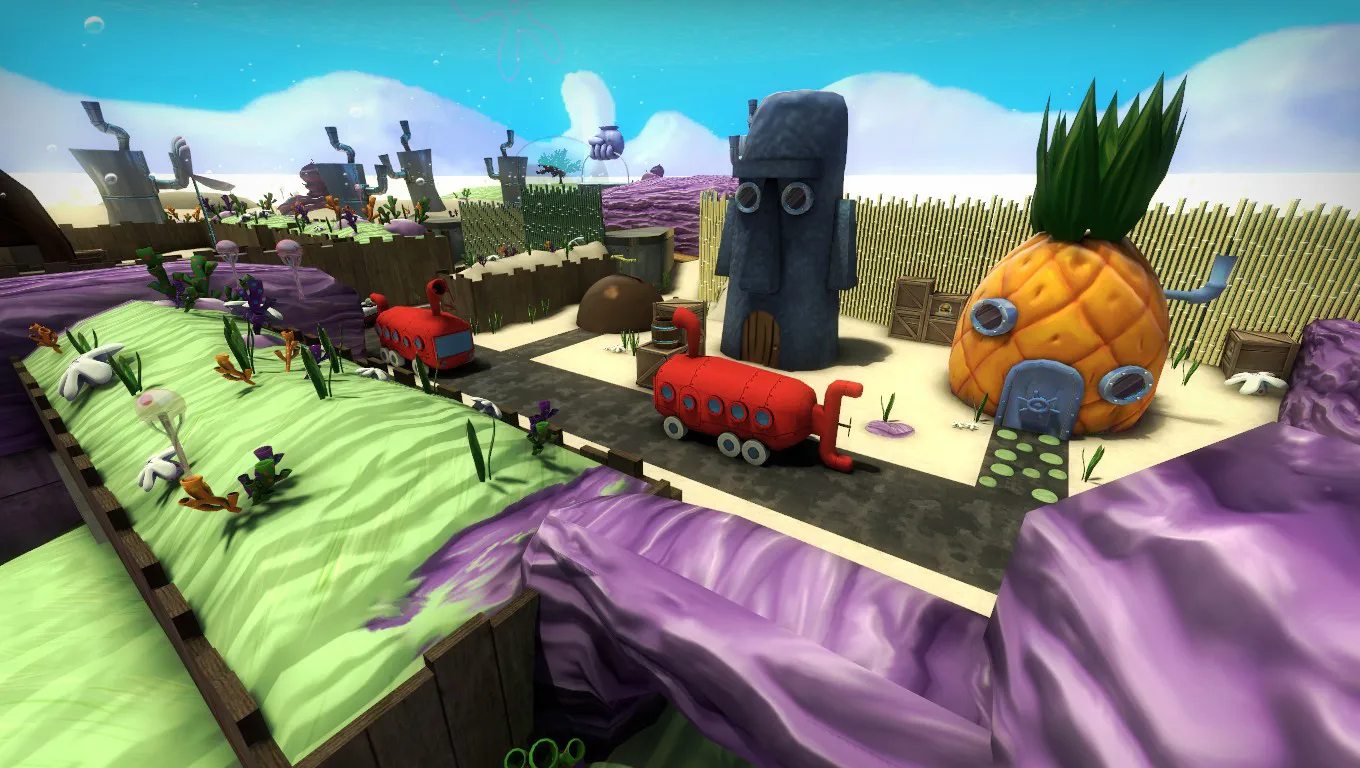
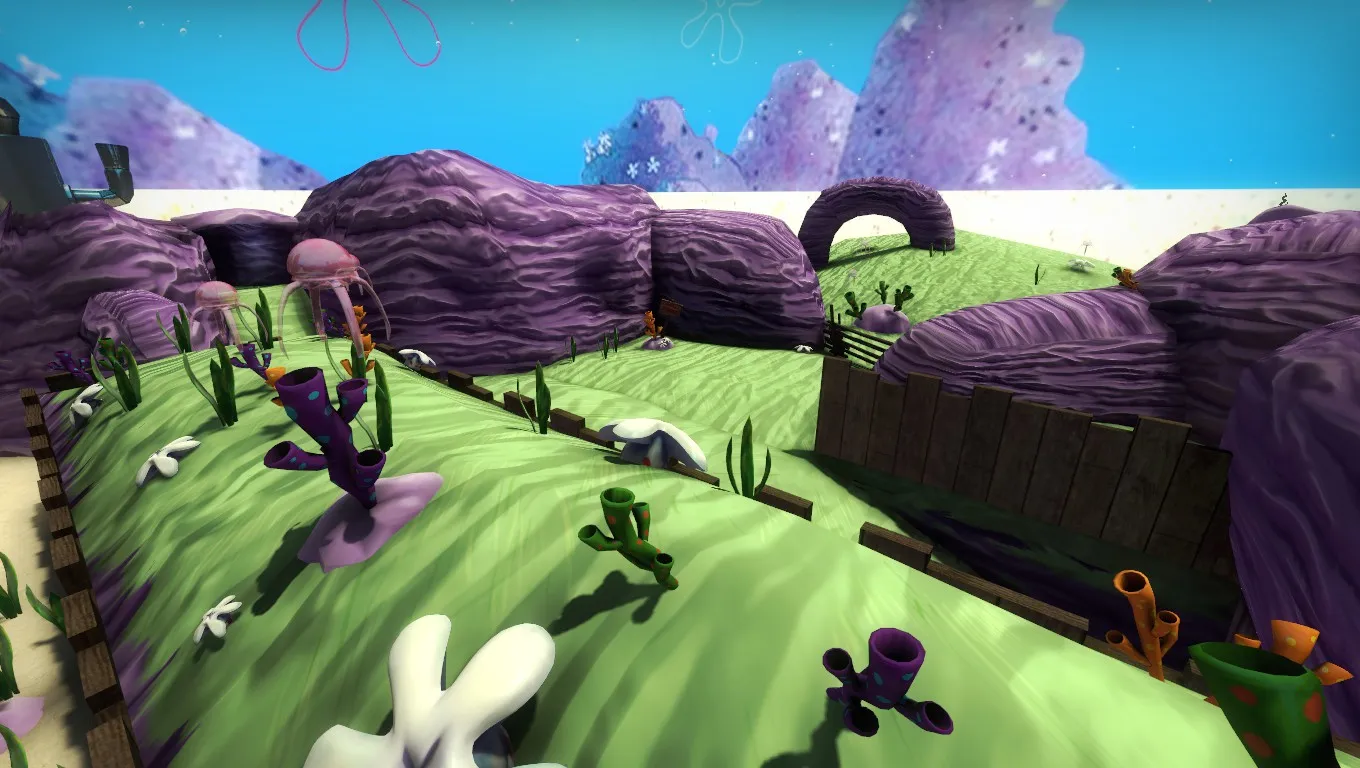
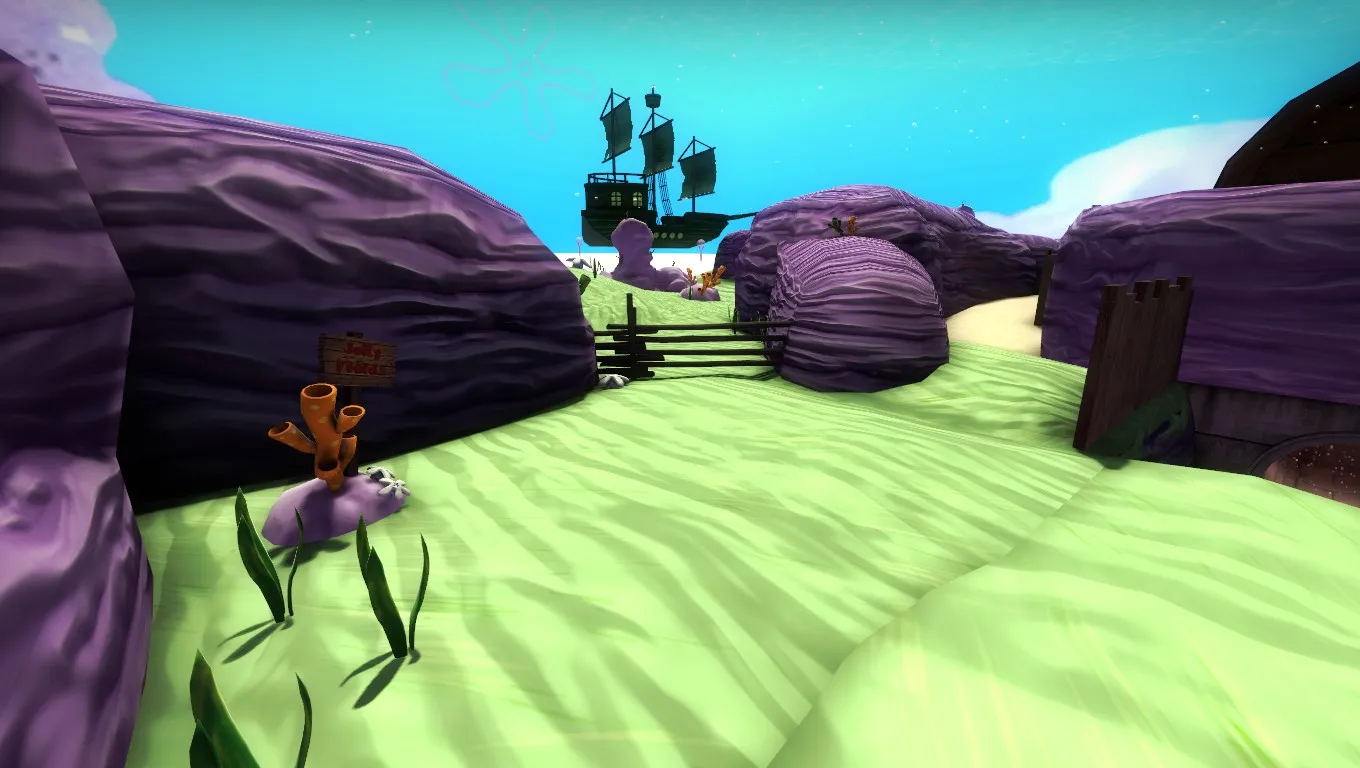
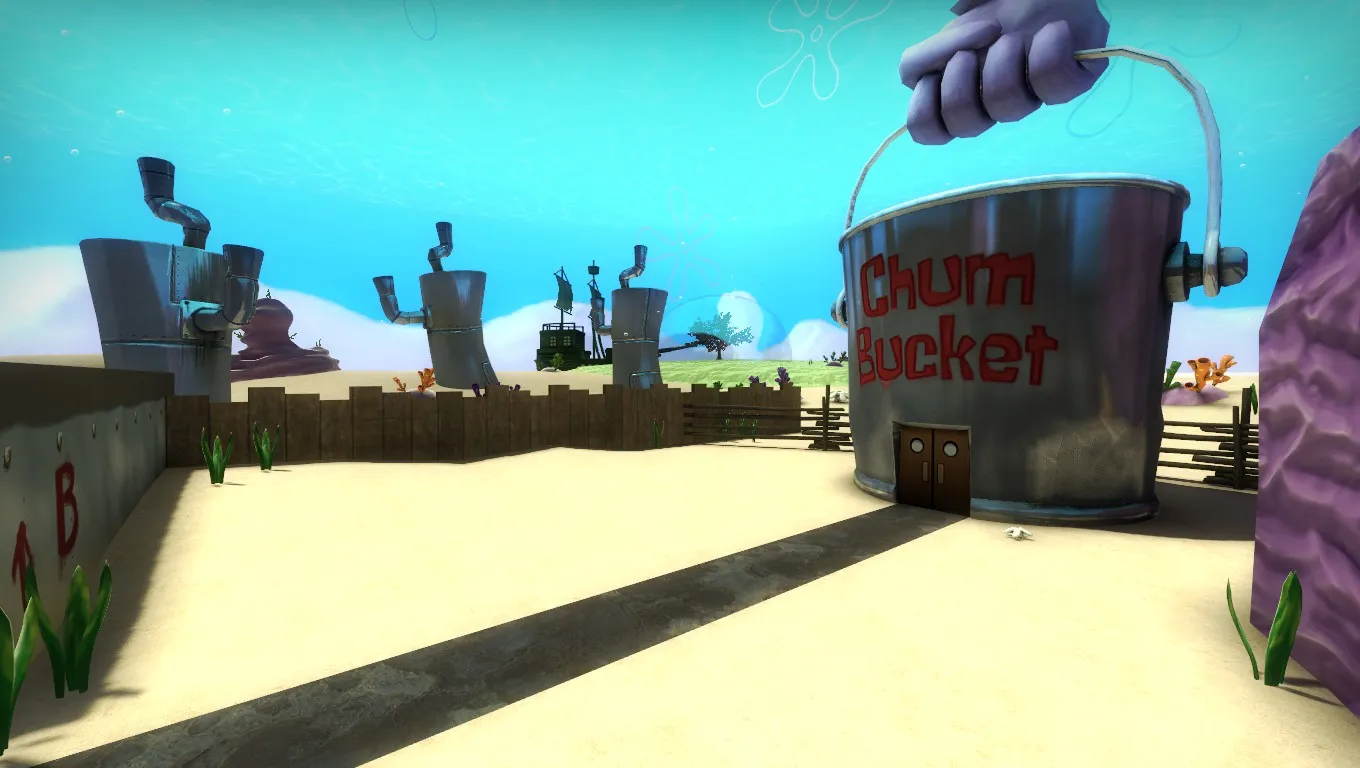
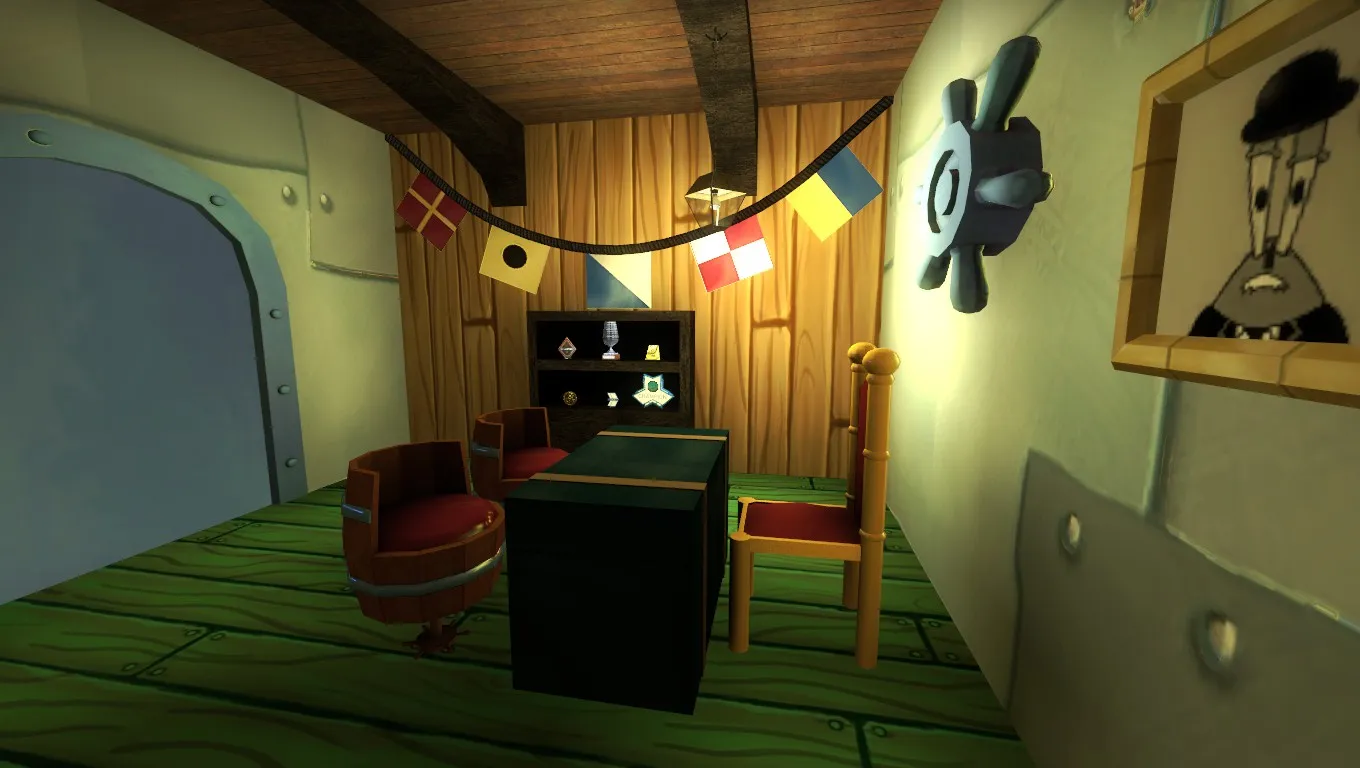
    Made this for fun and because I love Patrick Star.Steam Link

  • [WIP]De_Calamari (Final released)

    • Geno
    • April 6, 2016 at 11:53 PM

    Version B4 released

  • [Tutorial] CSGO Radar Maker 1.0

    • Geno
    • March 7, 2016 at 2:56 AM
    Quote from baem123

    created an empty txt file

    Must be some bug. I'll ask the developer to help it out. Can someone else please confirm this? because the tool works fine for me.

  • [Tutorial] CSGO Radar Maker 1.0

    • Geno
    • March 6, 2016 at 3:04 PM

    CS:GO Radar Maker 1.0

    Intro

    CS:GO Radar Maker 1.0 is a tool by Refil Entertainment that facilitates the creation minimaps for Counter-Strike: Global Offensive's maps. While the user is still required to perform the basic tradition steps of the minimap making, CS:GO Radar Maker makes it easy to place the minimap icons (Spawn areas, Hostages and Bombsites) without needing the user to manually edit the text file for the same.

    Download CSGO Radar Maker 1.0 > http://csgo.gamebanana.com/tools/5940

    Usage

    1. Launch Steam. Go to Library. Right click on Counter-Strike: Global Offensive > Click on Properties > Set Launch Options... In the launch options, type in:-
    -novid -windowed -w 1024 -h 1024
    Click OK, and launch the game.

    2. Open the Console ("`" key) and type in:-
    map
    sv_cheats 1
    bot_kick
    bind p screenshot
    cl_drawhud 0
    r_drawviewmodel 0
    hidepanel all
    r_skybox 0
    fog_enable 0
    r_drawstaticprops 0
    noclip

    3. Now place your player to a position where you can see the whole level from above.

    4. Switch to orthographic mode with the console command "cl_leveloverview x", where x is the scale factor.

    5. Take a screenshot using "P" key. Also, it the console, you will see the projection data (position and scale) eg "Overview: scale 6.00, pos_x -2651, pos_y 4027". Copy this data, and paste it in a text file.

    6. Start up Photoshop and open the .TGA file that you created. It should be located at "%STEAMINSTALL%\SteamApps\common\Counter-Strike Global Offensive\csgo\screenshots". Where "%STEAMINSTALL%" is the directory in which you have steam installed. This is most likely "C:\Program Files (x86)\Steam".

    7. Make all the necessary editions without nudging the screenshot. Save the image as a .DDS file. (File -> Save As). The file name should be your map name followed by "_radar" ex. (de_dust_radar.dds). The file format should be D3D/DDS. Save the file to"%STEAMINSTALL%\SteamApps\common\Counter-Strike Global Offensive\csgo\resource\overviews"

    8. When the DDS dialog box opens click the drop down box at the top left, and change the option from "DXT1 RGB 4 bpp | no alpha" to "DXT1 ARGB 4 bpp | 1 bit alpha" As shown in the image below.
    (If the "Save As..." .DDS file option is not available to you, then you might need to download a photoshop plug-in. You can get it off of the NVIDA website here: NVIDA .DDS Plug-In)

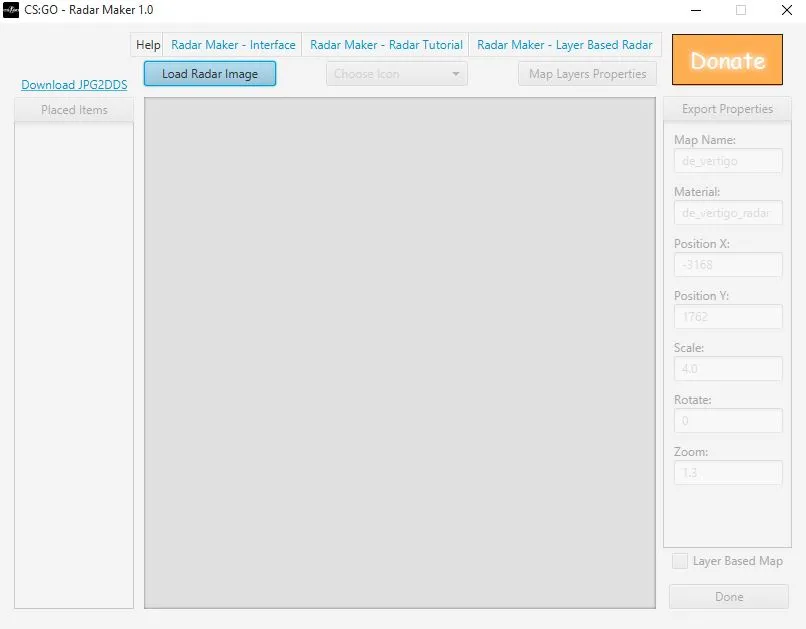
    9. Open CSGO Advanced Radar Maker, click on "Load Radar Image" and load the screenshot you took.

    10. Click on "Choose an icon" option, select the desired icon from the drop-down list and then click on the minimap to place it at the desired location. Repeat this step to place all the icons you need.

    11. Under the export properties, fill all the fields with appropriate information. In the "Map Name" field, fill the name of the bsp file. In the "Material" field, type in the name of the DDS file (that is, mapname with prefix _radar). In the remaining fields, fill up the projection data that we pasted in a text file in step 5.

    12. Click "Done". Save the file to "%STEAMINSTALL%\SteamApps\common\Counter-Strike Global Offensive\csgo\resource\overviews"

    13. Check the radar in the game.

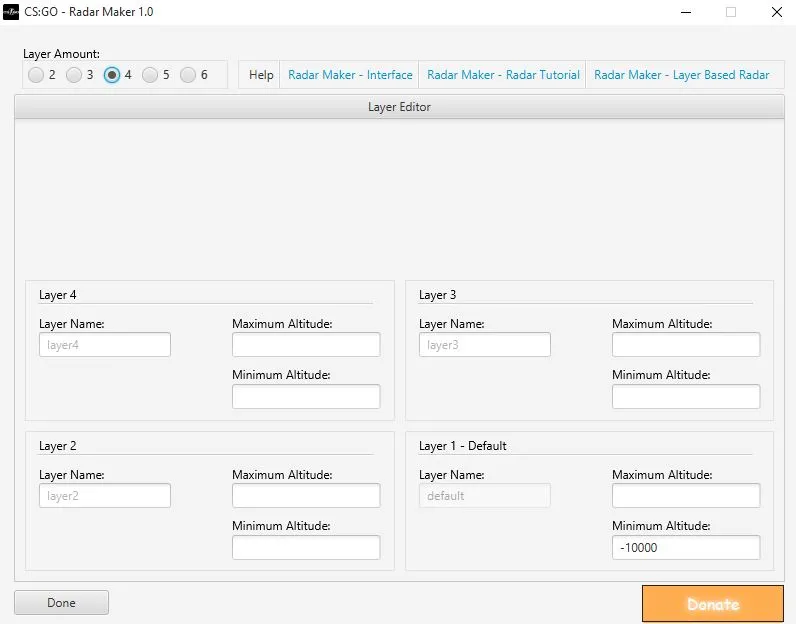
    You can also create Multi-layered Minimaps by using "Map Layer Properties" option.

    Video Tutorial by Alexbosquin

    https://www.youtube.com/embed/WGXsydwSln4

  • [WIP]De_Calamari (Final released)

    • Geno
    • September 17, 2015 at 12:26 AM

    Update:- Layout changed a bit.

  • MapCore CS:GO Playtesting 4.0

    • Geno
    • July 27, 2015 at 2:21 PM
    Quote

    @swst.turn, @GenoCide, the feedback files are on the drive now.

    Roger. Thanks for testing.

  • Looking for people that are aspiring to work in the game industry

    • Geno
    • July 25, 2015 at 4:35 PM

    Level designer.

  • MapCore CS:GO Playtesting 4.0

    • Geno
    • July 25, 2015 at 12:52 PM

    What does Status 1 And Status 2 mean in the playtest response sheet?

  • [WIP]De_Calamari (Final released)

    • Geno
    • July 24, 2015 at 9:36 PM

    Beta Version

  • [WIP]De_Calamari (Final released)

    • Geno
    • July 24, 2015 at 11:32 AM

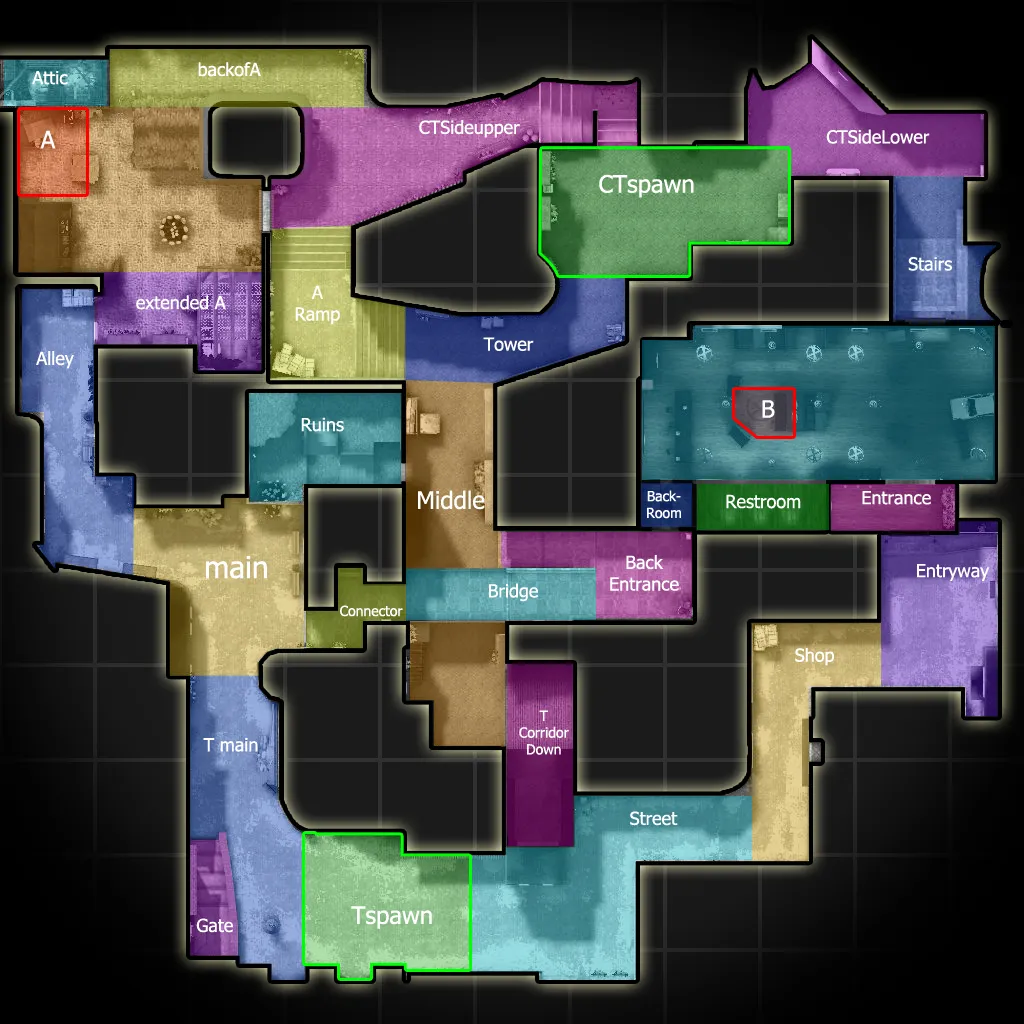
    A better Overview. Beta releasing in a few hours.

  • [WIP] de_perish

    • Geno
    • July 17, 2015 at 6:53 AM
    Quote from jackophant
    • Build it full scale in a separate vmf file and copy it into your main map skybox and use the scale/rotate tool, shortcut "ctrl+m". select the scale option and make the value for x, y and z all "0.16", voila! However, I think the problem you're having with the church/castle, is due to lack of reference, not your brushwork ability

    Hello sir,
    Just to correct it a bit, 1/16 != 0.16
    1/16 = 0.0625 (that's what you rescale the brushes to in hammer for skybox)
    and in percentage, 1/16 = 6.25% (If you create custom models for skybox. Make them the normal size in 3ds max or whatever you use and then rescale them to 6.25%. Alternatively, you can create a normal sized model and compile it with "$scale 0.0625" line in qc file.)

  • [WIP]De_Calamari (Final released)

    • Geno
    • July 14, 2015 at 11:04 PM

    External Content www.youtube.com
    Content embedded from external sources will not be displayed without your consent.
    Through the activation of external content, you agree that personal data may be transferred to third party platforms. We have provided more information on this in our privacy policy.
  • [WIP]De_Calamari (Final released)

    • Geno
    • June 25, 2015 at 4:37 PM
    Quote from jackophant

    Yeah, that seems OK, it's just a compact map then!

    That bridge over mid route between A and B looks like a devastatingly flank though.
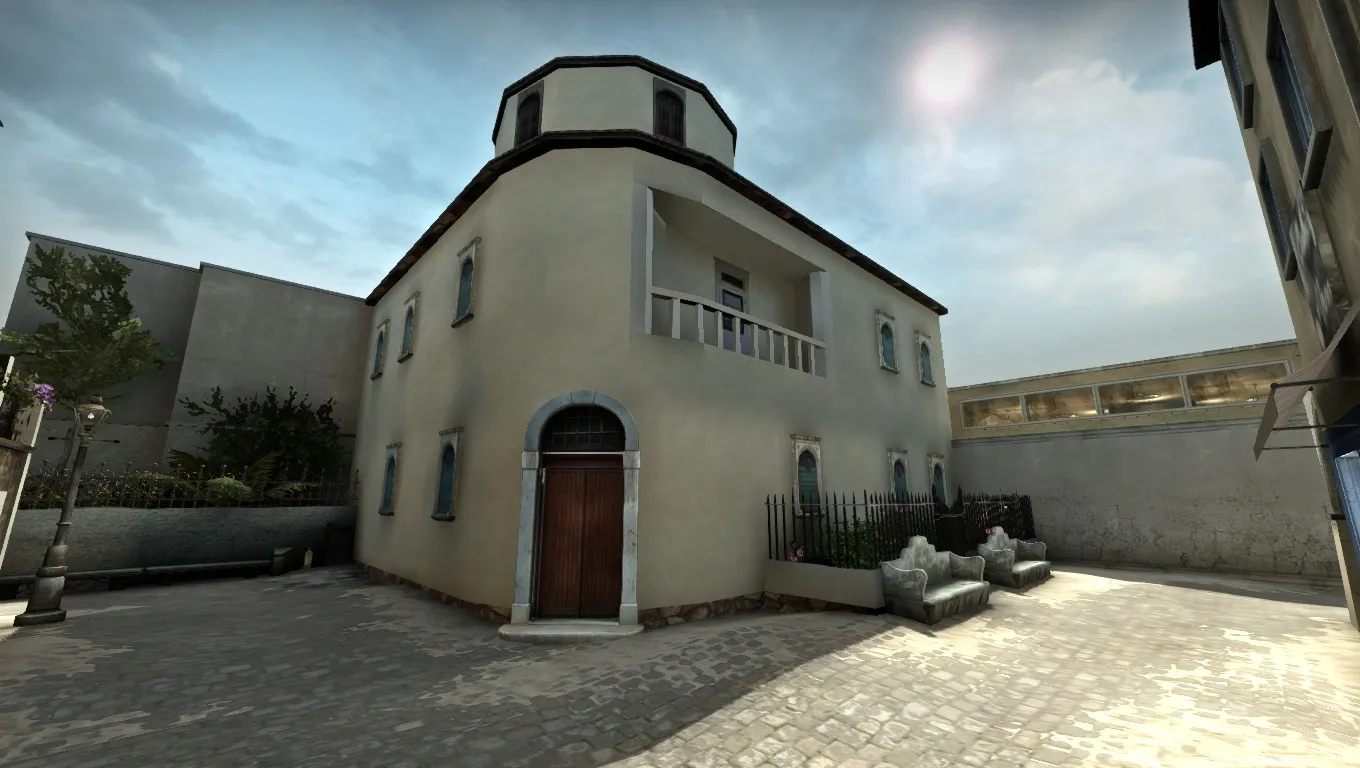
    Have you got a playtest scheduled? It looks like it could be quite fun.

    I've applied for the Reddit playtesting and I would love to have it playtested here.. We've playtested it once on a personal server as well and made the changes according to it.

    About that bridge, iit's really very risky to rotate via it. Players are easily spotted on it. 1 guy defending the mid can easily guard the bridge.

    Could you please link me to the playtesting thread on mapcore?

  • [WIP]De_Calamari (Final released)

    • Geno
    • June 25, 2015 at 12:40 PM
    Quote from jackophant

    Firstly, I don't think a fast compile has to do as much with the lighting as your colour / brightness values for the light_environment.

    Secondly, that map looks tiny?

    Well, it takes 10-12 sec from spawns to the bombsites and the rotation time from site to site is 15 sec. Probably the layout is quite simple.

  • [WIP]De_Calamari (Final released)

    • Geno
    • June 24, 2015 at 11:39 PM
    Quote from Drakeee

    It's so bright do a proper compile?

    Nope, the screenshots are from a fast compile. I'll soon update.

Discord

The Mapcore Discord is our lively IRC channel of the 2000s reborn. Chat about level design, gaming, and more.

Latest Posts

  1. Custom Gamemodes Contest

    Angel
    July 20, 2026 at 11:46 AM
  2. FAQ

    Angel
    July 20, 2026 at 10:14 AM
  3. Tangerine

    Harry Poster
    July 18, 2026 at 11:10 AM
  4. Any of the old guard still around? D:

    Warby
    July 12, 2026 at 8:23 PM
  5. About our archived forums

    Thrik
    June 30, 2026 at 2:12 PM
  6. Mapcore Discord

    mason_fan123
    June 24, 2026 at 8:52 PM
  7. [CS2] Valley

    Serialmapper
    June 22, 2026 at 11:56 AM
  8. Free Music / SFX Resource - Over 2500 Tracks

    Eric Matyas
    June 18, 2026 at 12:32 PM
  9. Pango [WIP]

    Elowen
    June 11, 2026 at 10:13 AM
  10. [CS2] Dvina

    Jeremy Rivera
    June 11, 2026 at 10:03 AM
  1. Privacy Policy
  2. Contact
Powered by WoltLab Suite™