


CS:GO Radar Maker 1.0
Intro
CS:GO Radar Maker 1.0 is a tool by Refil Entertainment that facilitates the creation minimaps for Counter-Strike: Global Offensive's maps. While the user is still required to perform the basic tradition steps of the minimap making, CS:GO Radar Maker makes it easy to place the minimap icons (Spawn areas, Hostages and Bombsites) without needing the user to manually edit the text file for the same.
Download CSGO Radar Maker 1.0 > http://csgo.gamebanana.com/tools/5940
Usage
1. Launch Steam. Go to Library. Right click on Counter-Strike: Global Offensive > Click on Properties > Set Launch Options... In the launch options, type in:-
-novid -windowed -w 1024 -h 1024
Click OK, and launch the game.
2. Open the Console ("`" key) and type in:-
map
sv_cheats 1
bot_kick
bind p screenshot
cl_drawhud 0
r_drawviewmodel 0
hidepanel all
r_skybox 0
fog_enable 0
r_drawstaticprops 0
noclip
3. Now place your player to a position where you can see the whole level from above.
4. Switch to orthographic mode with the console command "cl_leveloverview x", where x is the scale factor.
5. Take a screenshot using "P" key. Also, it the console, you will see the projection data (position and scale) eg "Overview: scale 6.00, pos_x -2651, pos_y 4027". Copy this data, and paste it in a text file.
6. Start up Photoshop and open the .TGA file that you created. It should be located at "%STEAMINSTALL%\SteamApps\common\Counter-Strike Global Offensive\csgo\screenshots". Where "%STEAMINSTALL%" is the directory in which you have steam installed. This is most likely "C:\Program Files (x86)\Steam".
7. Make all the necessary editions without nudging the screenshot. Save the image as a .DDS file. (File -> Save As). The file name should be your map name followed by "_radar" ex. (de_dust_radar.dds). The file format should be D3D/DDS. Save the file to"%STEAMINSTALL%\SteamApps\common\Counter-Strike Global Offensive\csgo\resource\overviews"
8. When the DDS dialog box opens click the drop down box at the top left, and change the option from "DXT1 RGB 4 bpp | no alpha" to "DXT1 ARGB 4 bpp | 1 bit alpha" As shown in the image below.
(If the "Save As..." .DDS file option is not available to you, then you might need to download a photoshop plug-in. You can get it off of the NVIDA website here: NVIDA .DDS Plug-In)
9. Open CSGO Advanced Radar Maker, click on "Load Radar Image" and load the screenshot you took.
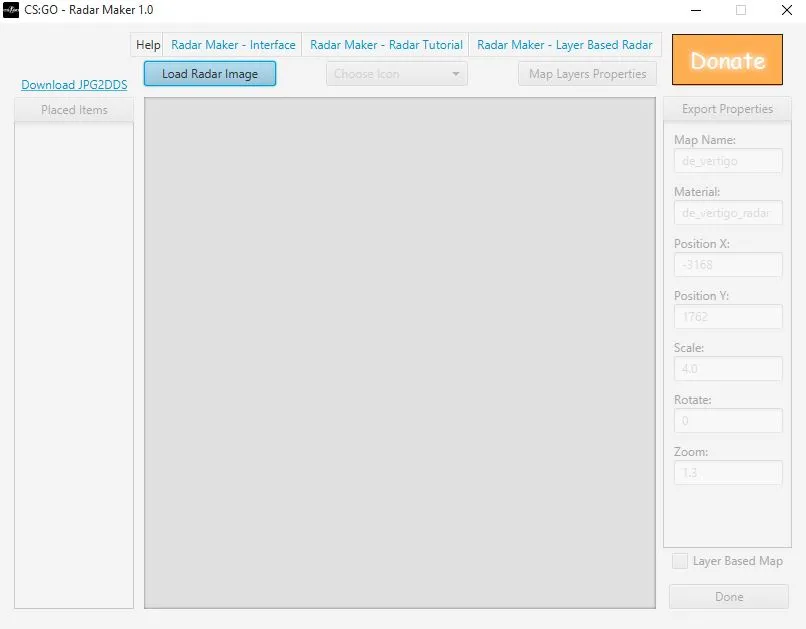
10. Click on "Choose an icon" option, select the desired icon from the drop-down list and then click on the minimap to place it at the desired location. Repeat this step to place all the icons you need.
11. Under the export properties, fill all the fields with appropriate information. In the "Map Name" field, fill the name of the bsp file. In the "Material" field, type in the name of the DDS file (that is, mapname with prefix _radar). In the remaining fields, fill up the projection data that we pasted in a text file in step 5.
12. Click "Done". Save the file to "%STEAMINSTALL%\SteamApps\common\Counter-Strike Global Offensive\csgo\resource\overviews"
13. Check the radar in the game.
You can also create Multi-layered Minimaps by using "Map Layer Properties" option.
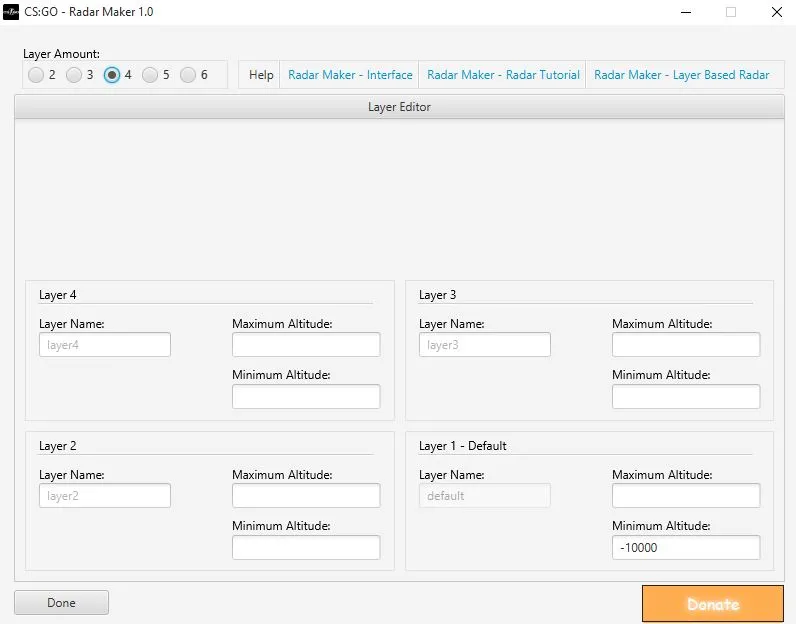
Video Tutorial by Alexbosquin

