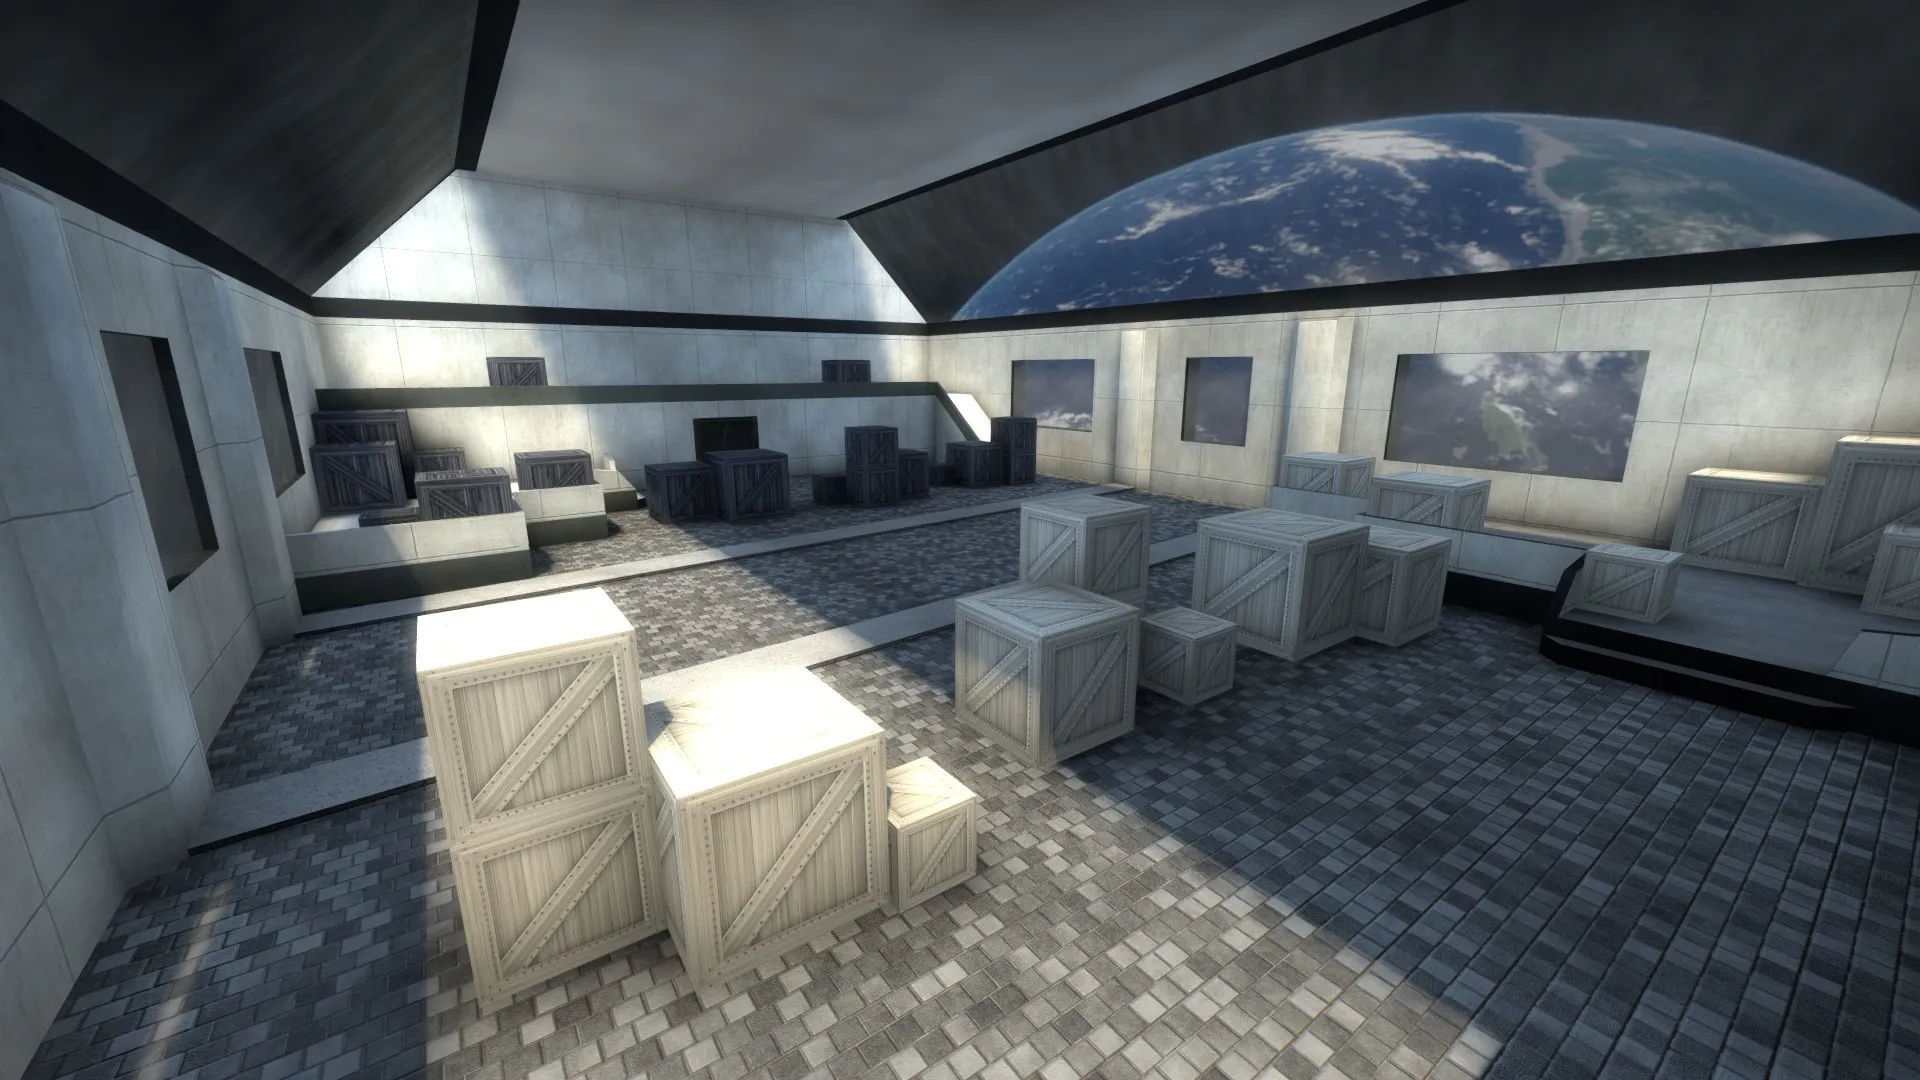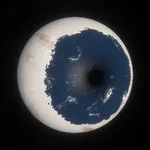
I've been working on a spinoff of my aim_six_arenas map that will use a couple of skydomes to create the illusion of multiple skyboxes on a single map, and I thought I could share my workflow on how I was able to create a multi-skin skydome without using programs such as Blender or 3DS Max. Specifically, I was able to port a couple of Valve skybox cubemaps onto a skydome model.
To do this,
- Decompile a skydome model using Crowbar. For me, I recommend decompiling nuke_skydome_001.mdl, located in CS:GO's vpk files.
- Open the .smd file with notepad, which, for nuke_skydome_001.mdl is nuke_skydome_001.smd
- Inside nuke_skydome_001.smd, replace all instances of nuke_skydome_001 with the name of your primary skydome material.
- Open the QC file with Notepad and edit the $modelname and $cdmaterials to whatever folder you want. Add a $texturegroup skinfamilies section and add entries for the materials you'll be adding to the skyname (which, in my case, were skydome_cs_tibet and skydome_jungle). As a precaution, I renamed the QC file itself. In turn, my QC file ended up looking like this:
Spoiler // Created by Crowbar 0.58
$modelname "am_six_arenas\skydome_tibet_jungle.mdl"
$staticprop
$bodygroup "Body" { studio "nuke_skydome_001.smd" }
$surfaceprop "metal"
$contents "solid"
$illumposition -0.002 -0.002 1315.164
$cdmaterials "am_six_arenas\"
$cbox 0 0 0 0 0 0
$bbox -2047.998 -2048.002 0 2048.002 2047.998 2630.329
$definebone "static_prop" "" 0 0 0 0 0 0 0 0 0 0 0 0
$texturegroup skinfamilies { { "skydome_cs_tibet" } { "skydome_jungle" } }
$sequence "idle" { "nuke_skydome_001_anims\idle.smd" activity "act_idle" 1 fadein 0.2 fadeout 0.2 fps 30 }
$KeyValues { qc_path { "value" "am_six_arenas\skydome_tibet_jungle.qc" } }
Afterwards, use Crowbar to compile the QC file.
Now that you have the model compiled, it's time to modify the texture so that it'll fit on the skydome. The only textures that'll fit the nuke_skydome_001.mdl mesh are those in the equirectangular panorama format with a 4:1 aspect ratio, an obvious problem given that Valve's skybox textures are in cubemap format. To do this conversion,
- Export the skybox cubemap VTFs as PNGs or TGA files
- Go to this Cubemap to Panorama tool, created by danilw
- Upload each cubemap to the respective face (BK to Back, LF to left etc.). Under rotation, make sure Up's rotation is set to 90 degrees and that "apply Mipmap" is checked.
- Set the panorama image resolution to a 3:1 aspect ratio. This is because the down face takes up a quarter of the image vertically. For my skydome, I set my resolution to 4096 x 1366, because I wanted to use a 4096x1024 texture for the skydome. Overall, this is how I filled out the Cubemap to panorama tool:
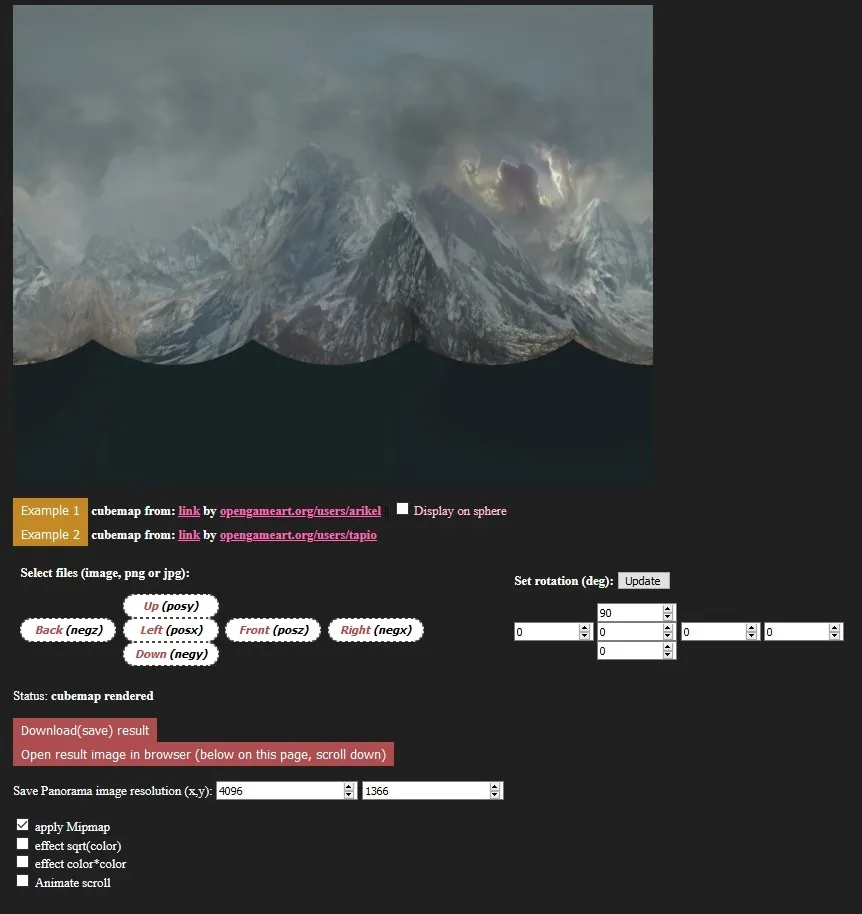
And this is how the PNG I downloaded looked like (image has been resized):
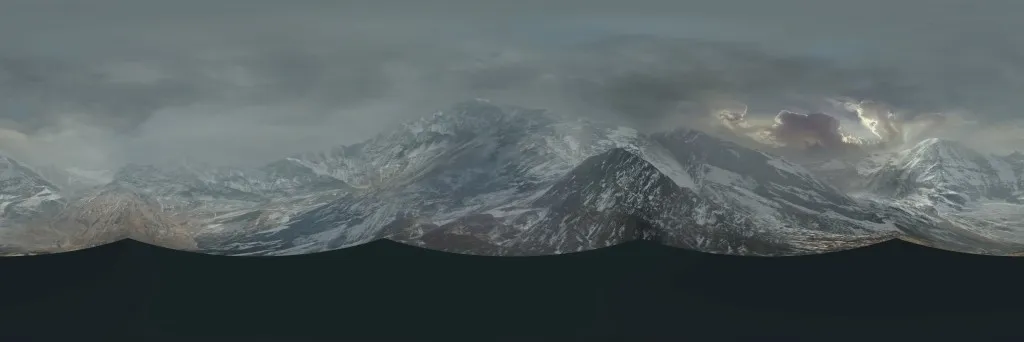
After downloading the PNG, crop out the bottom quarter of the image. Your panorama should now look something like this (image has been resized):
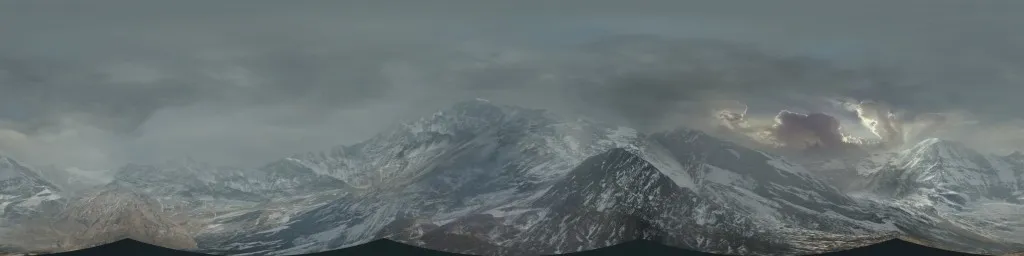
Using VTFedit, import the cropped panorama in the DXT1 format. In the corresponding VMT, add the following lines of codes:
Spoiler "unlitgeneric" { "$basetexture" <VTF name> "$nofog" "1" }
Do the same cubemap to panorama conversion process for any other skybox skins you want to add to the skydome.
Now that you've compiled the model and added textures, add you custom skydome as a prop_static. In the properties, make sure Disable Shadowdepth, Disable Vertex lighting and Disable Self-Shadowing are set to No, while Disable Shadows is set to Yes. Note that the default dimensions of the skydome is 4096x4096, which will cover the whole map if you place it in the 3D skybox. I've found setting a scale override of 0.25 still produced a decent looking skydome.
For cs_tibet and jungle, you'll notice that the sun is baked into the skybox. Therefore, if you want your map to be realistic, you'll have to rotate the skydome to match the light_environment sun angle (also make sure your pitch isn't too different from the original map and the current map). To do that, use the following formula:
Skydome Yaw Rotation = Sun Angle of the Map Where the Skydome Texture Originated From + 90 - Current Map Sun Angle
Let's say you added a cs_tibet skydome to de_vertigo and want to have the sun in the cs_tibet skydome match Vertigo's sun angle. Vertigo's sun angle is 0 54 0, while the sun angle for ar_monastary, the map that uses the cs_tibet sky texture, has a sun angle of 0 153 0. Therefore, the cs_tibet skydome will need to a yaw of 153 + 90 - 54 = 171 for the cs_tibet skydome to match Vertigo's sun angle. For jungle, the skydome will need a yaw of 315 + 90 - 54 = 351, as de_aztec has a sun angle of 0 315 0.
And now some screenshots. Remember, both of these screenshots were taken on the same map:
Spoiler
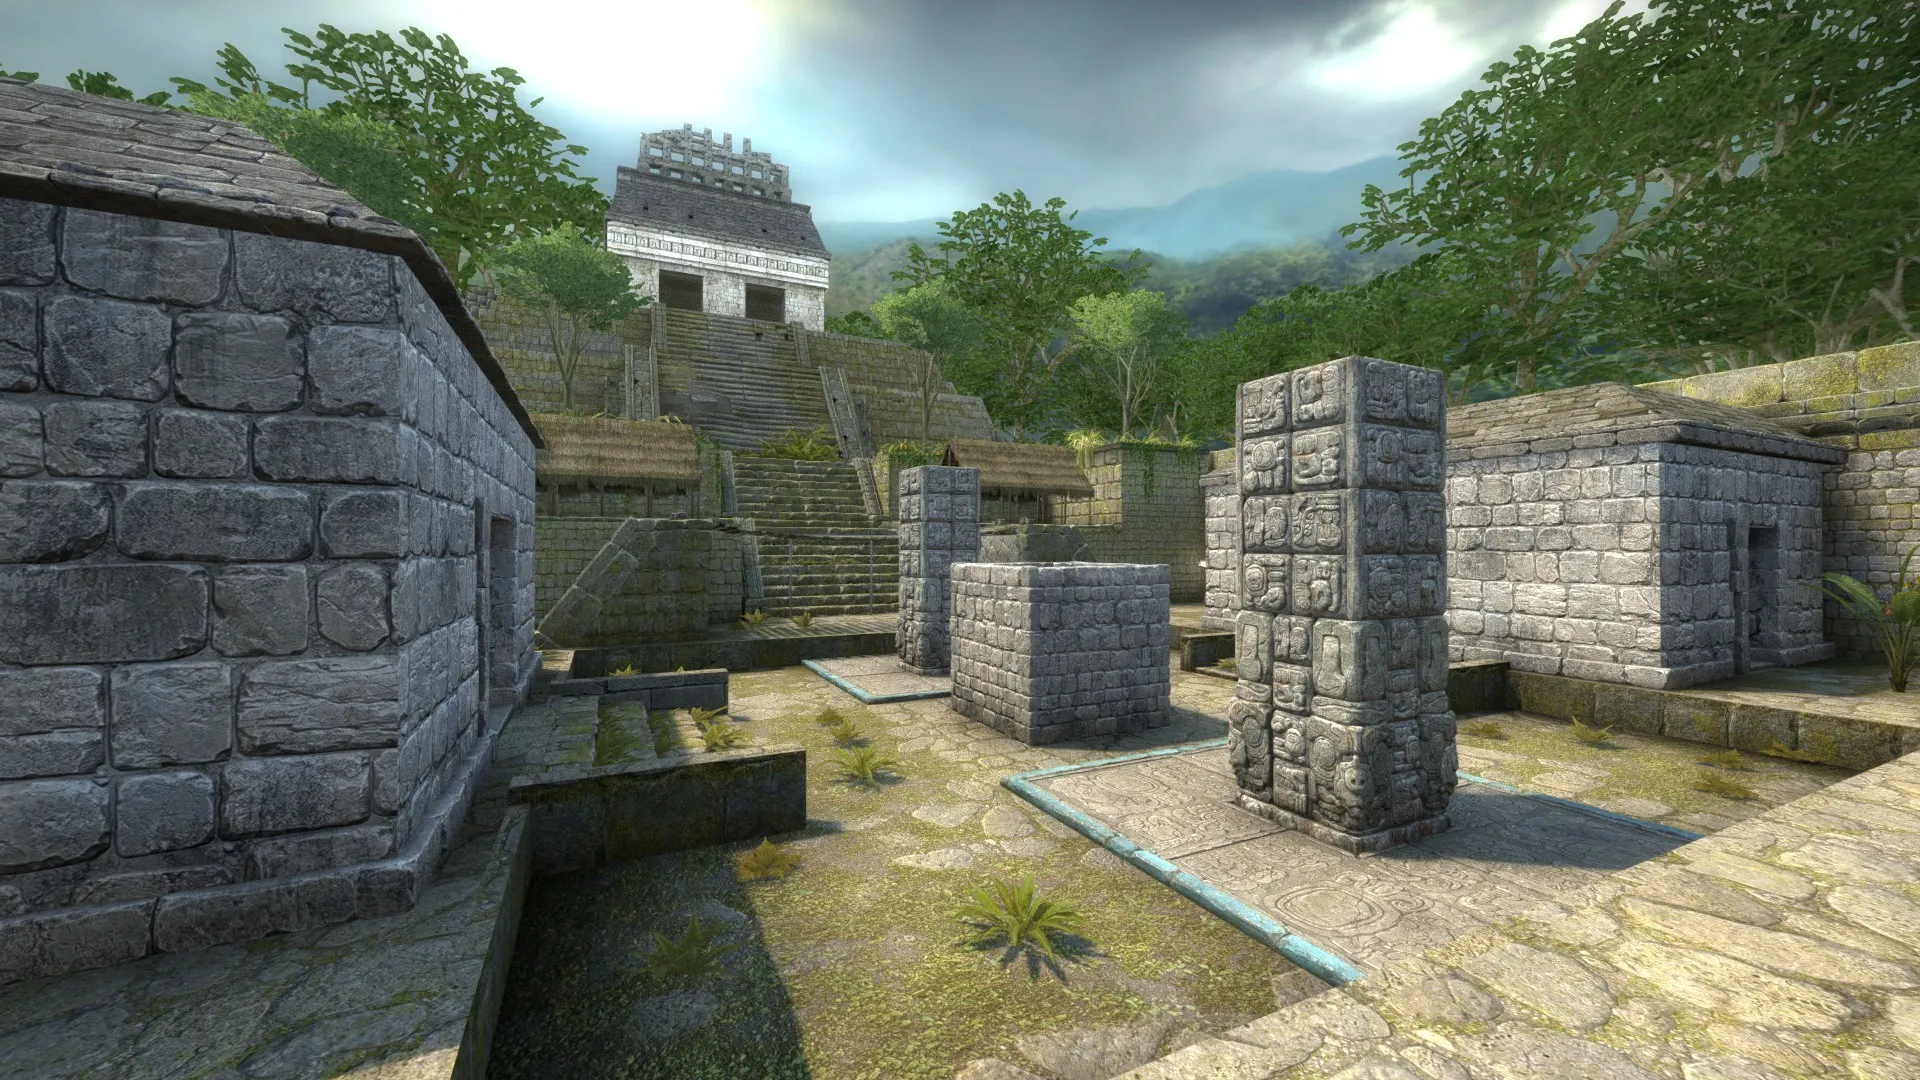
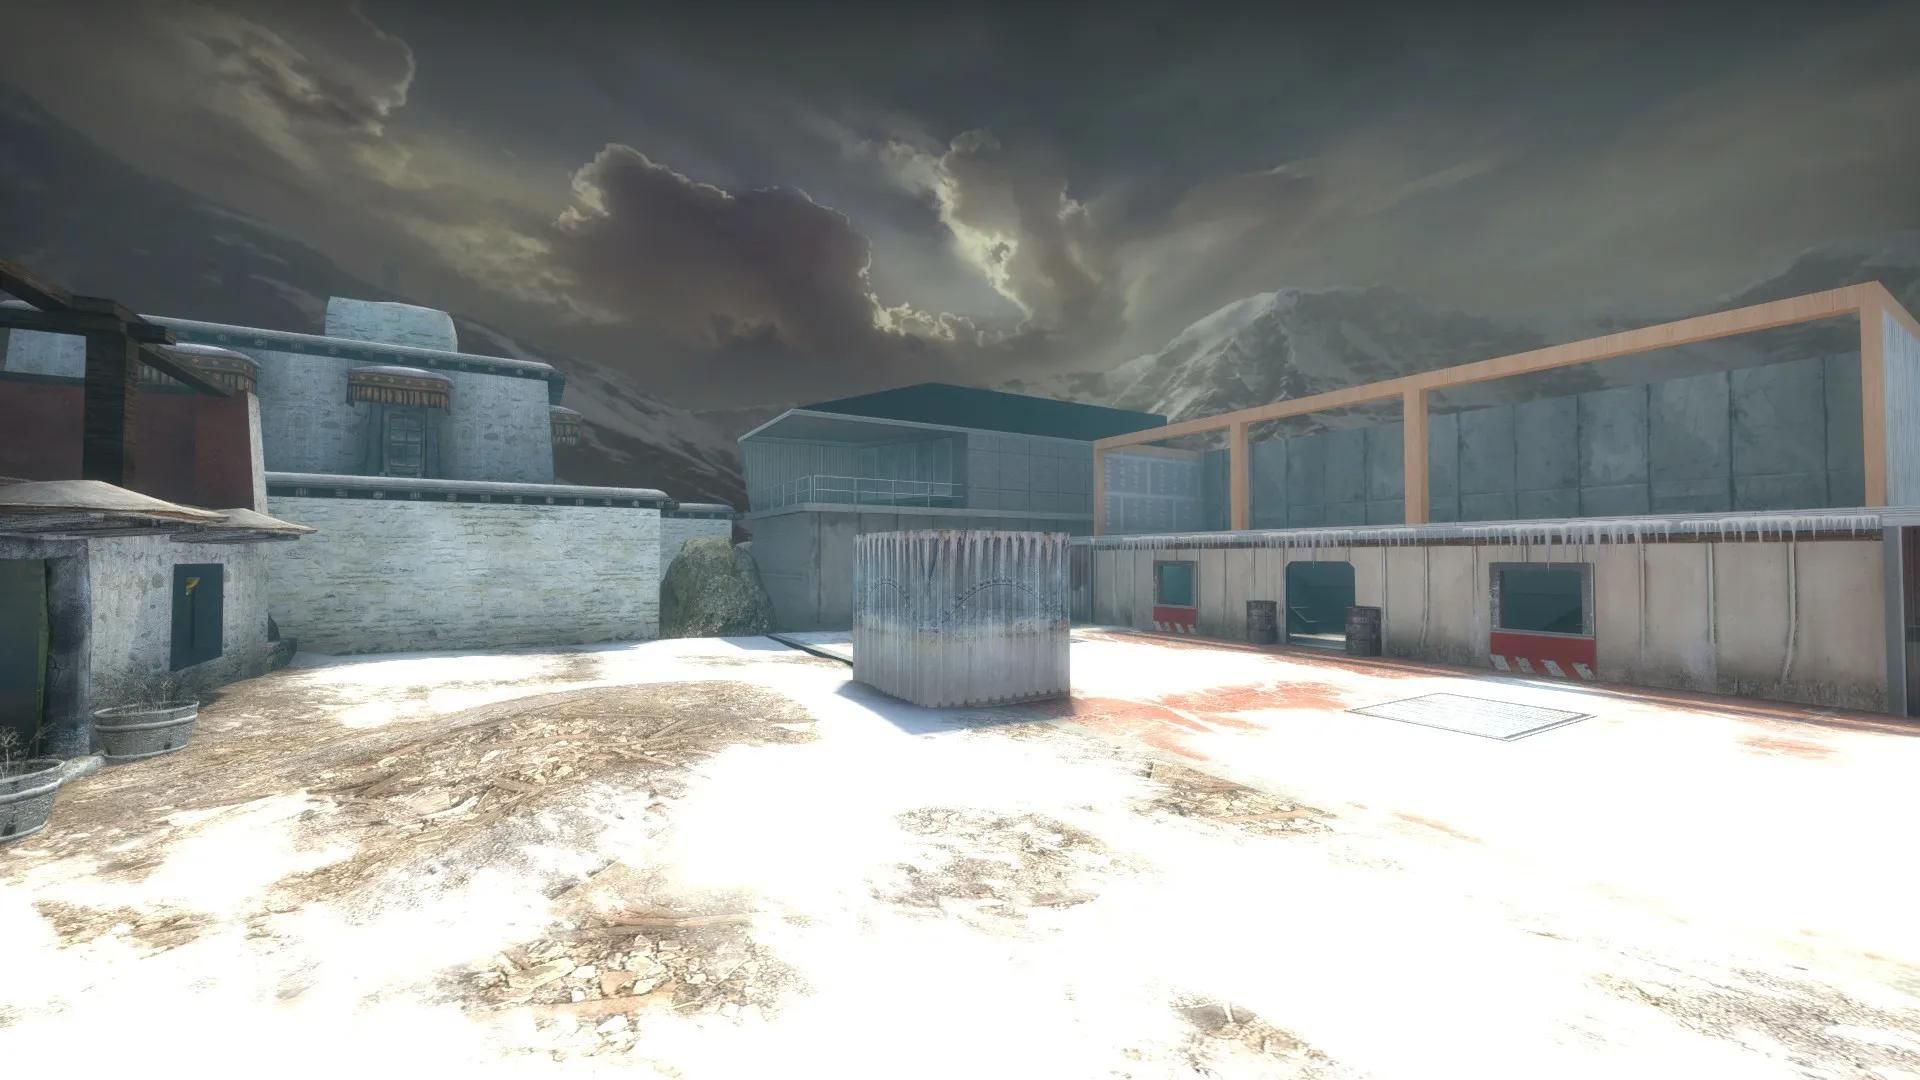
Hopefully, others can use this method to quickly convert other cubemap skyboxes into skydomes. I would also appreciate any feedback you have for this tutorial.