Outer route to A and the collapsed tower
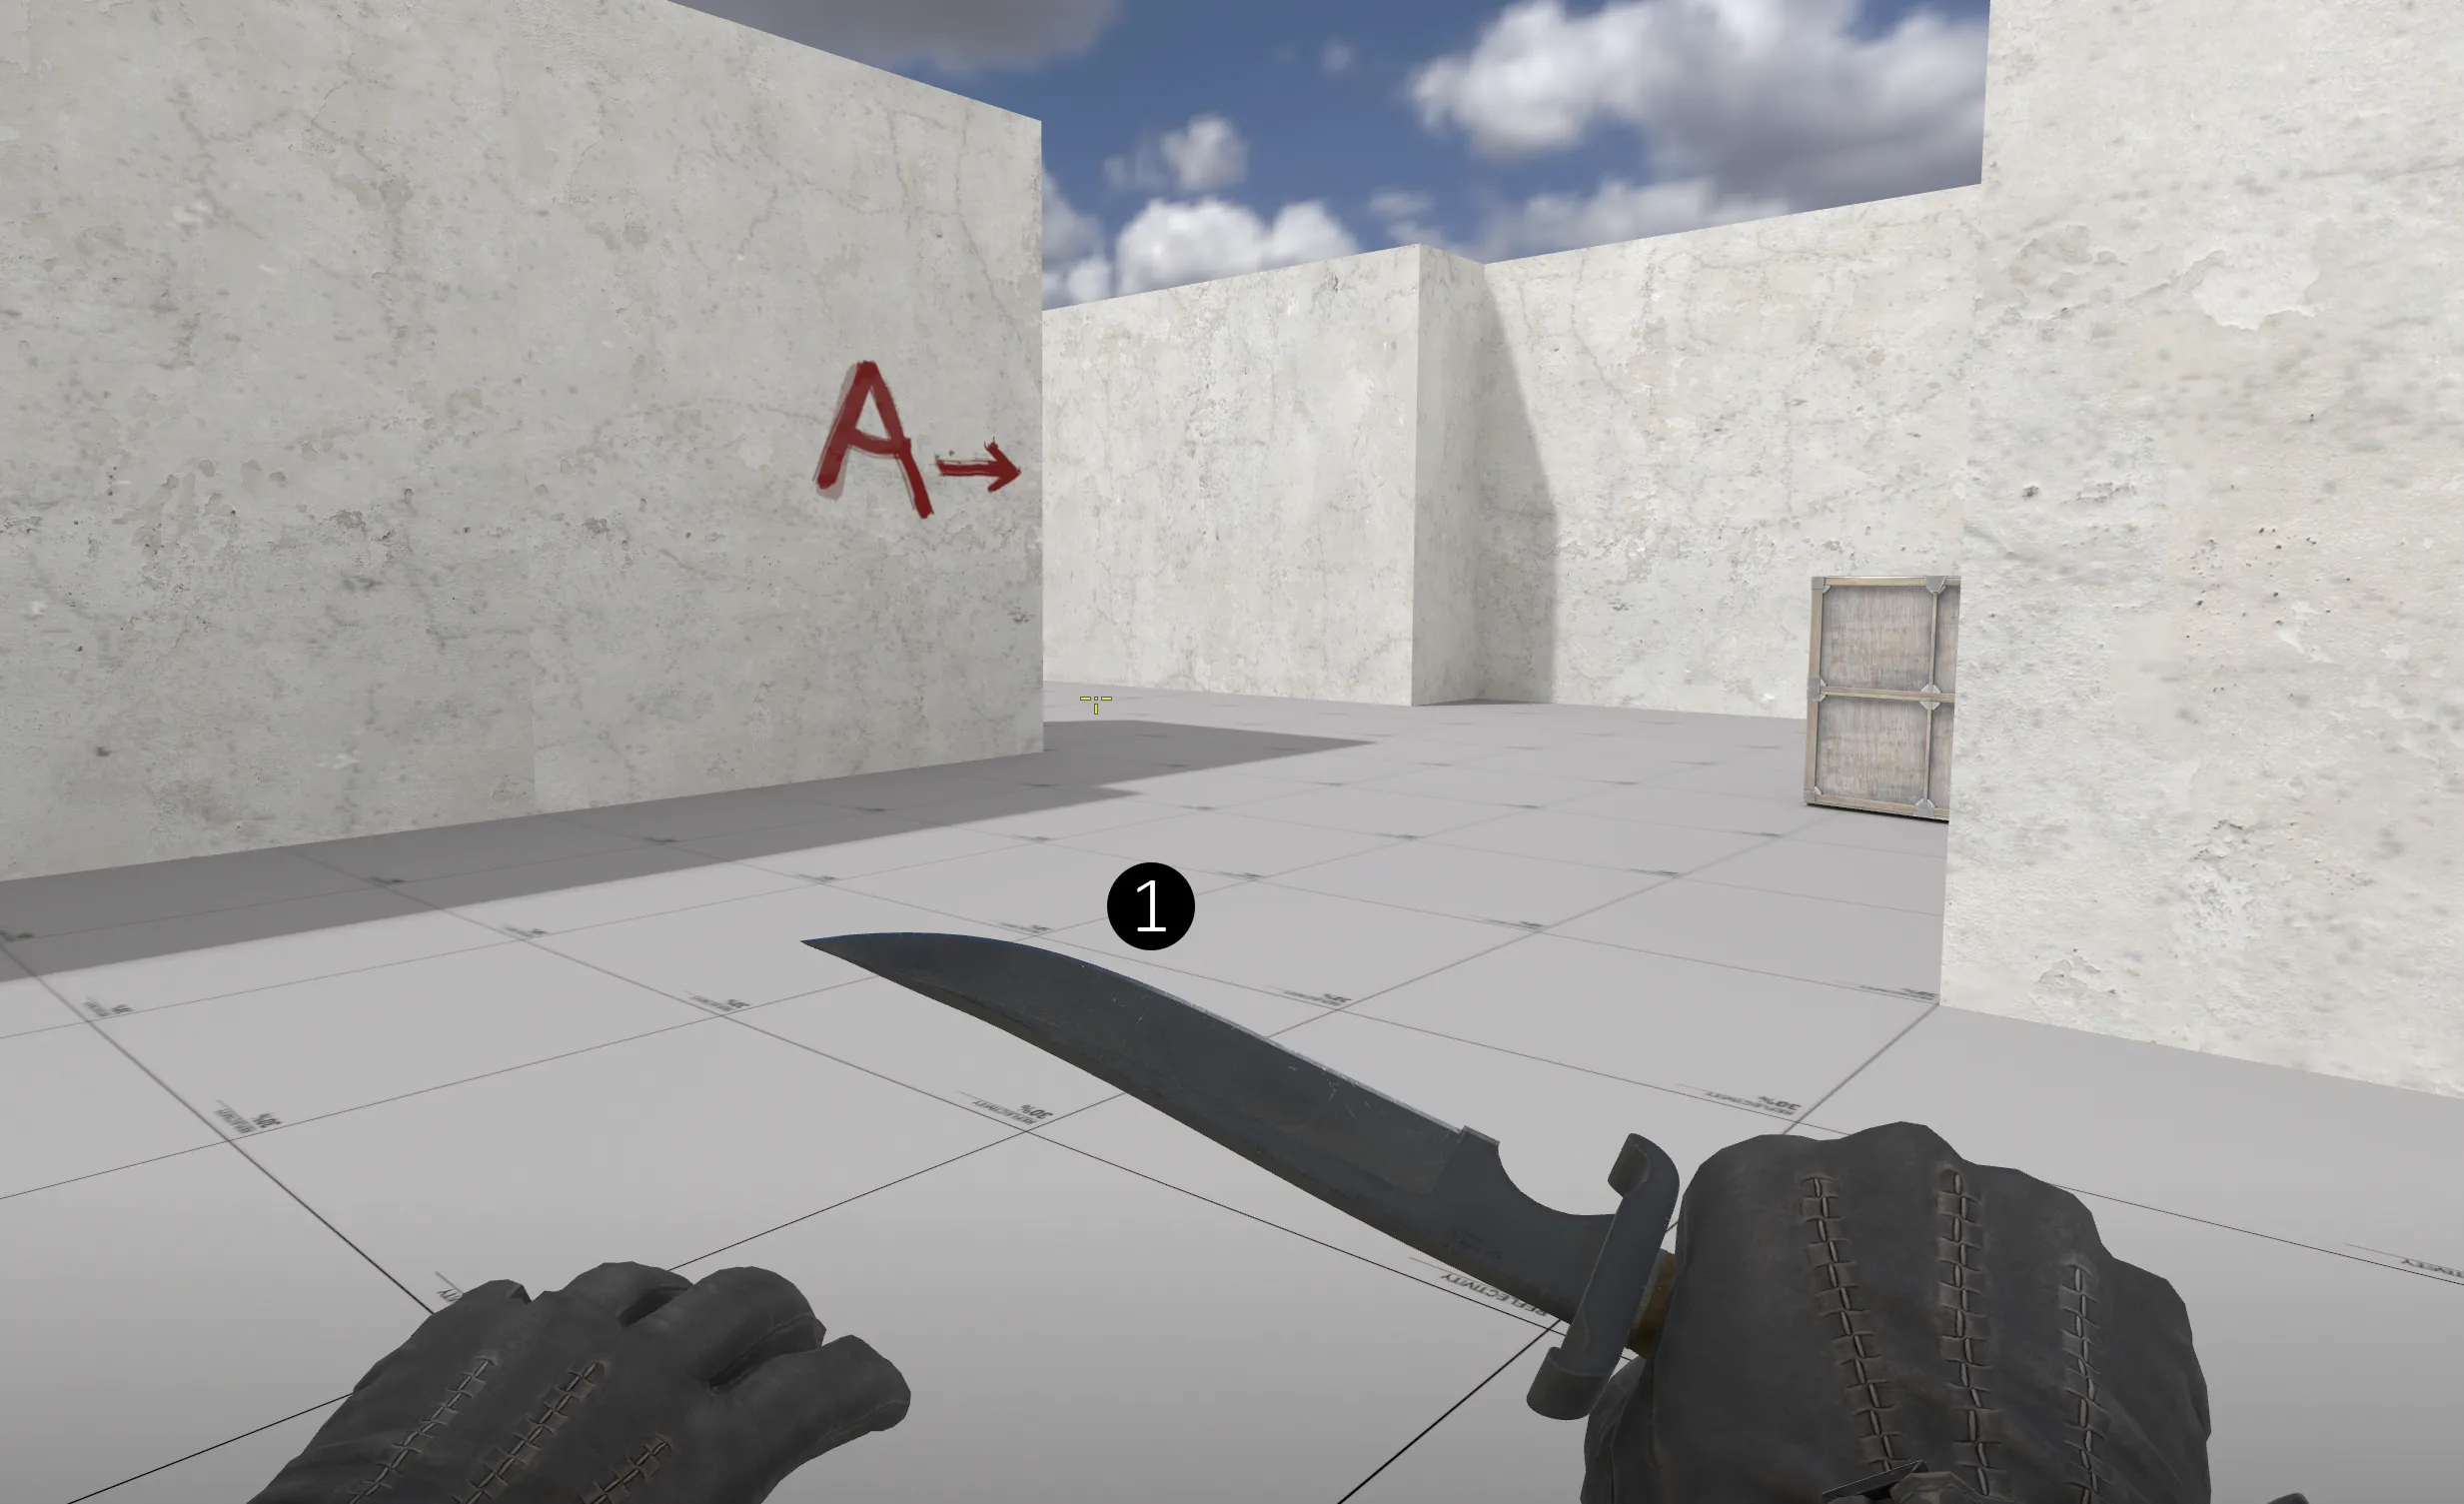
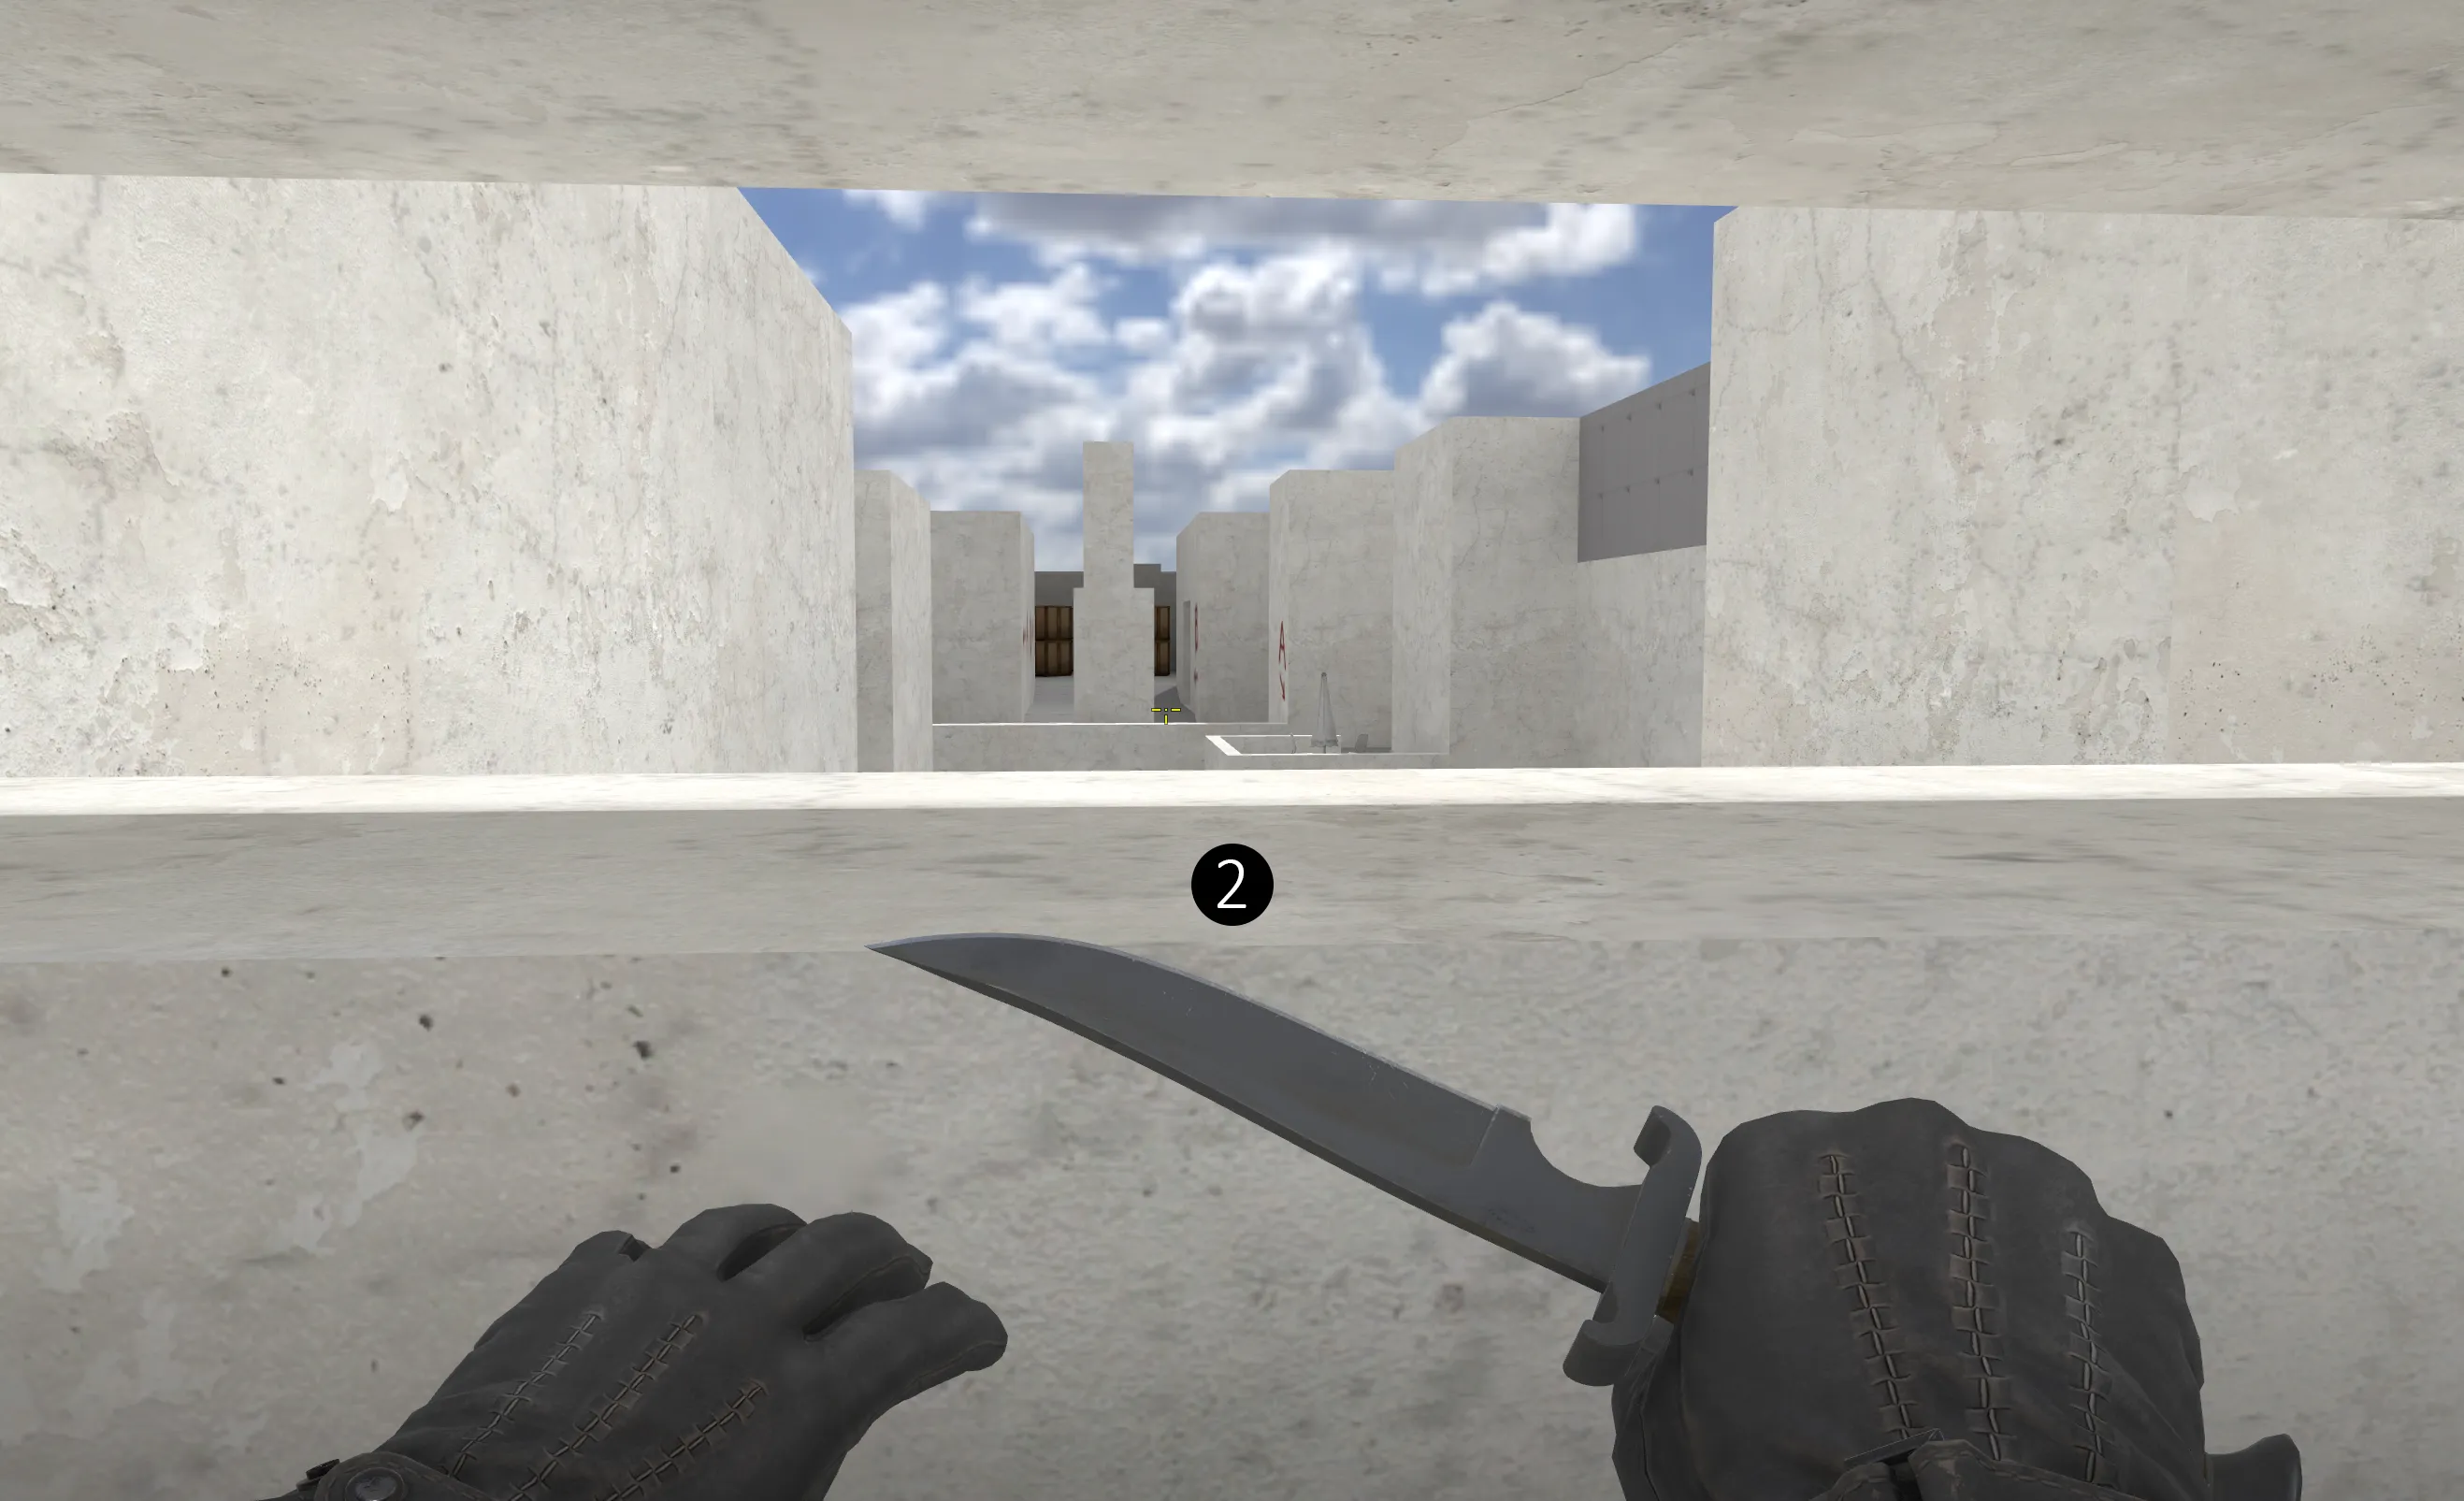
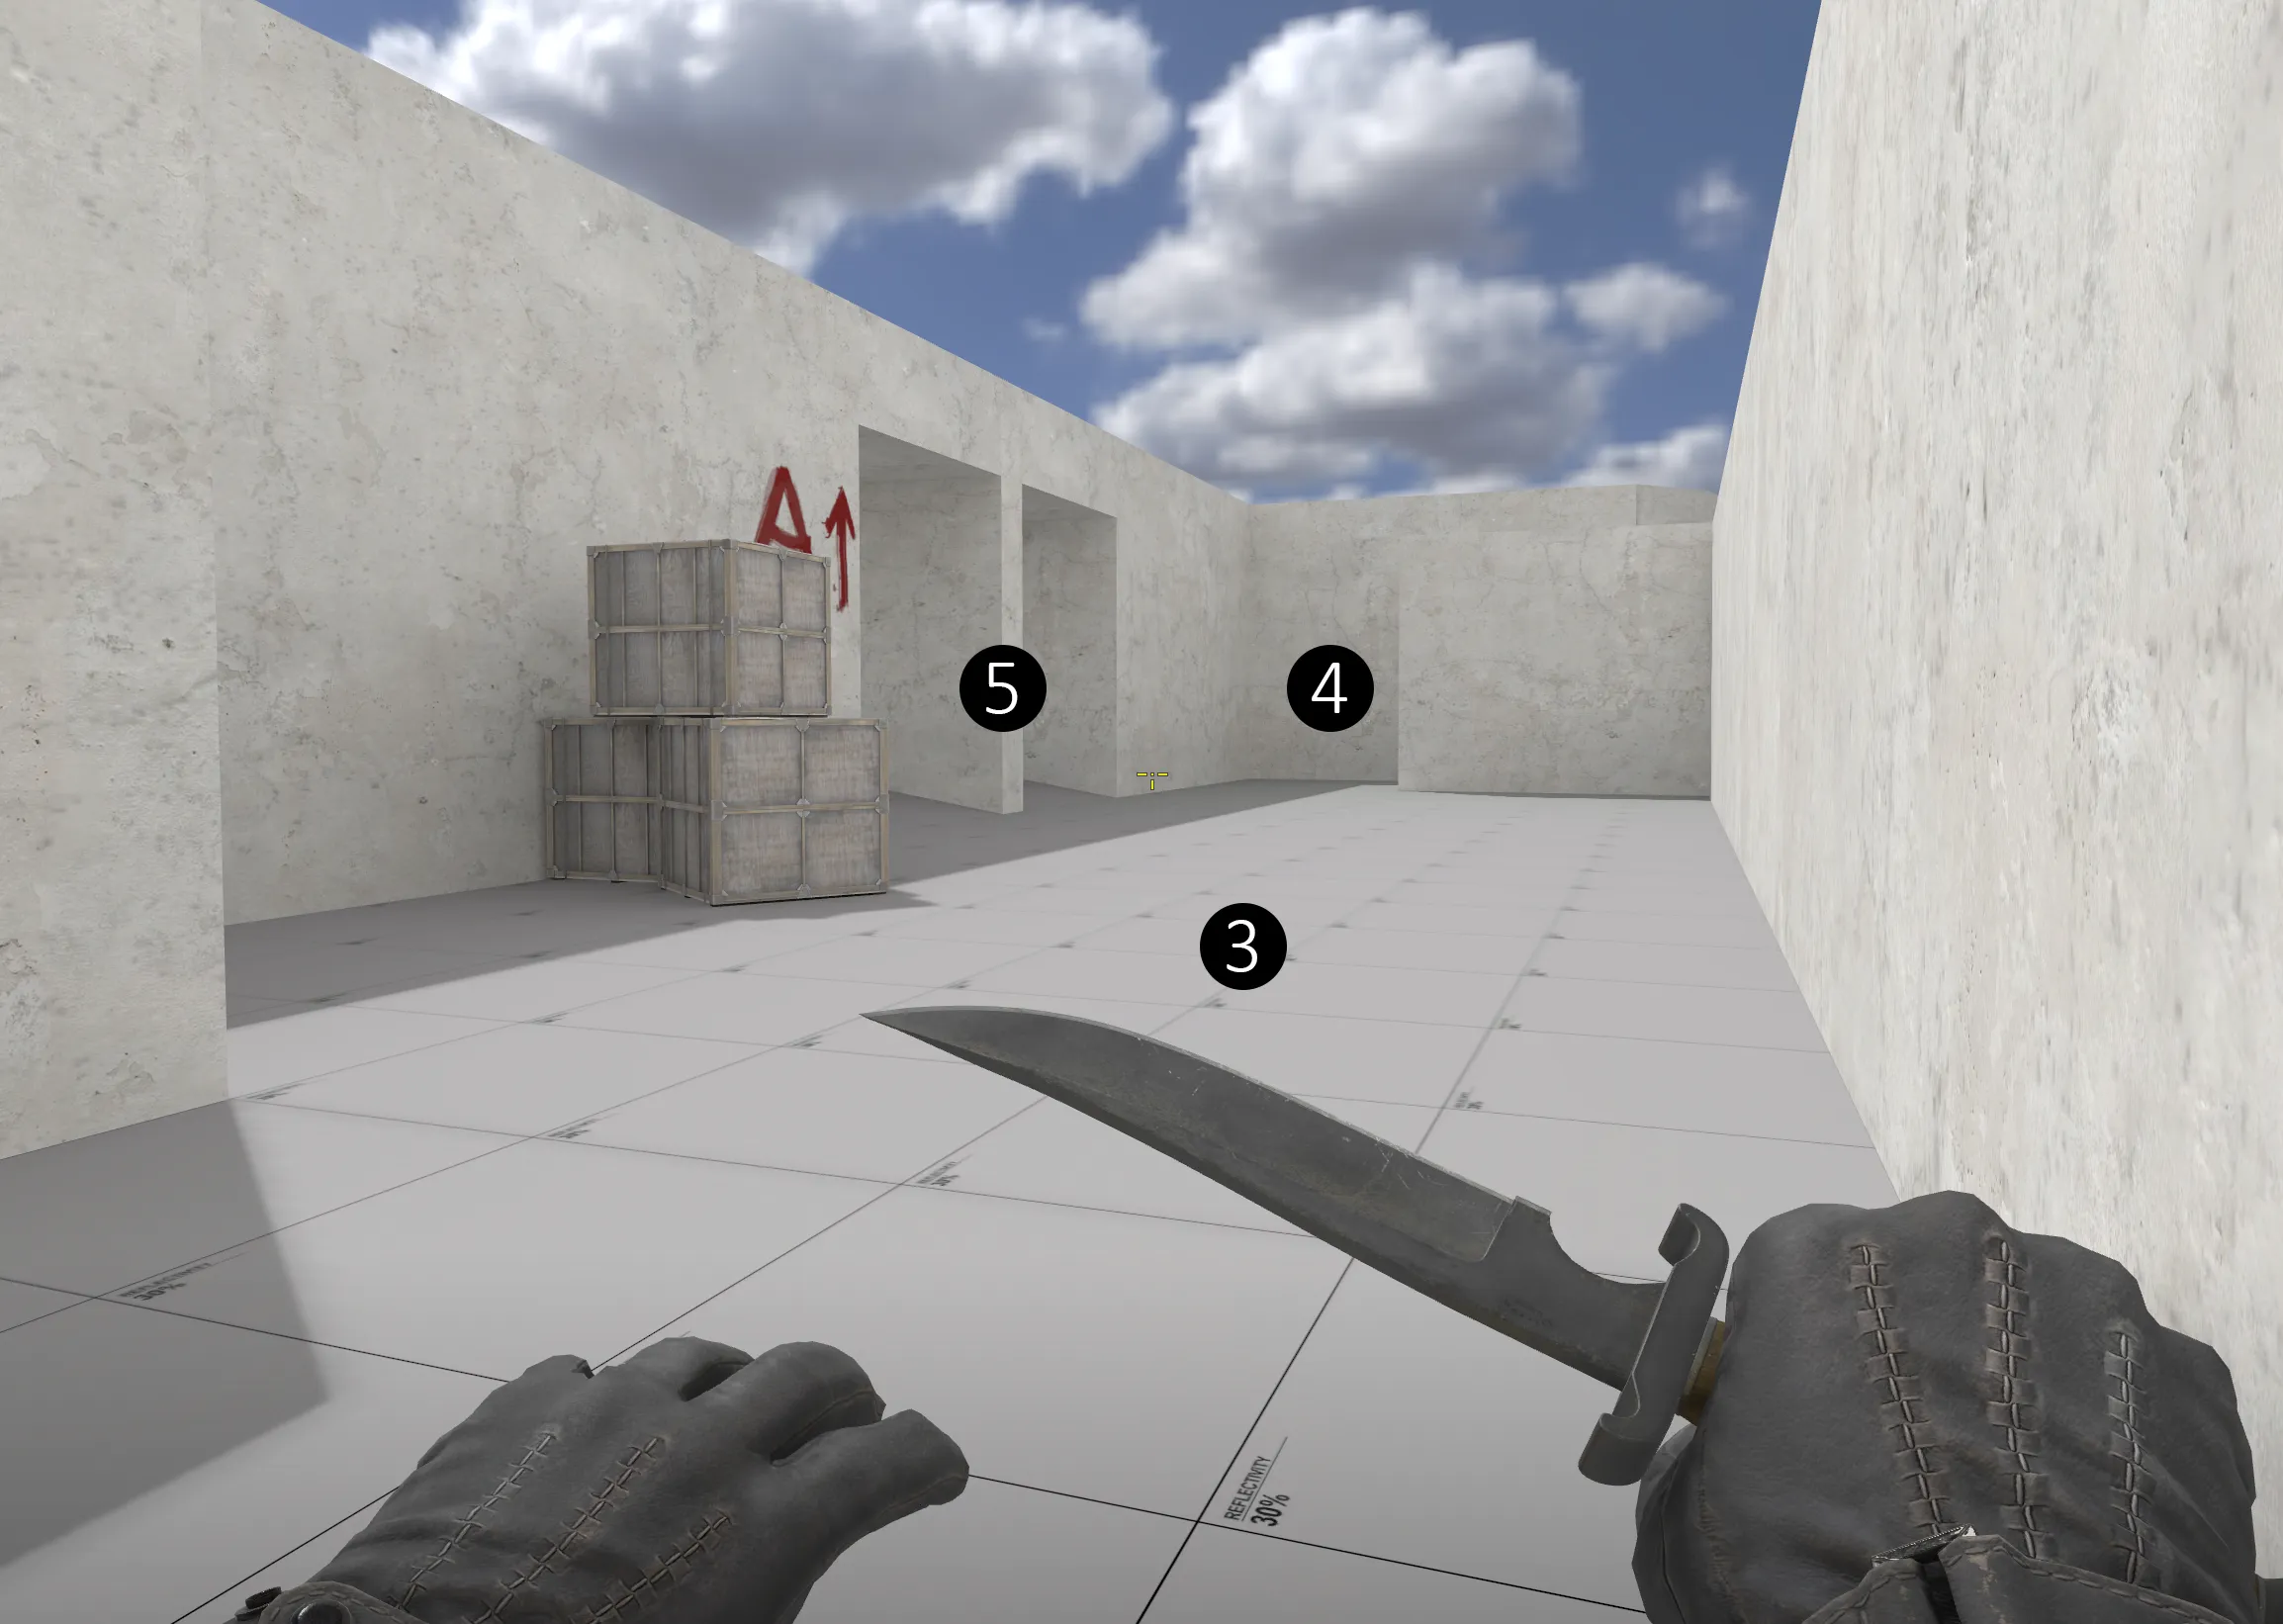
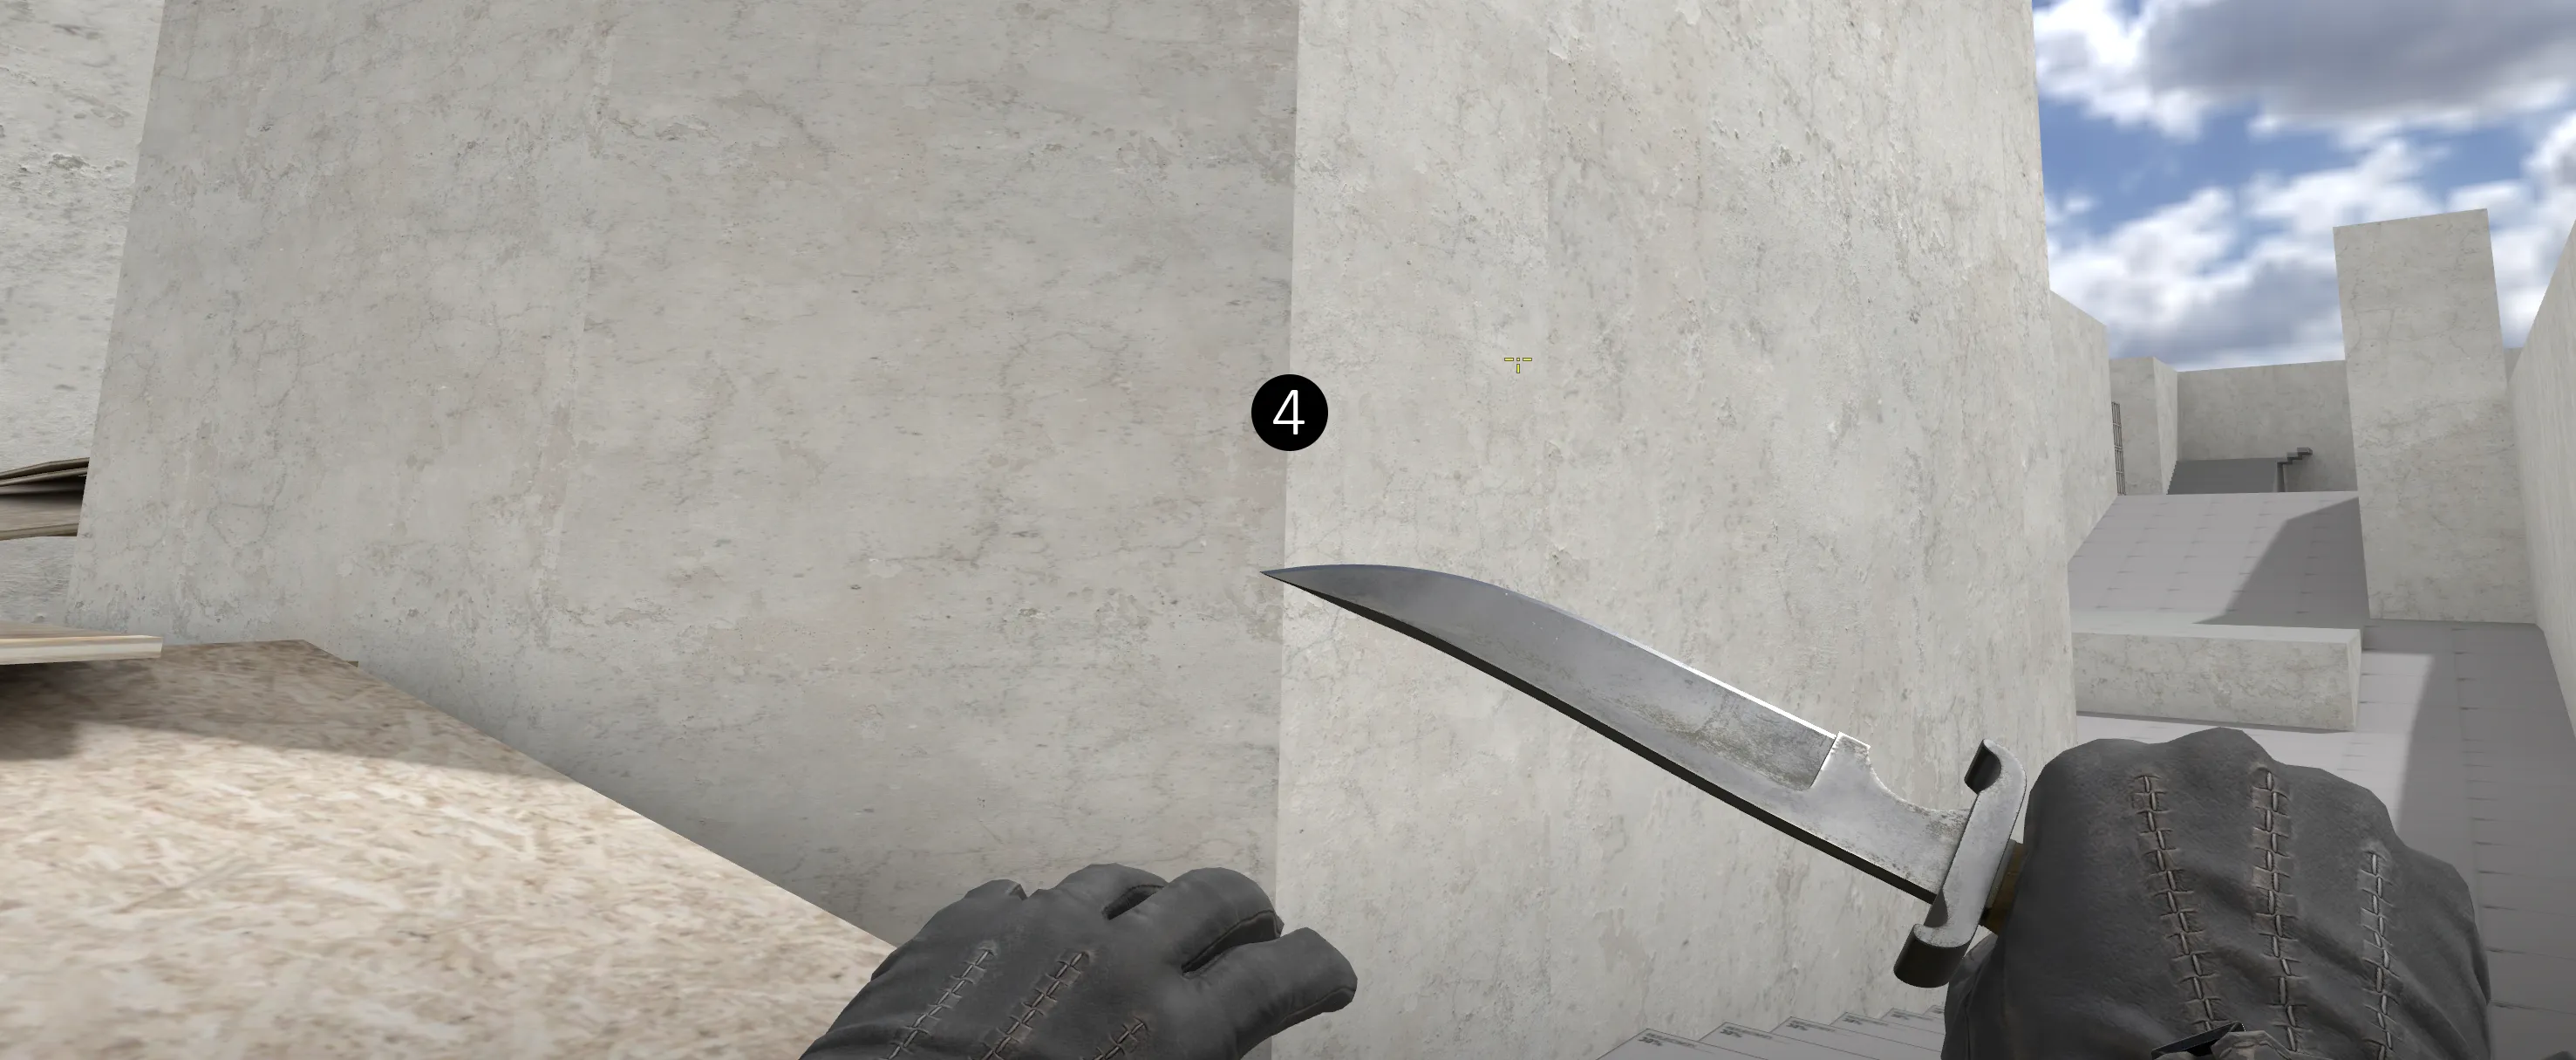
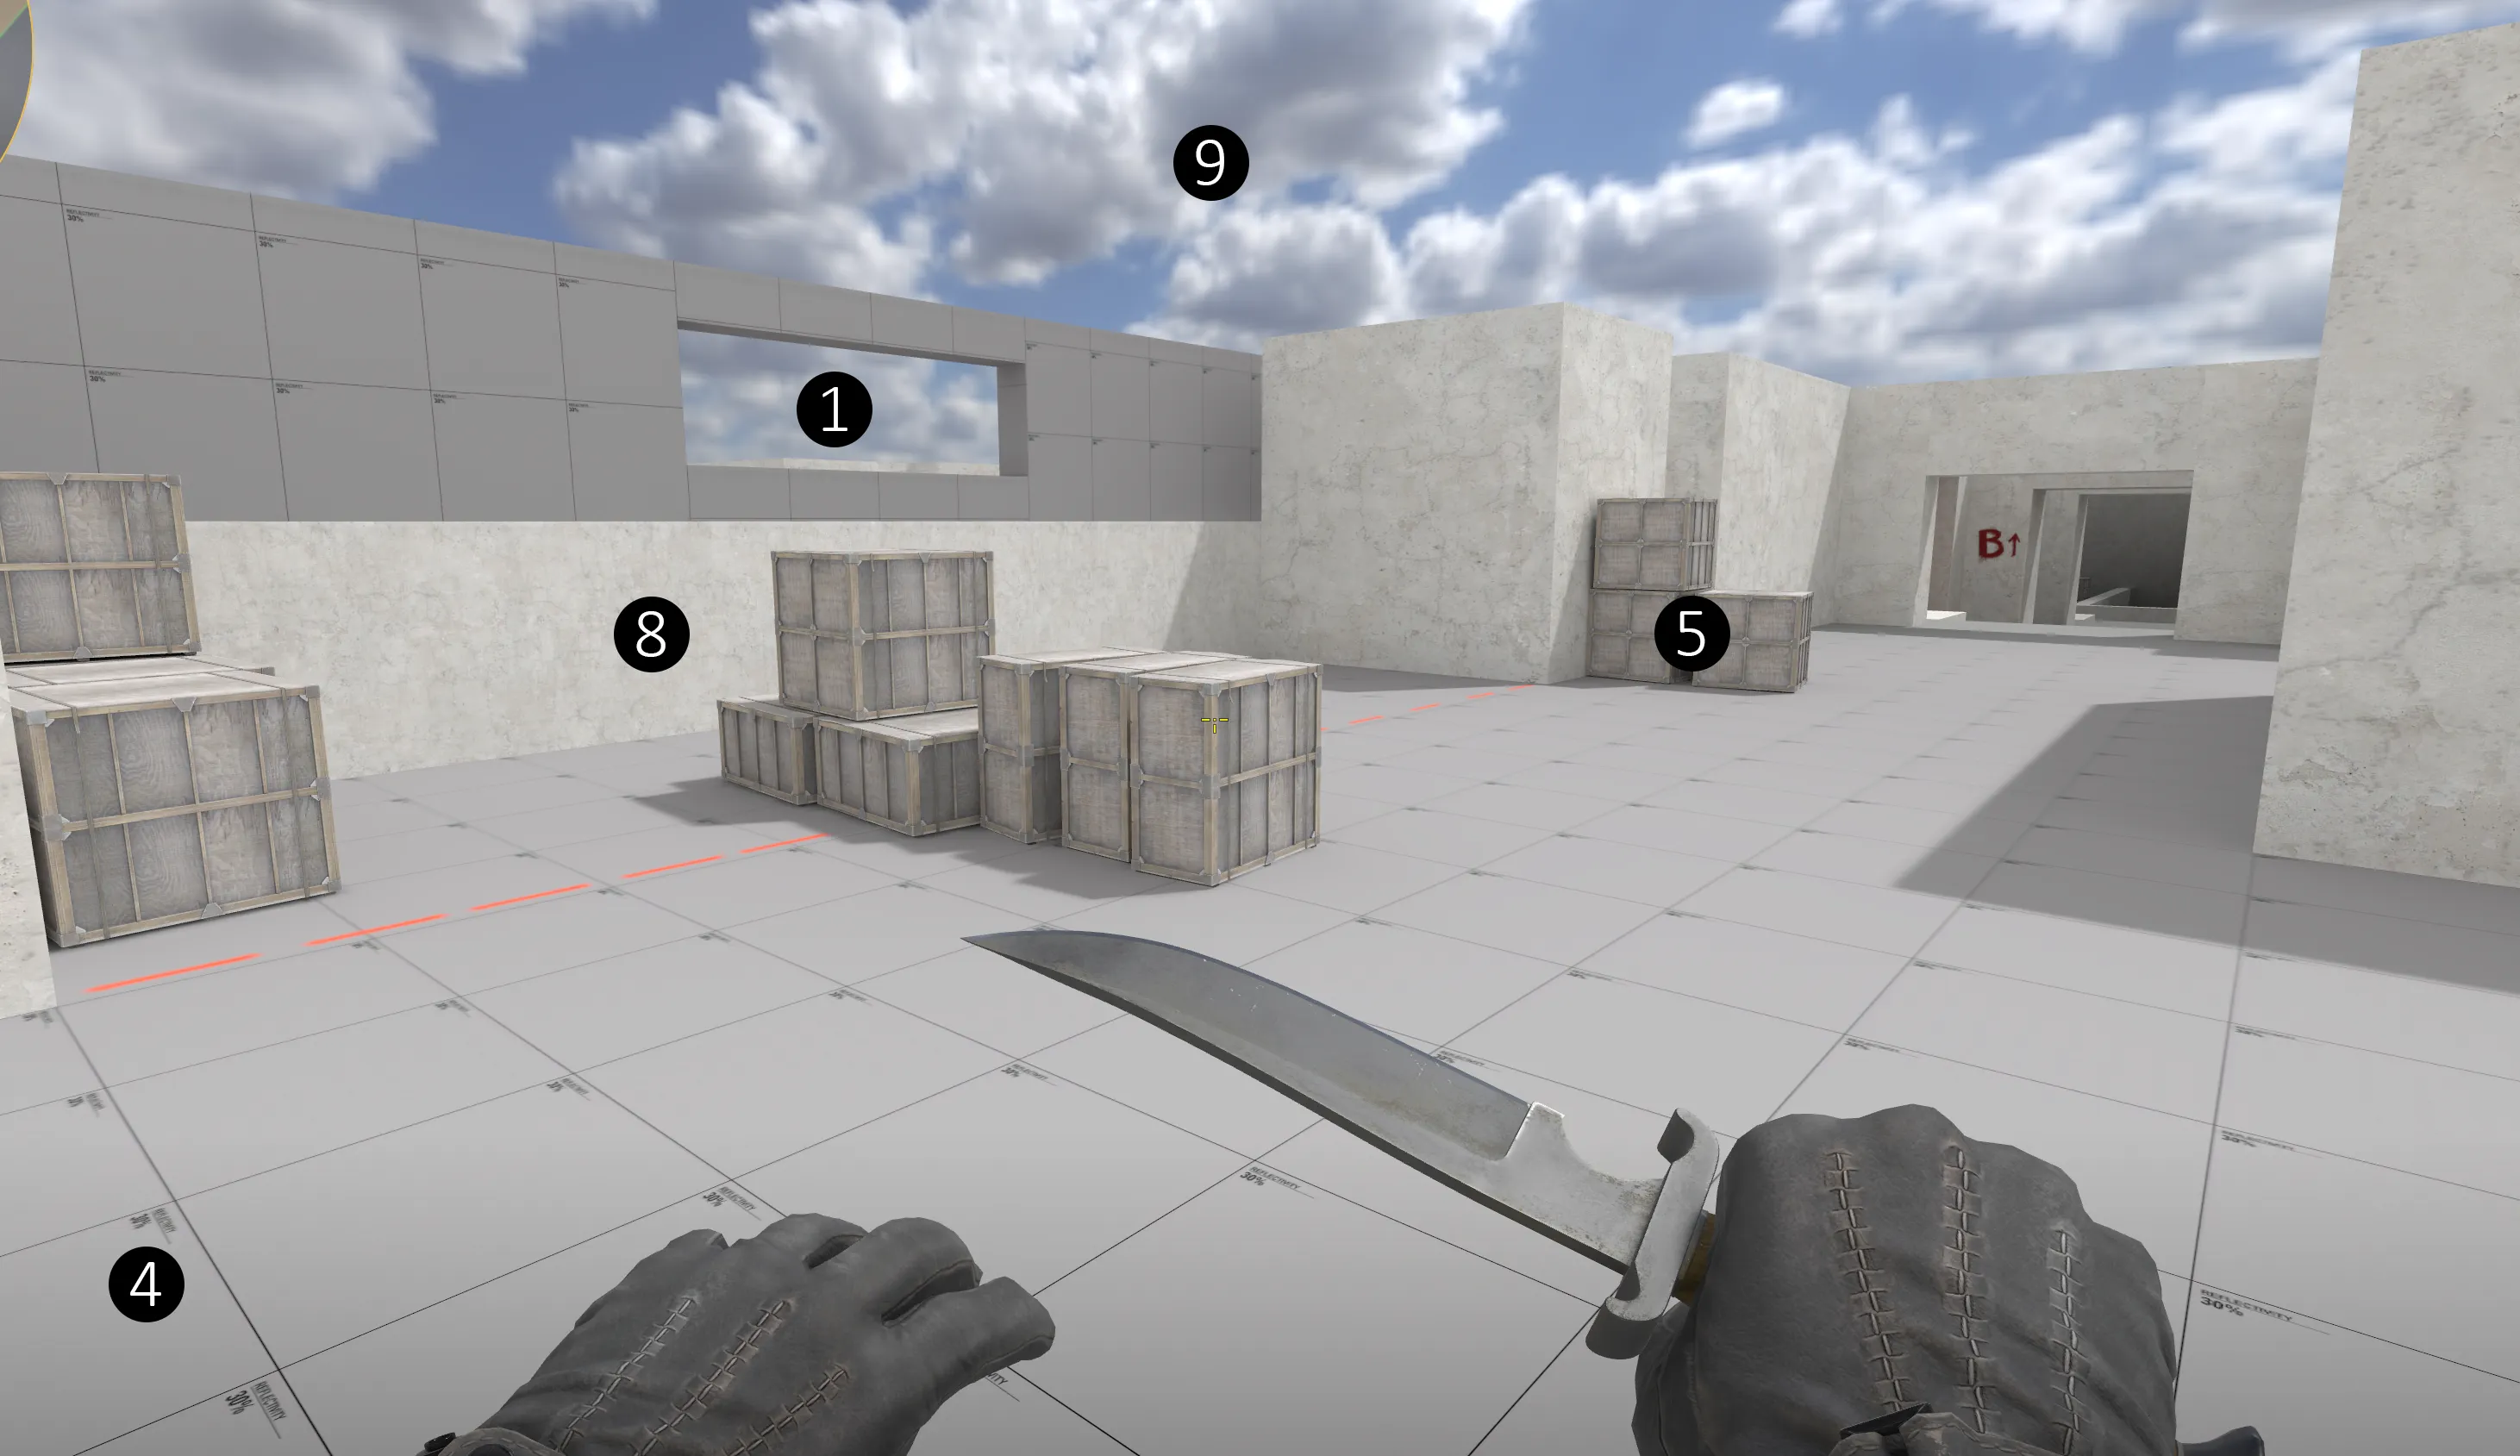
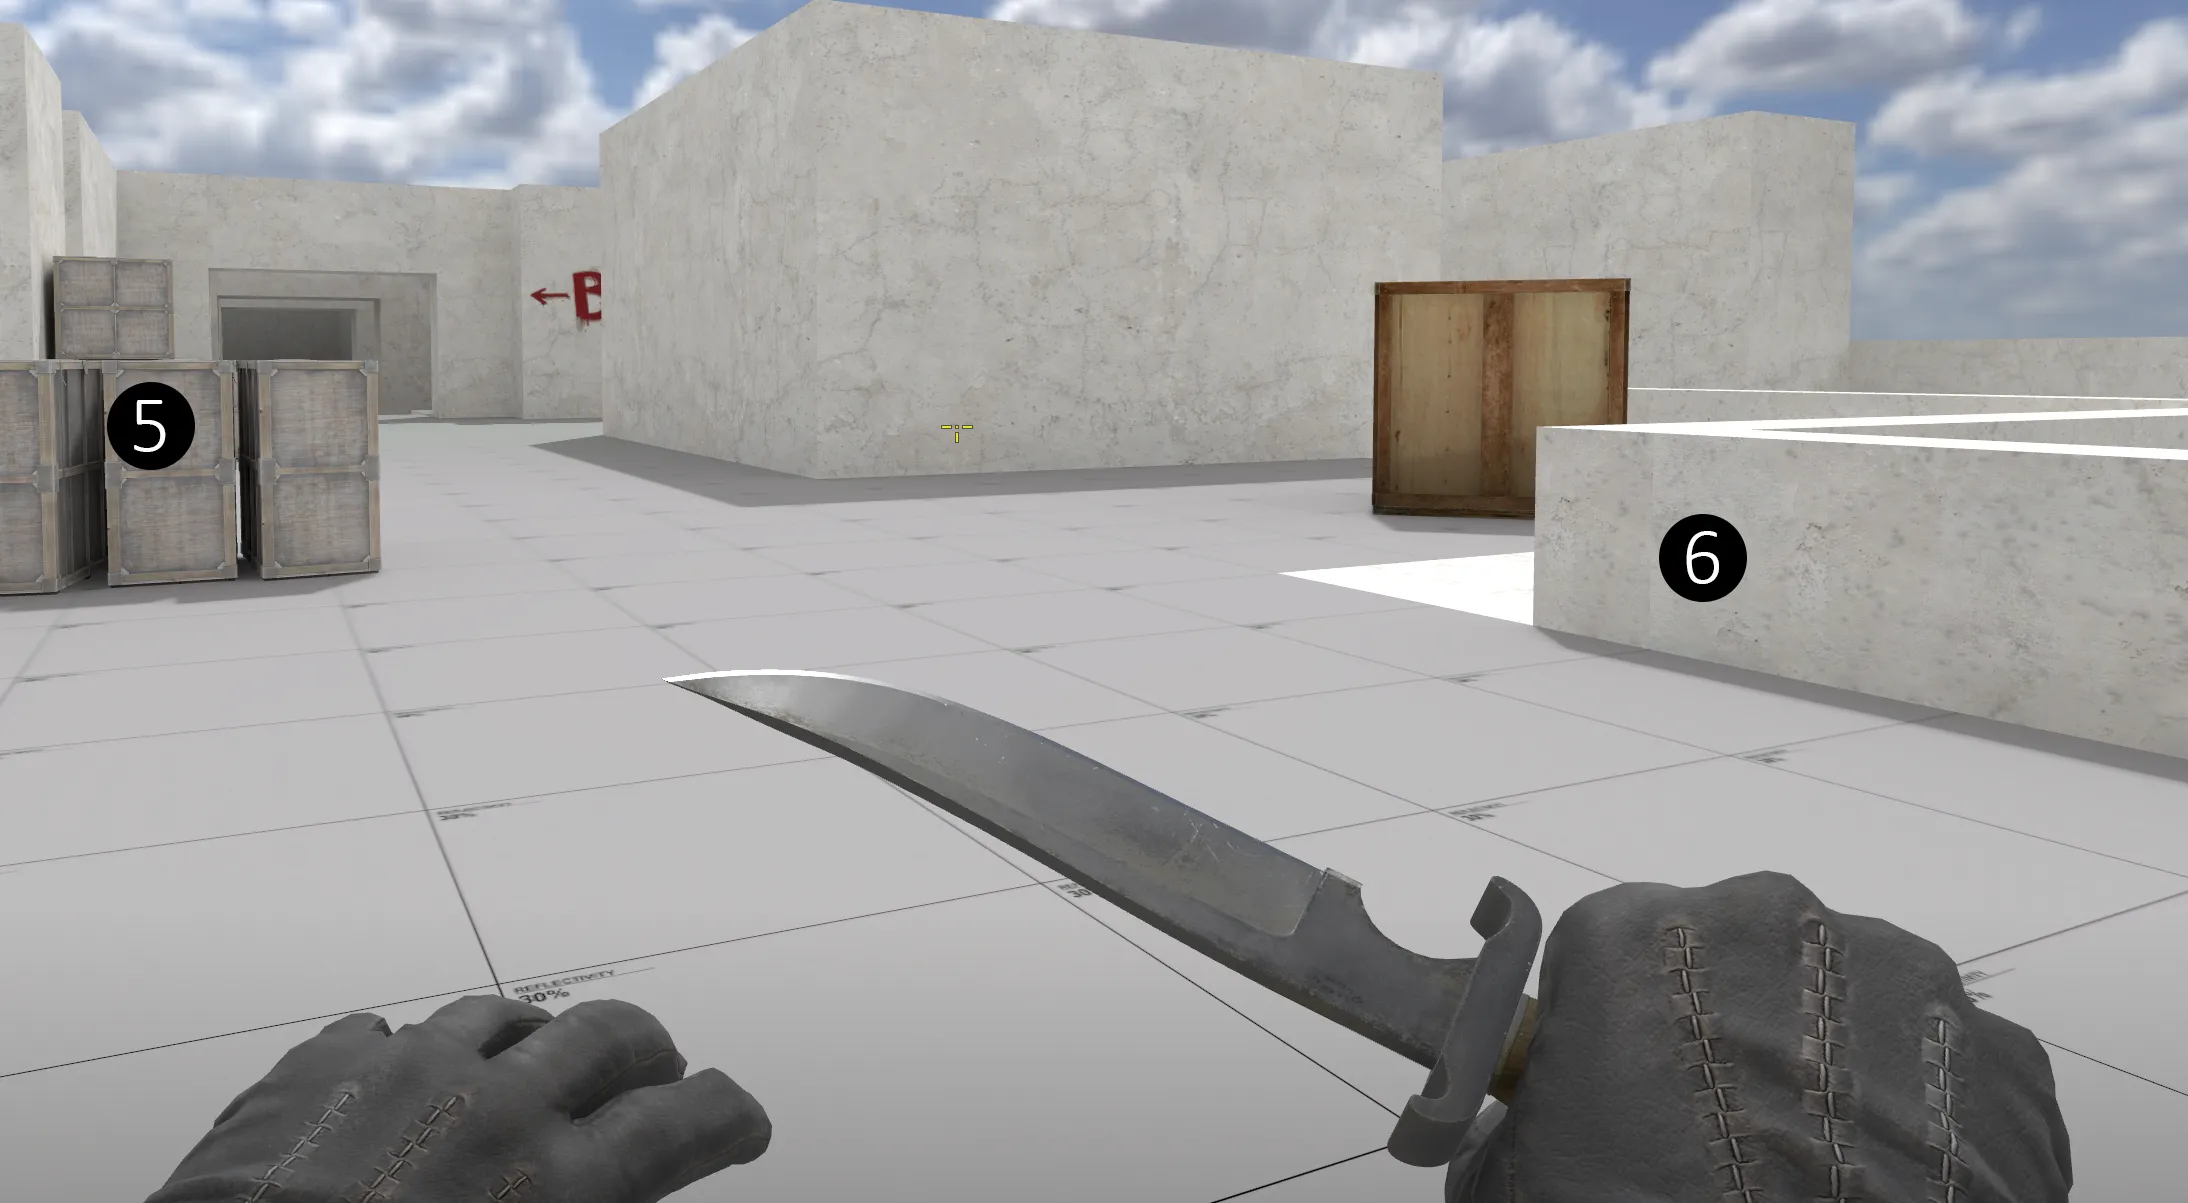
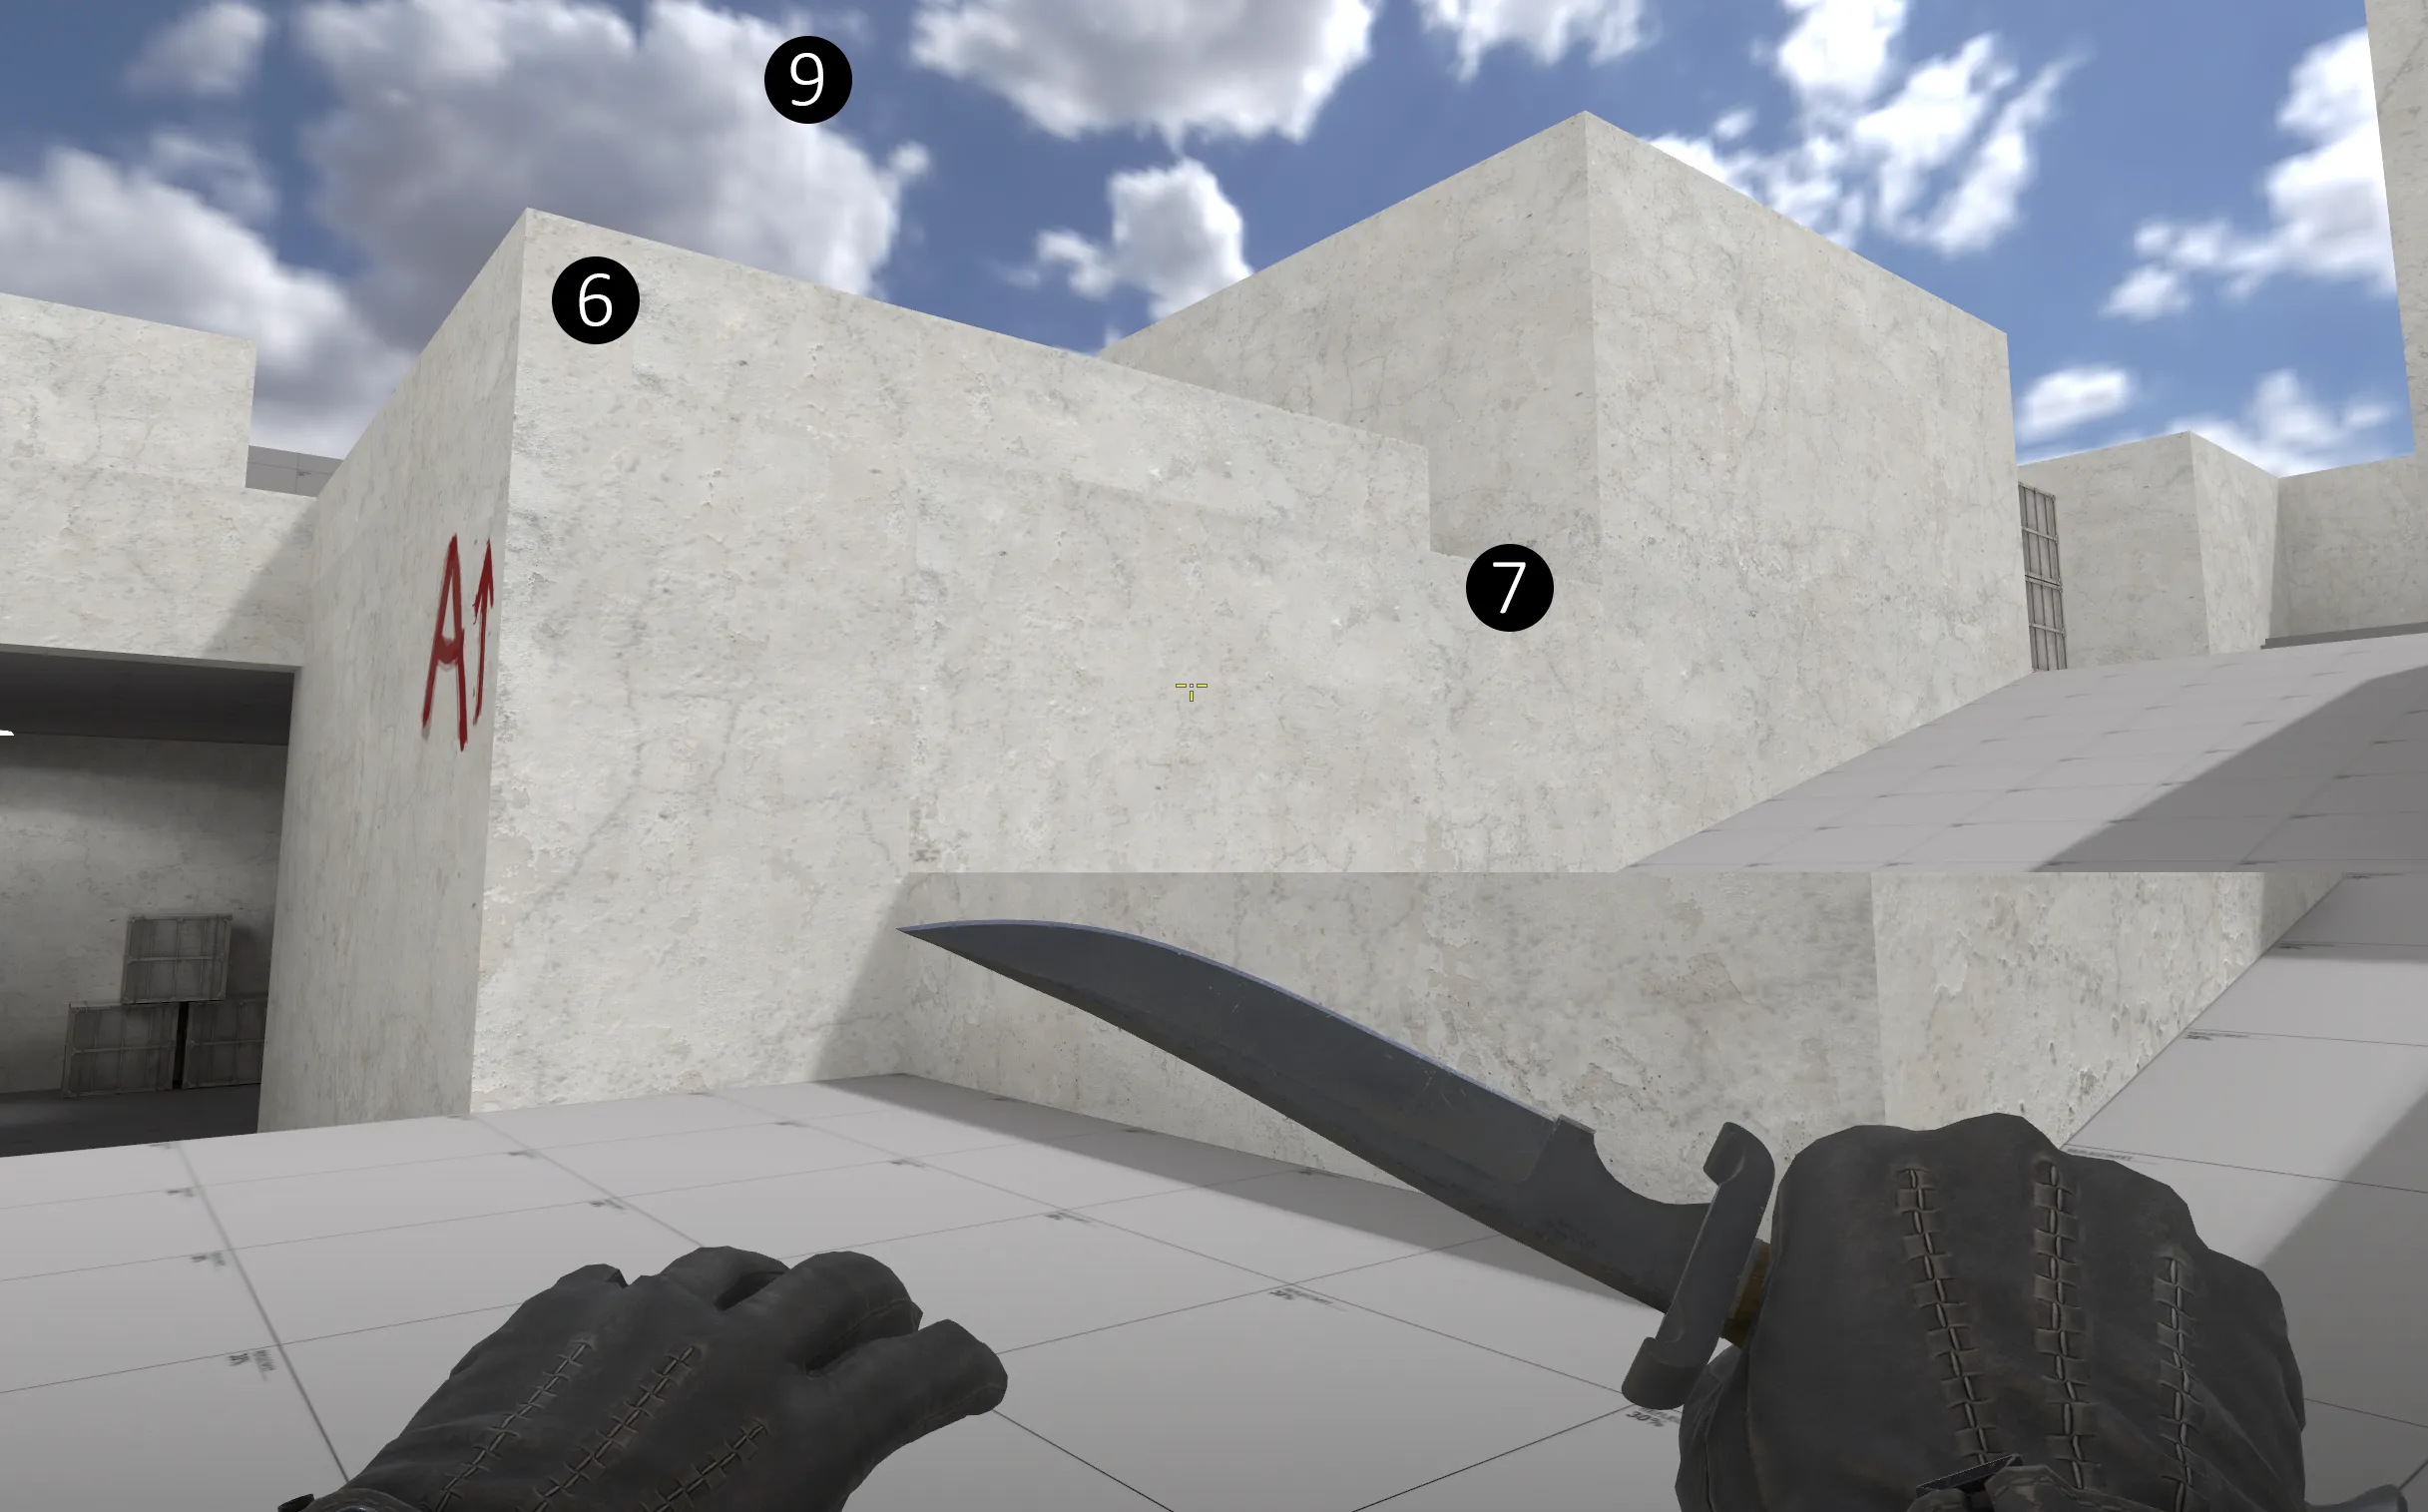
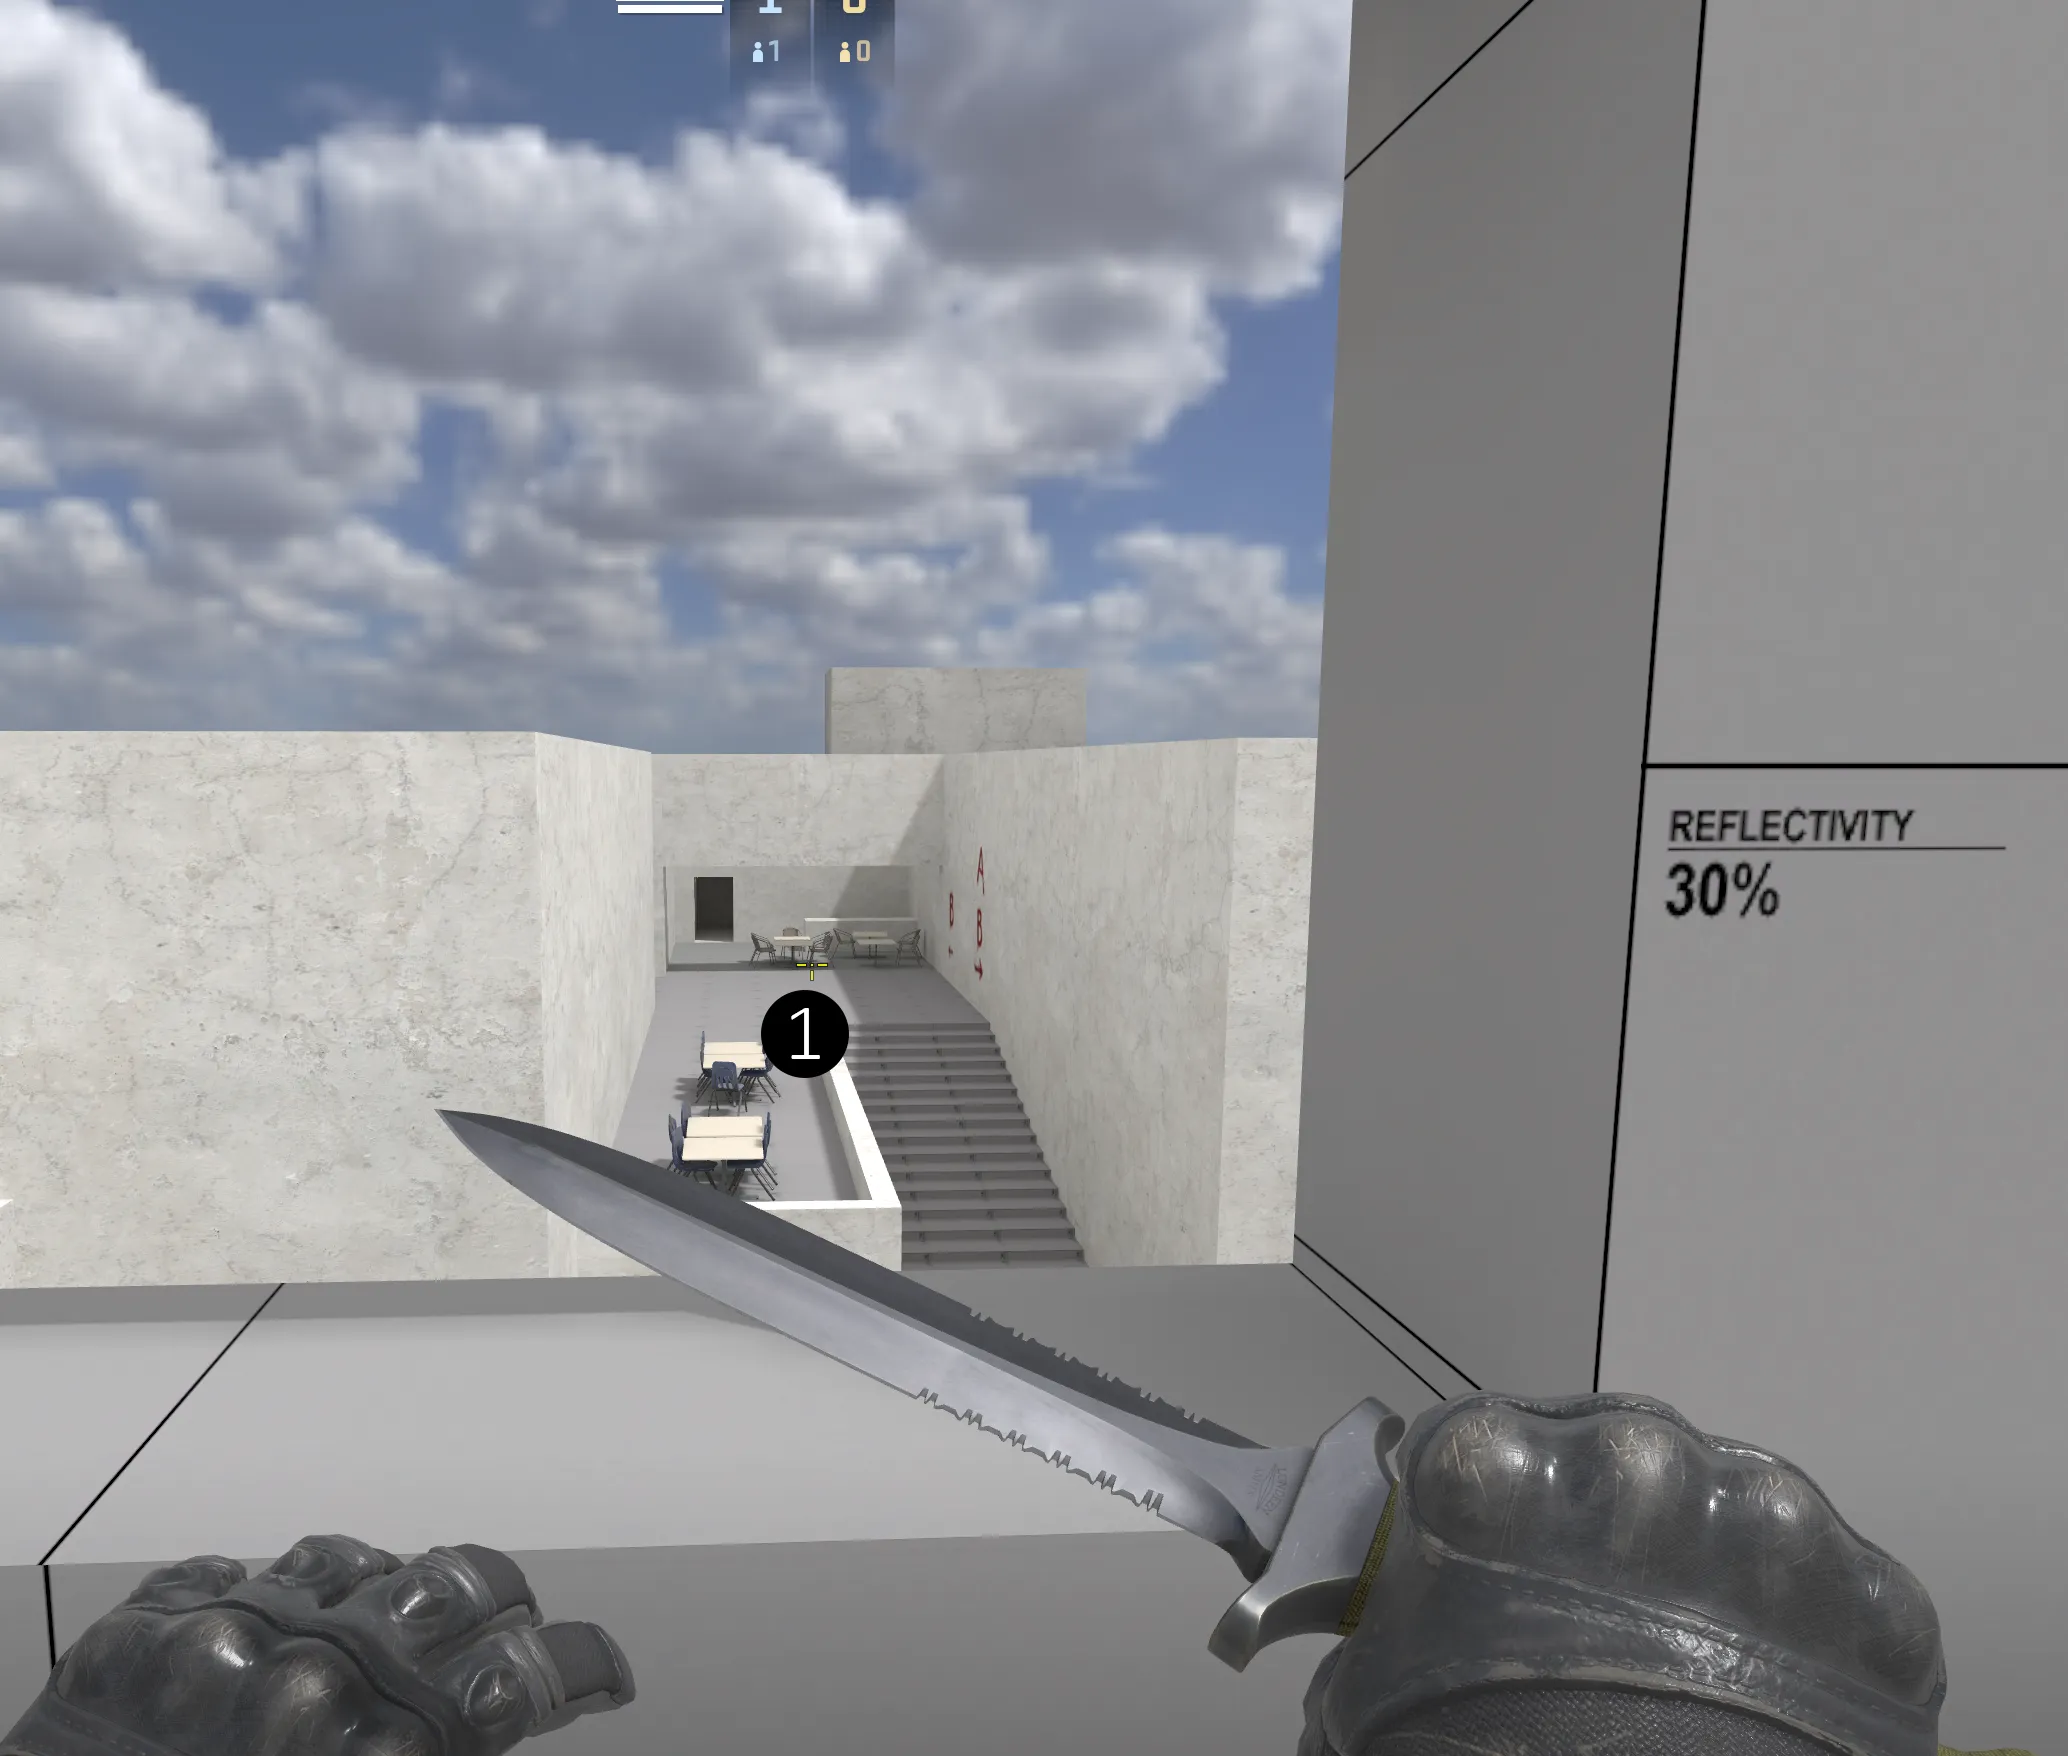
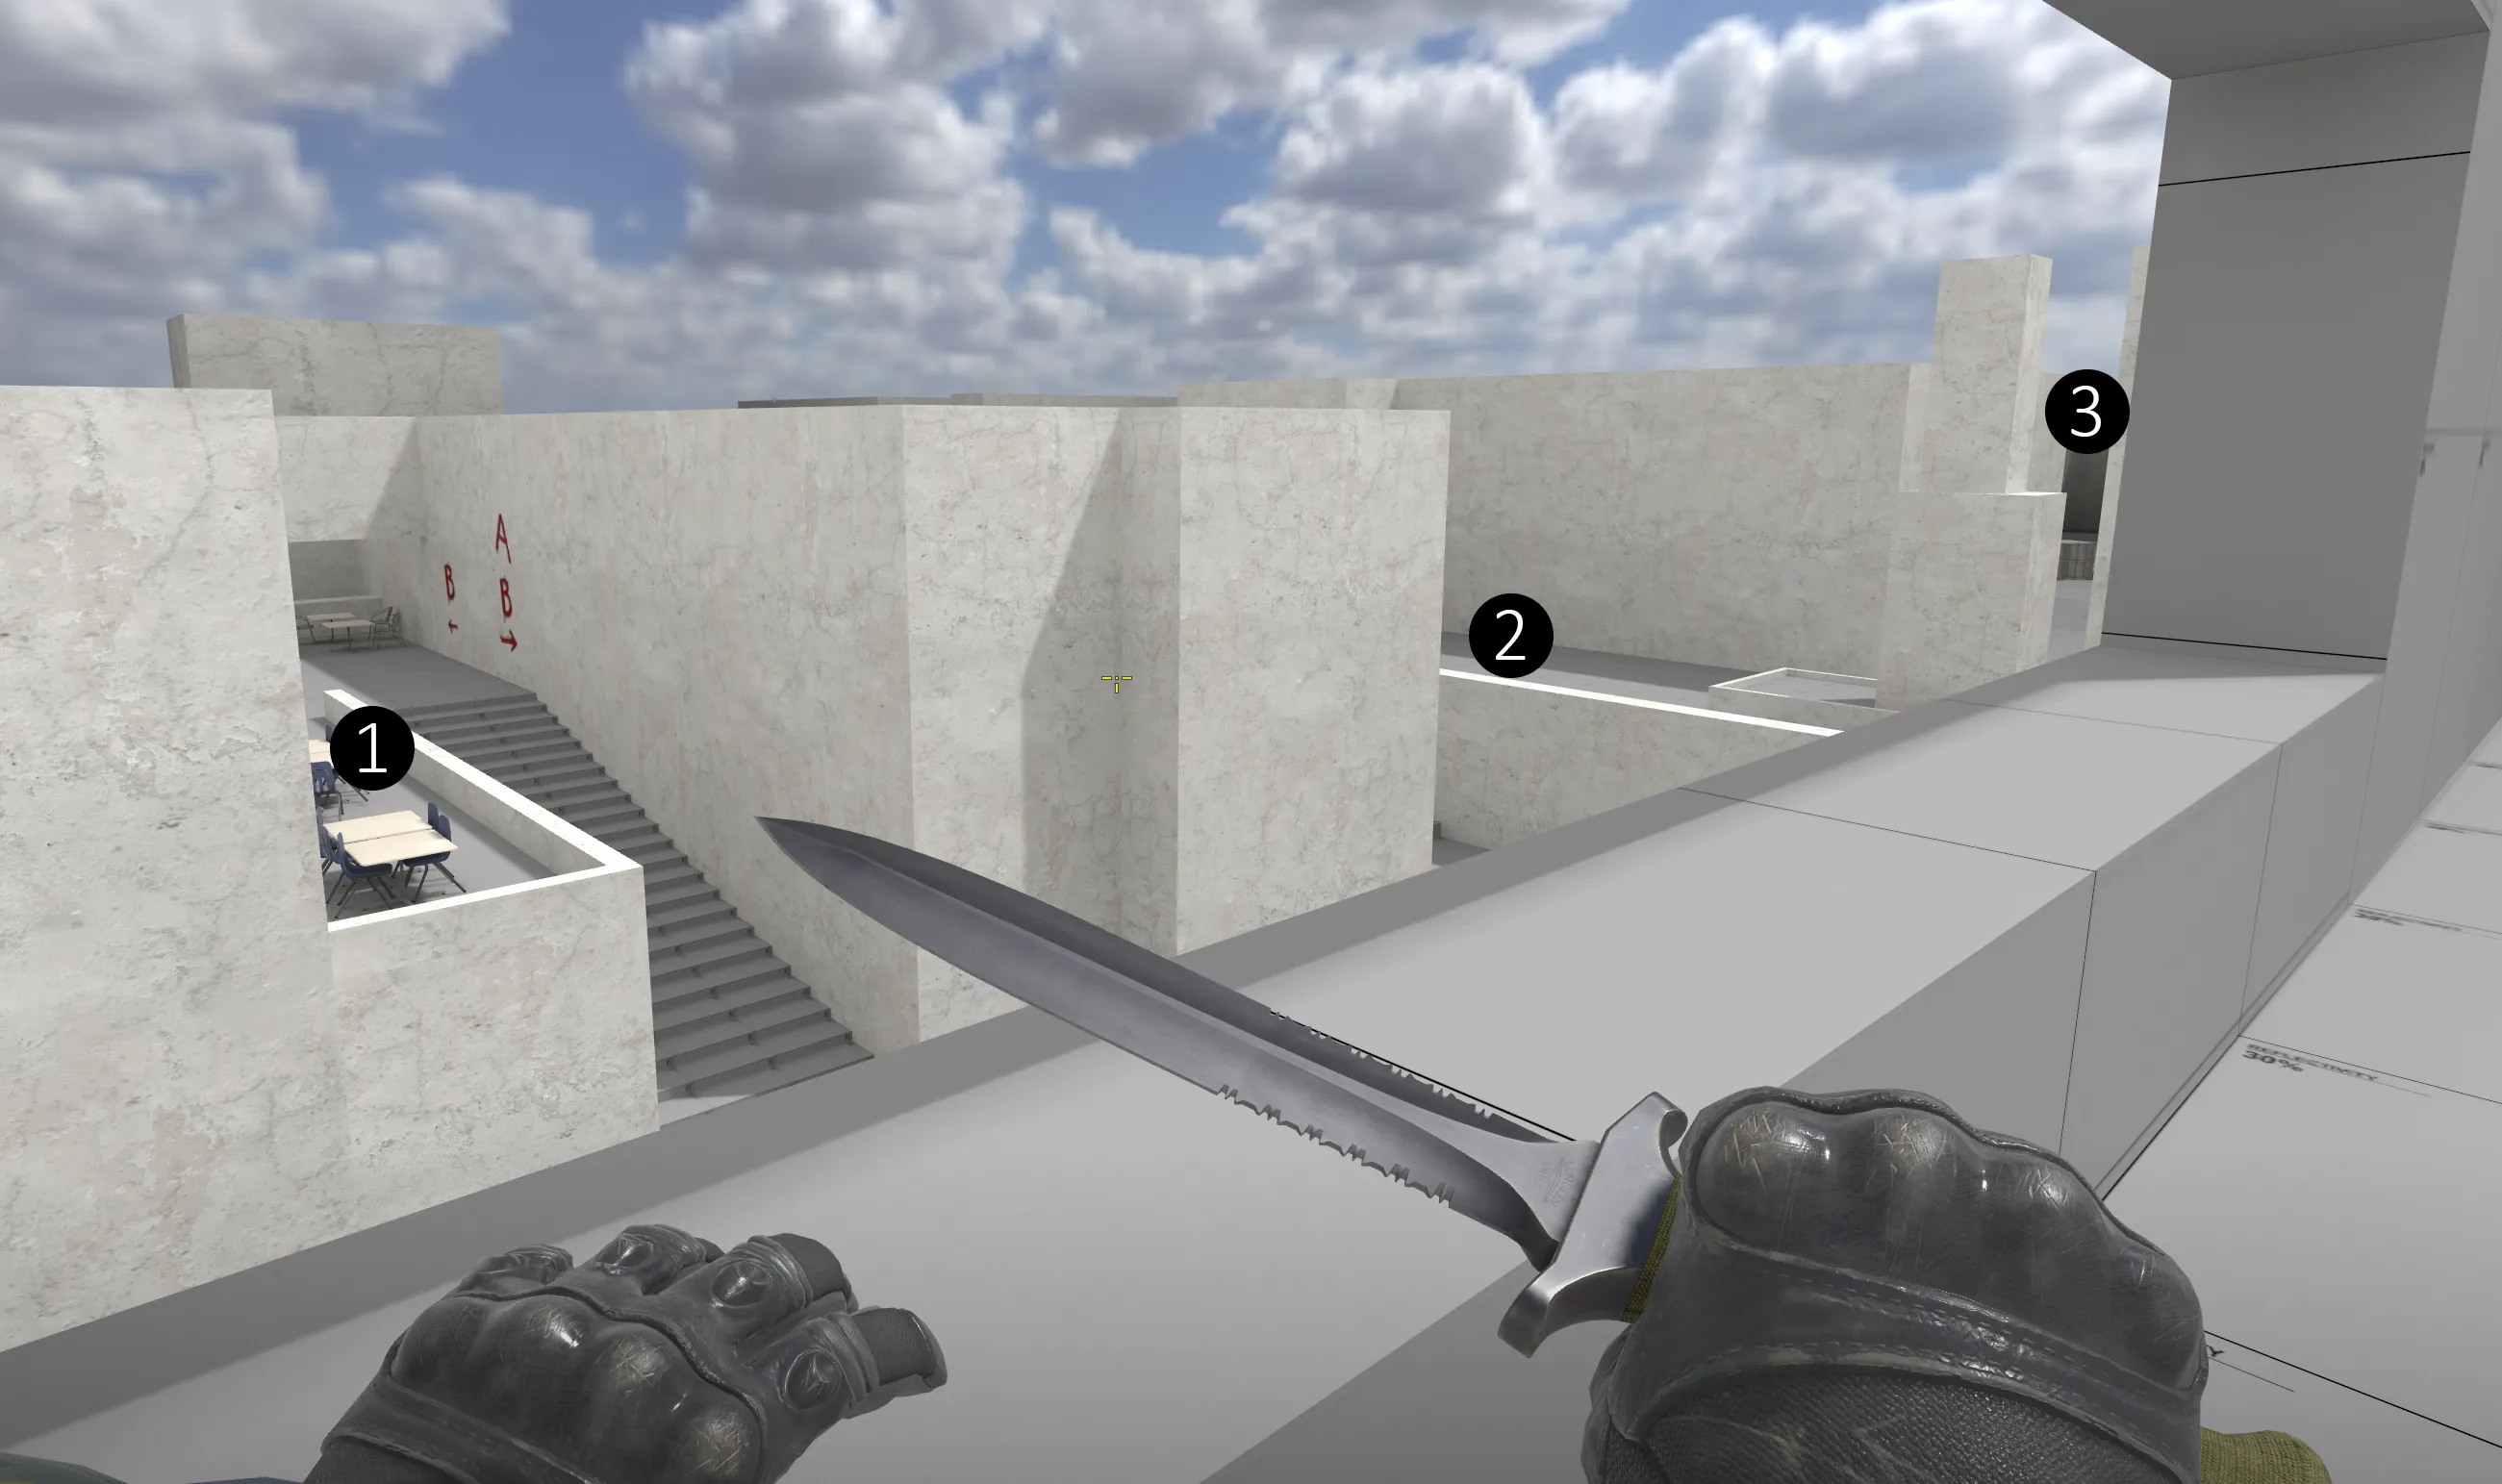
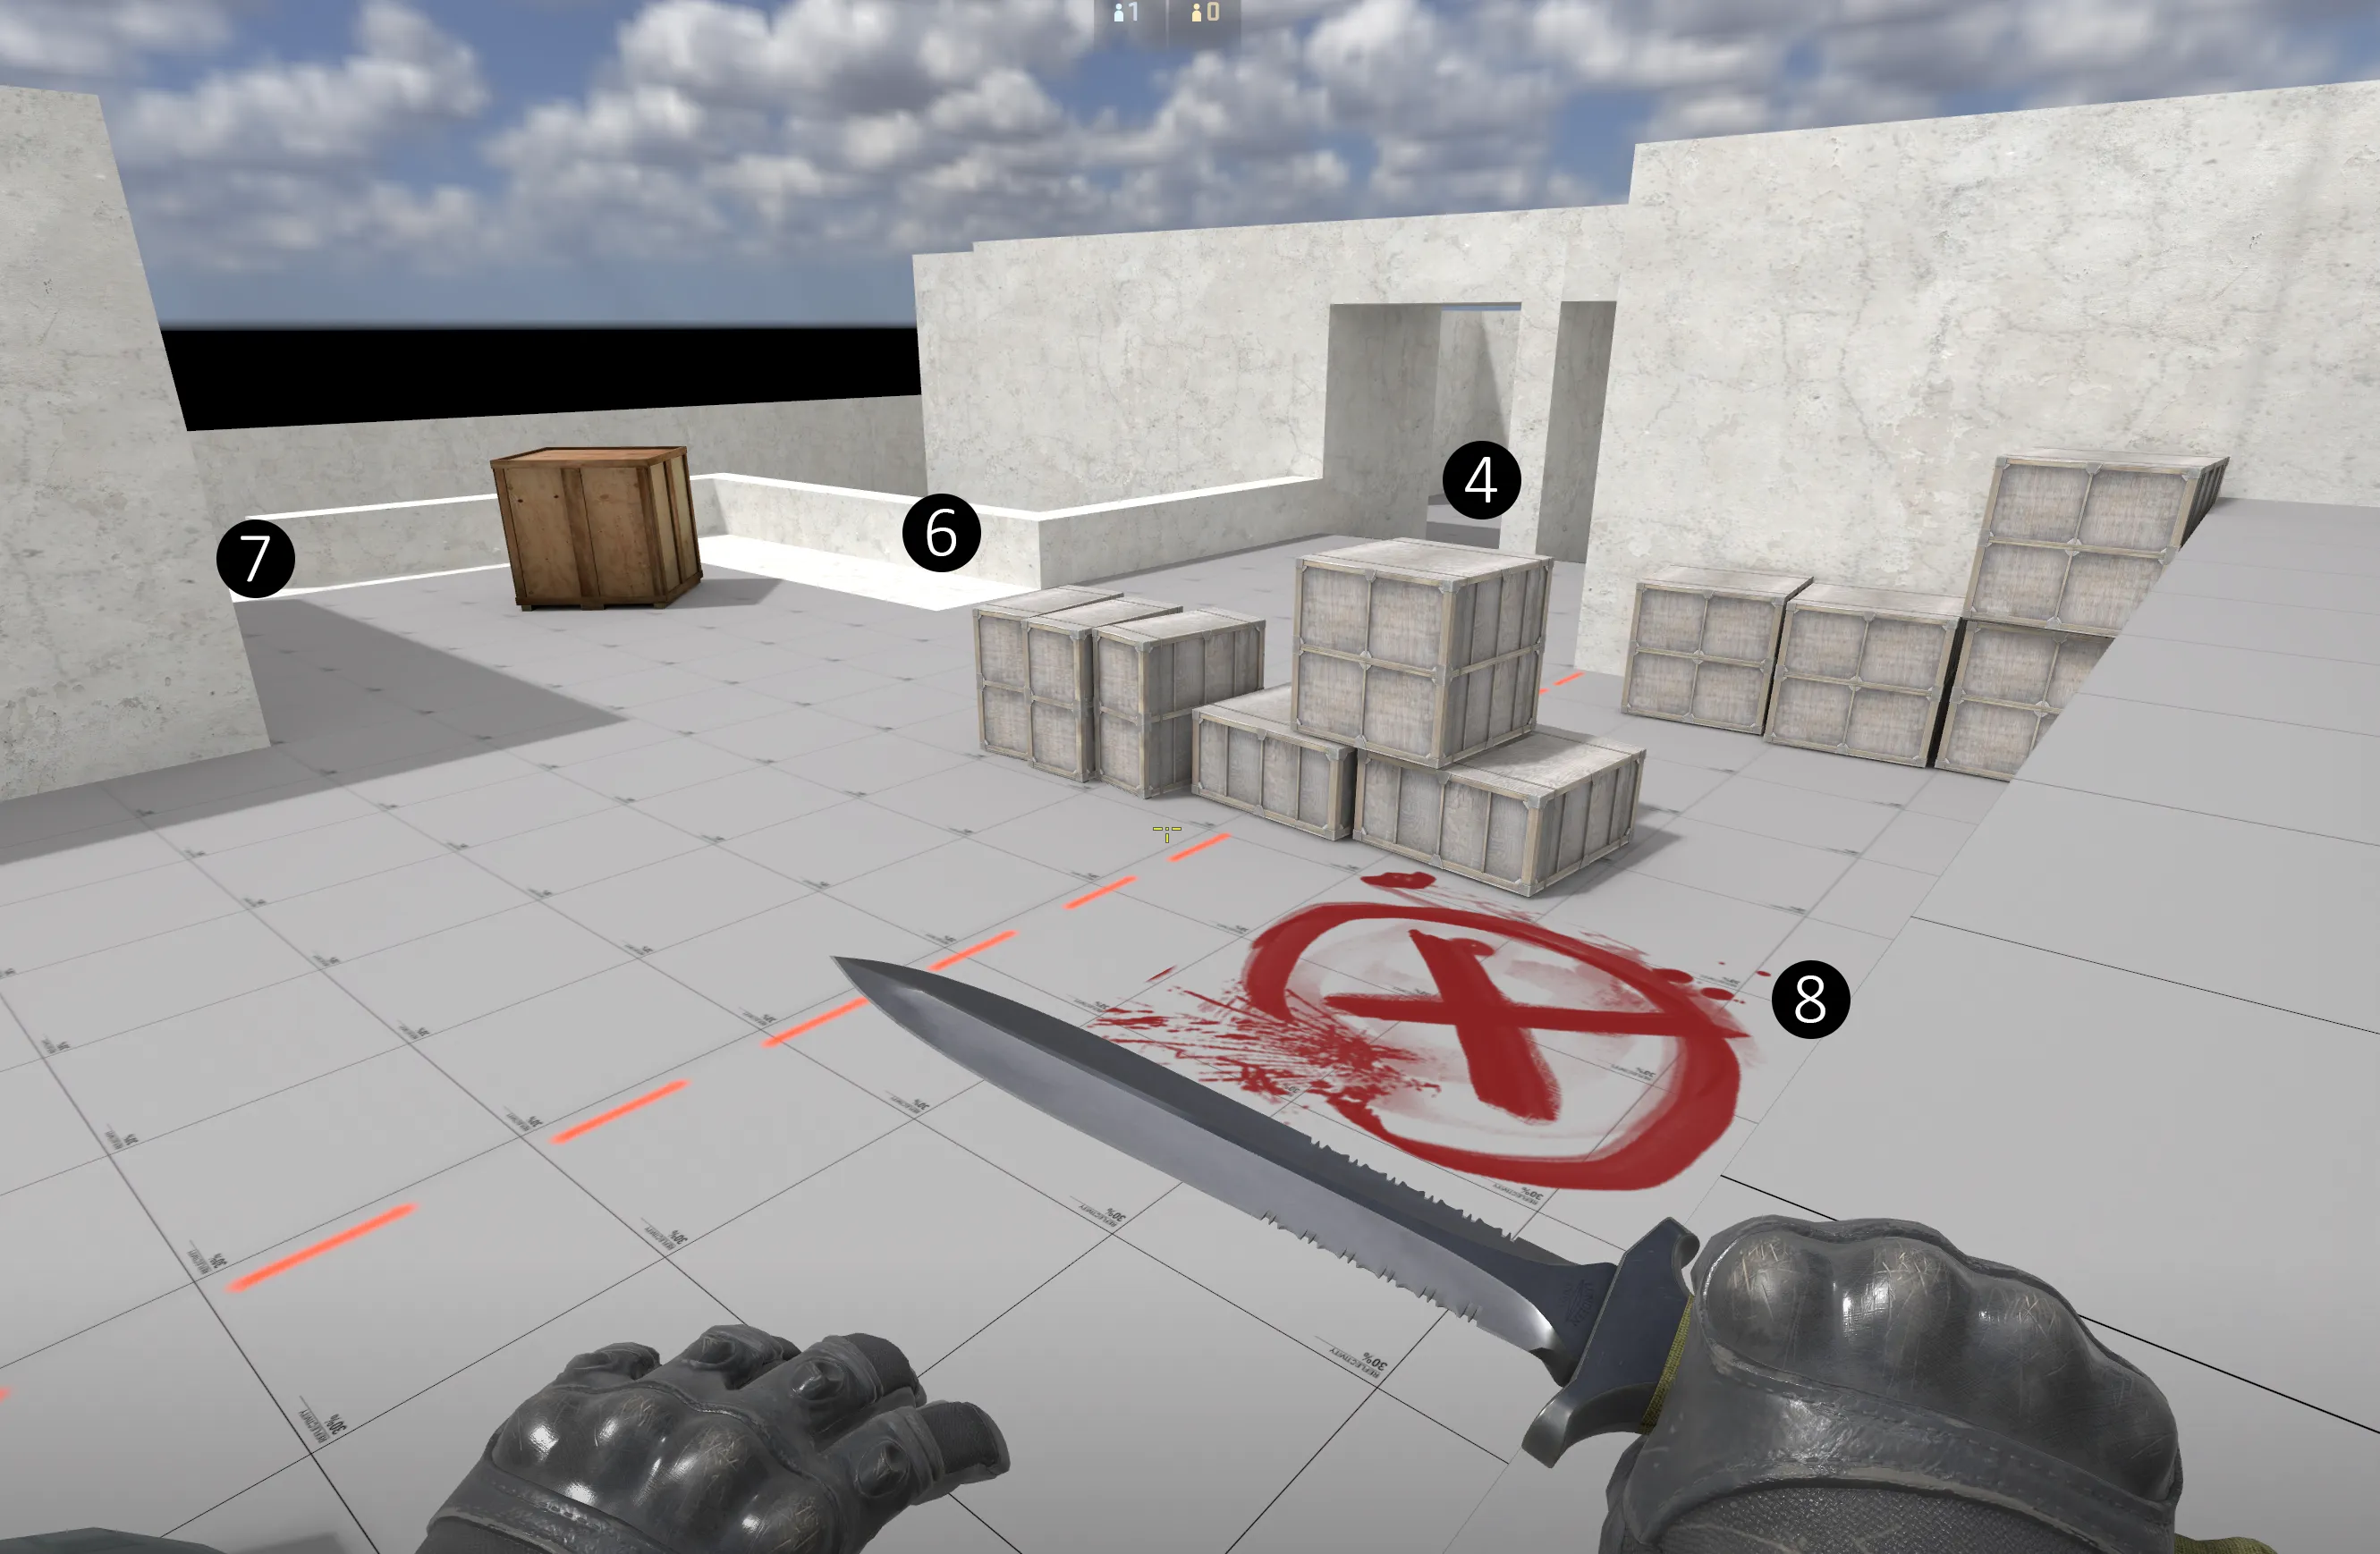
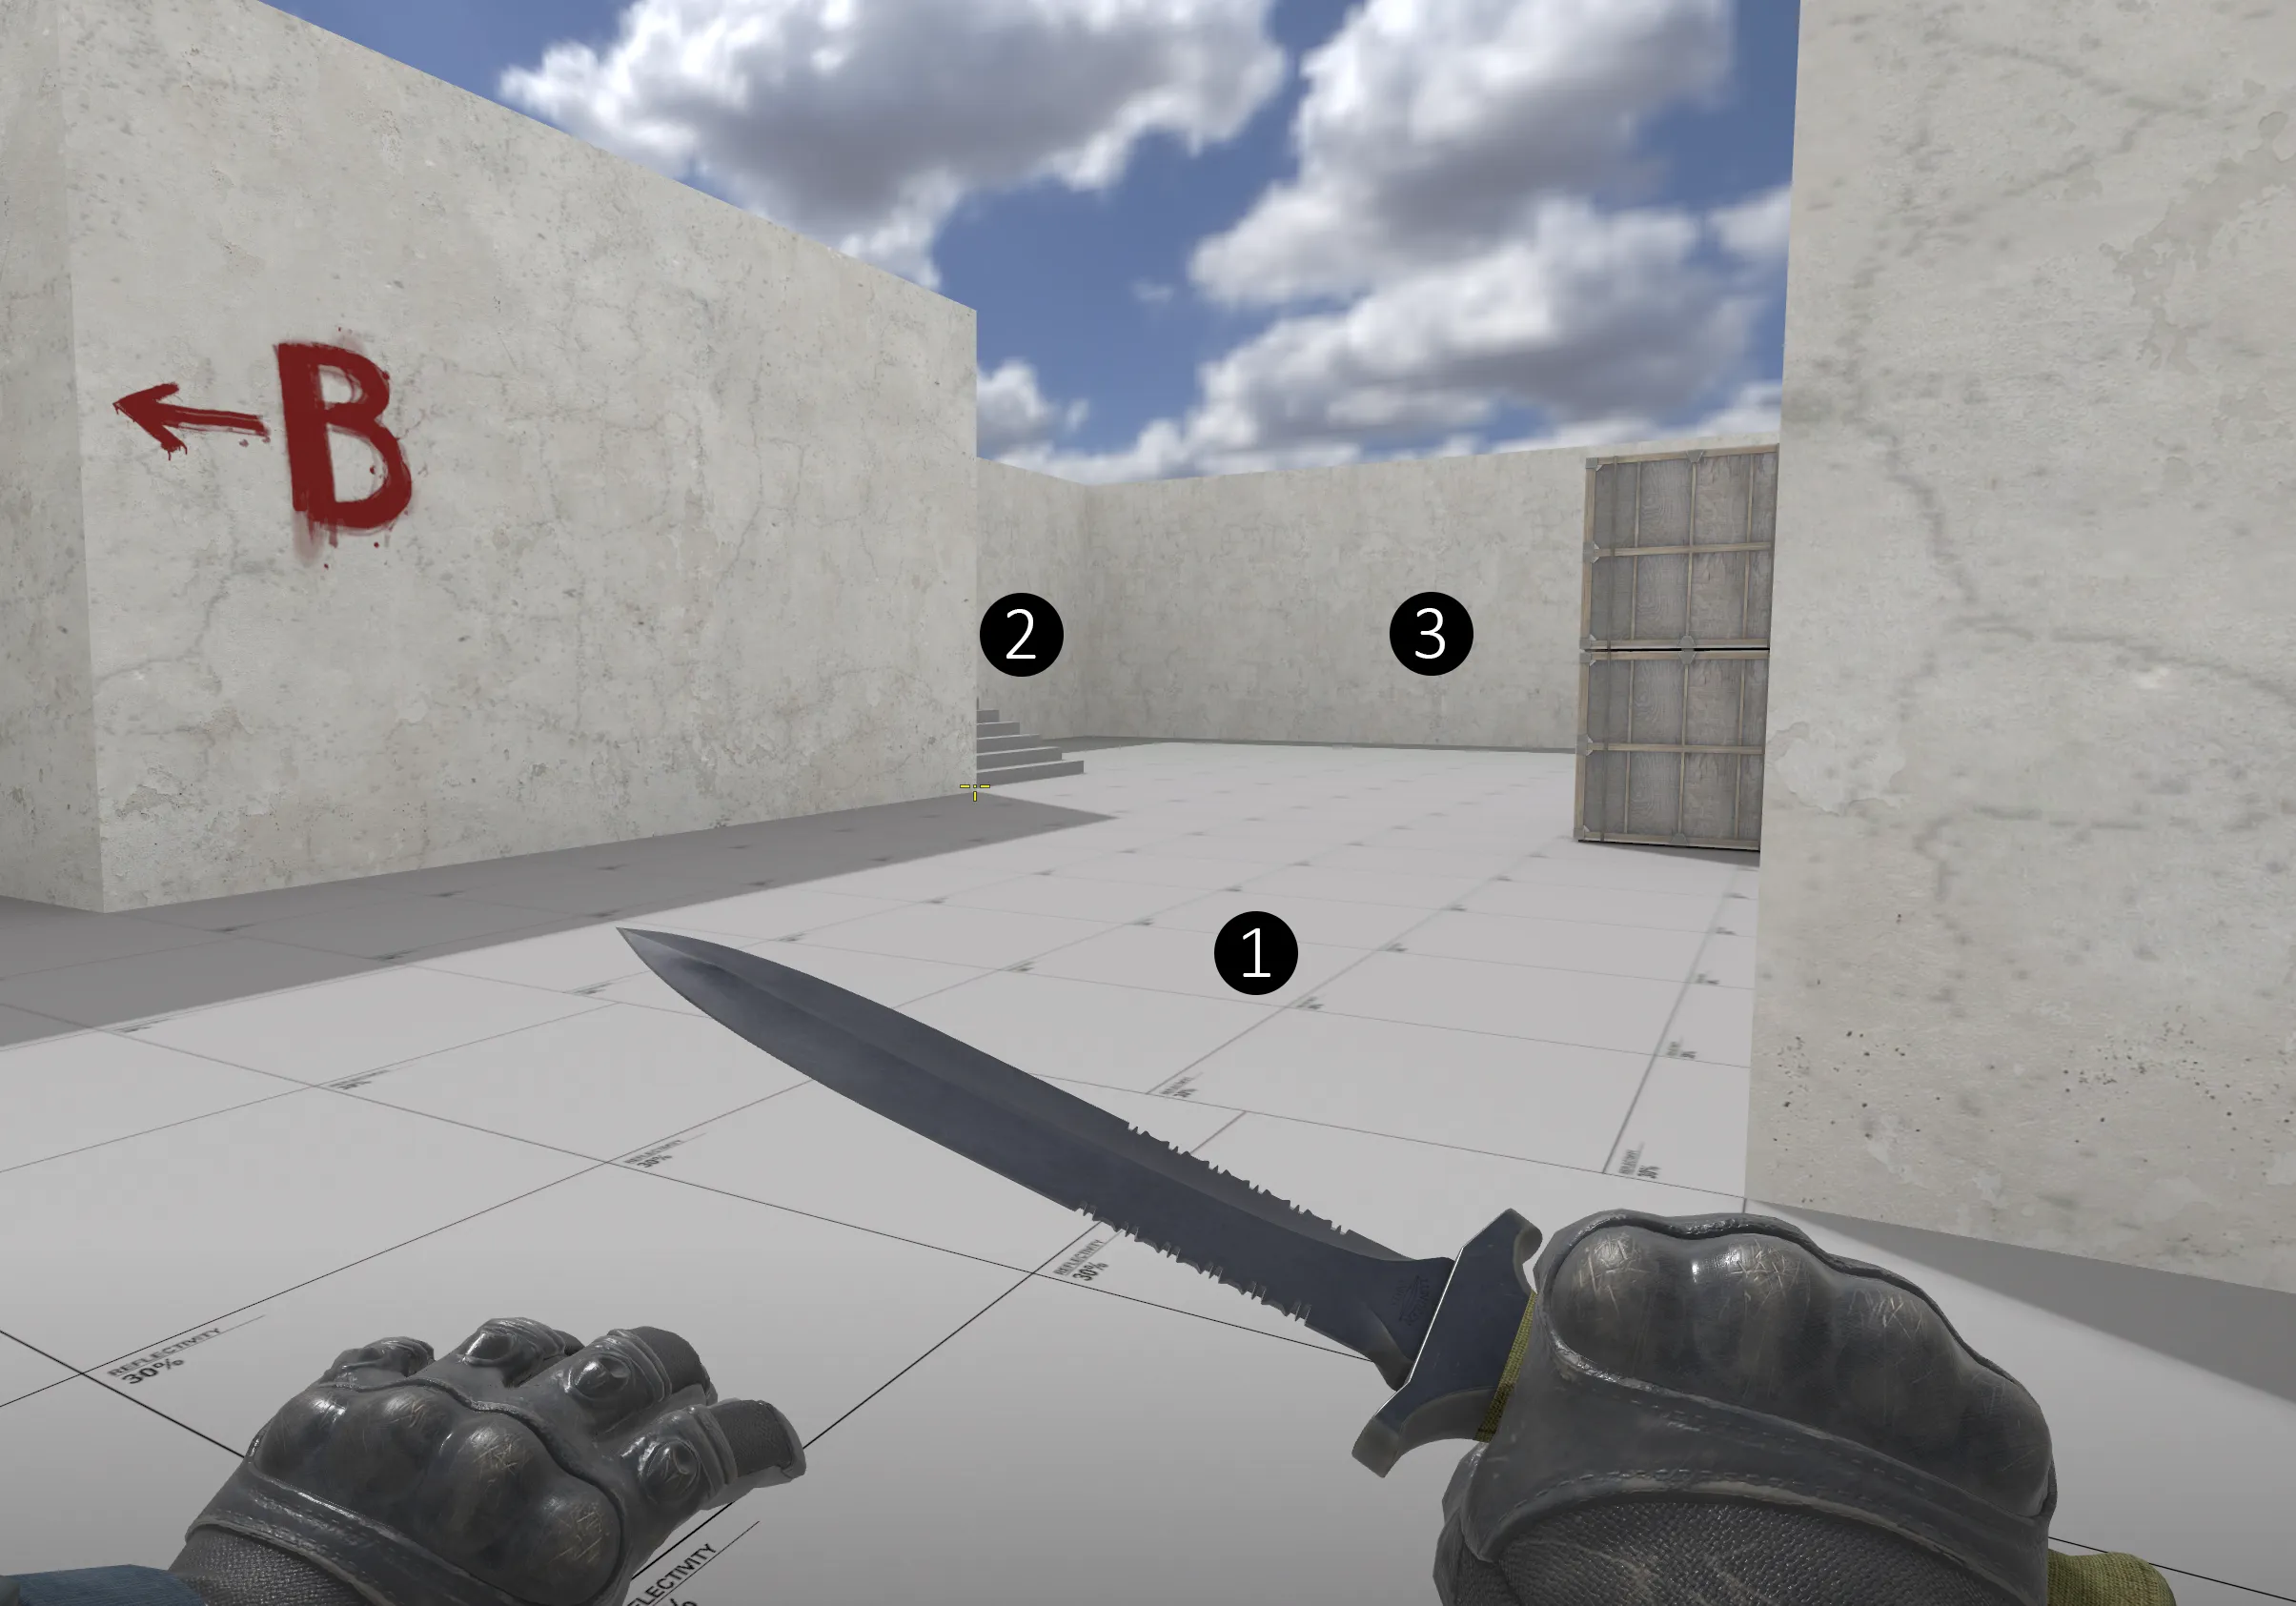
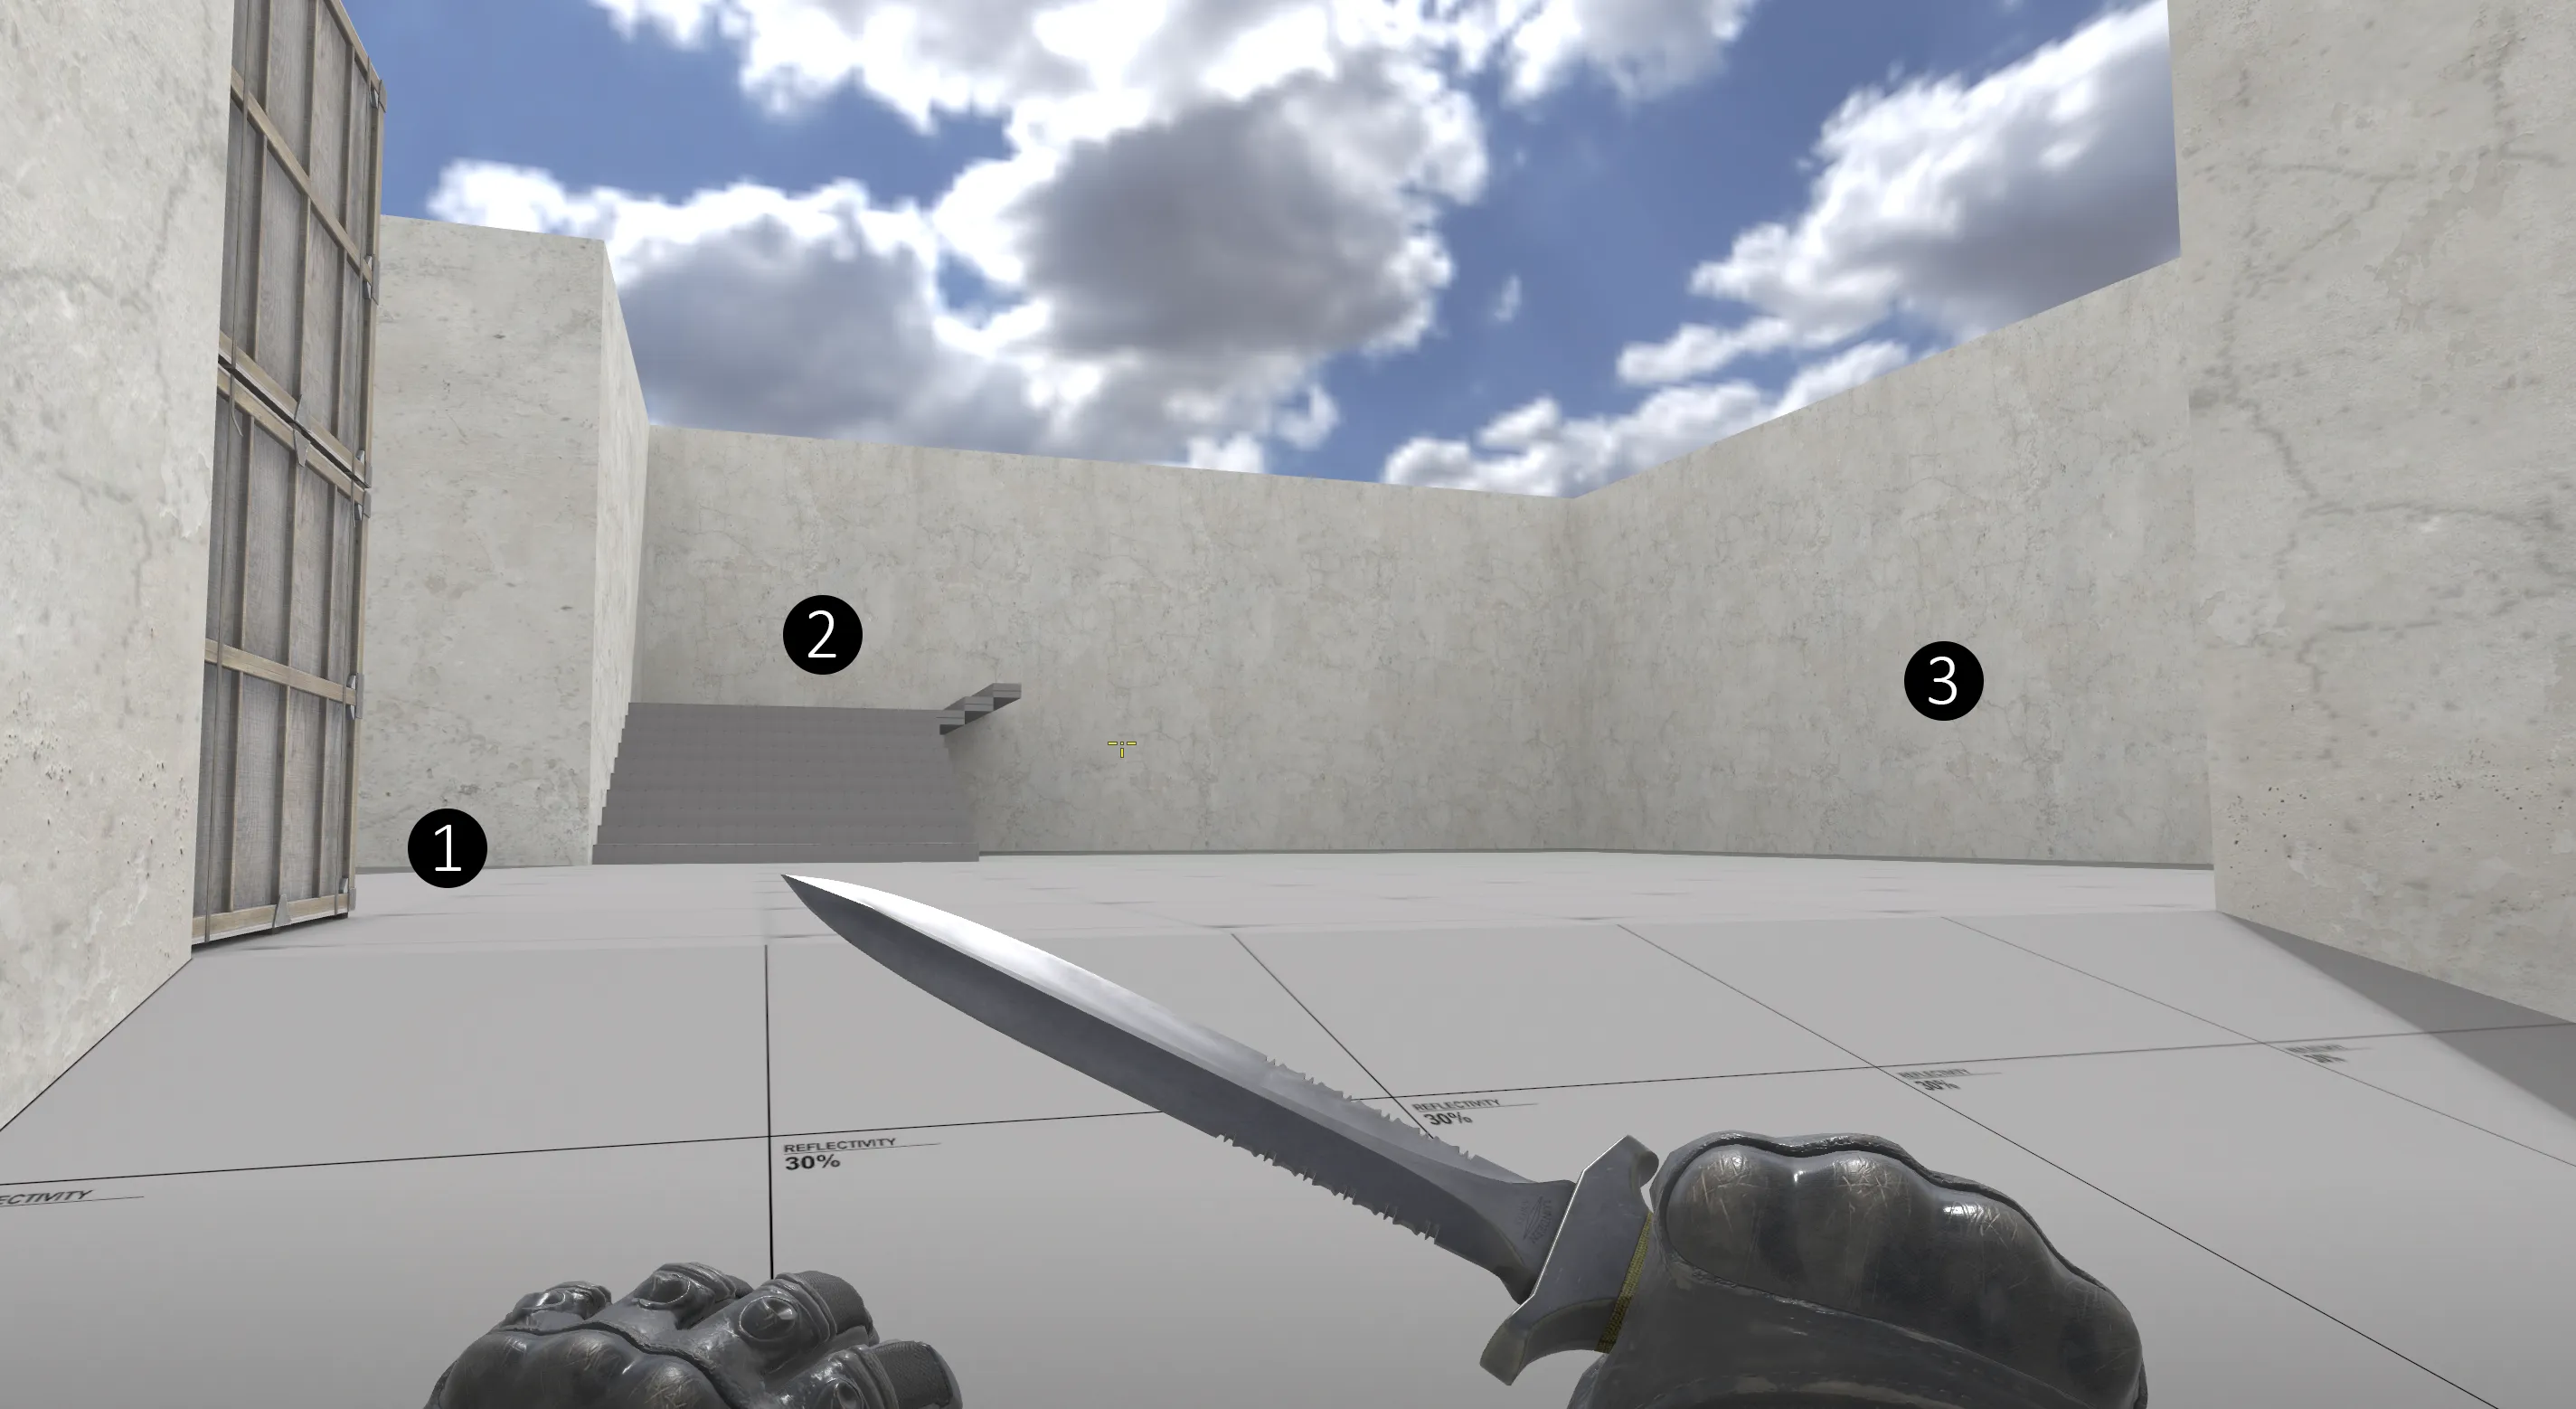
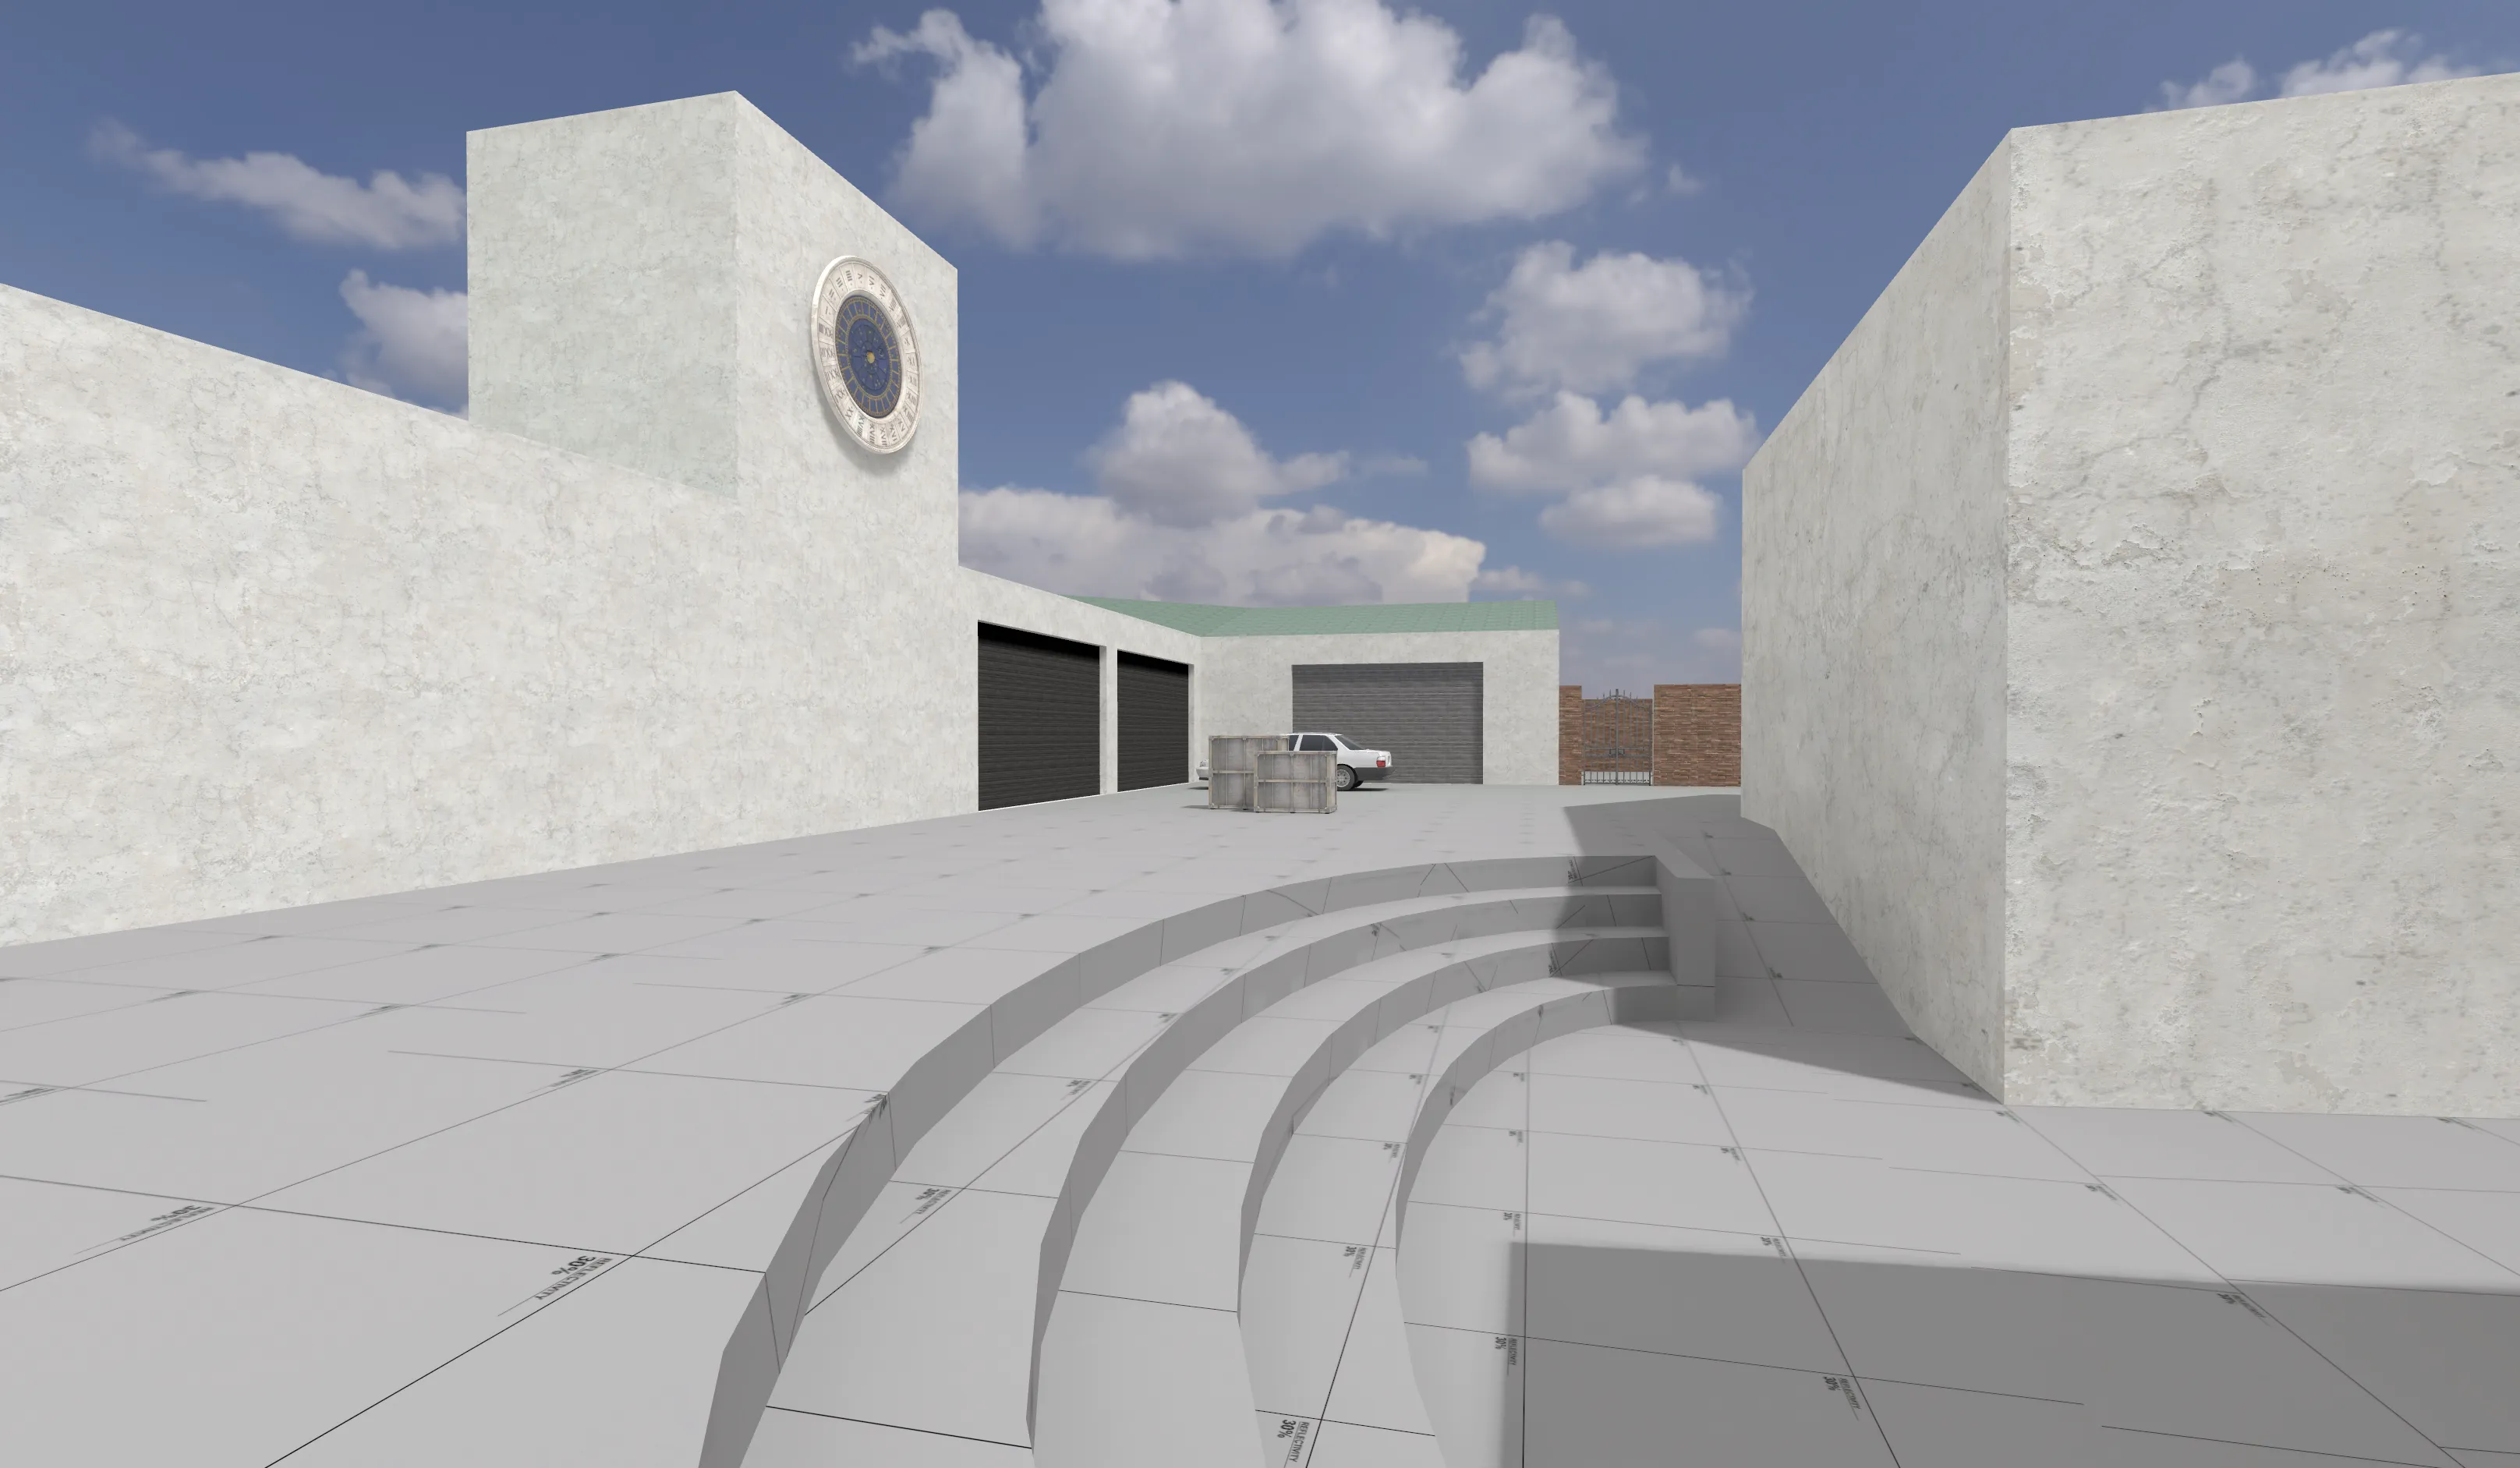
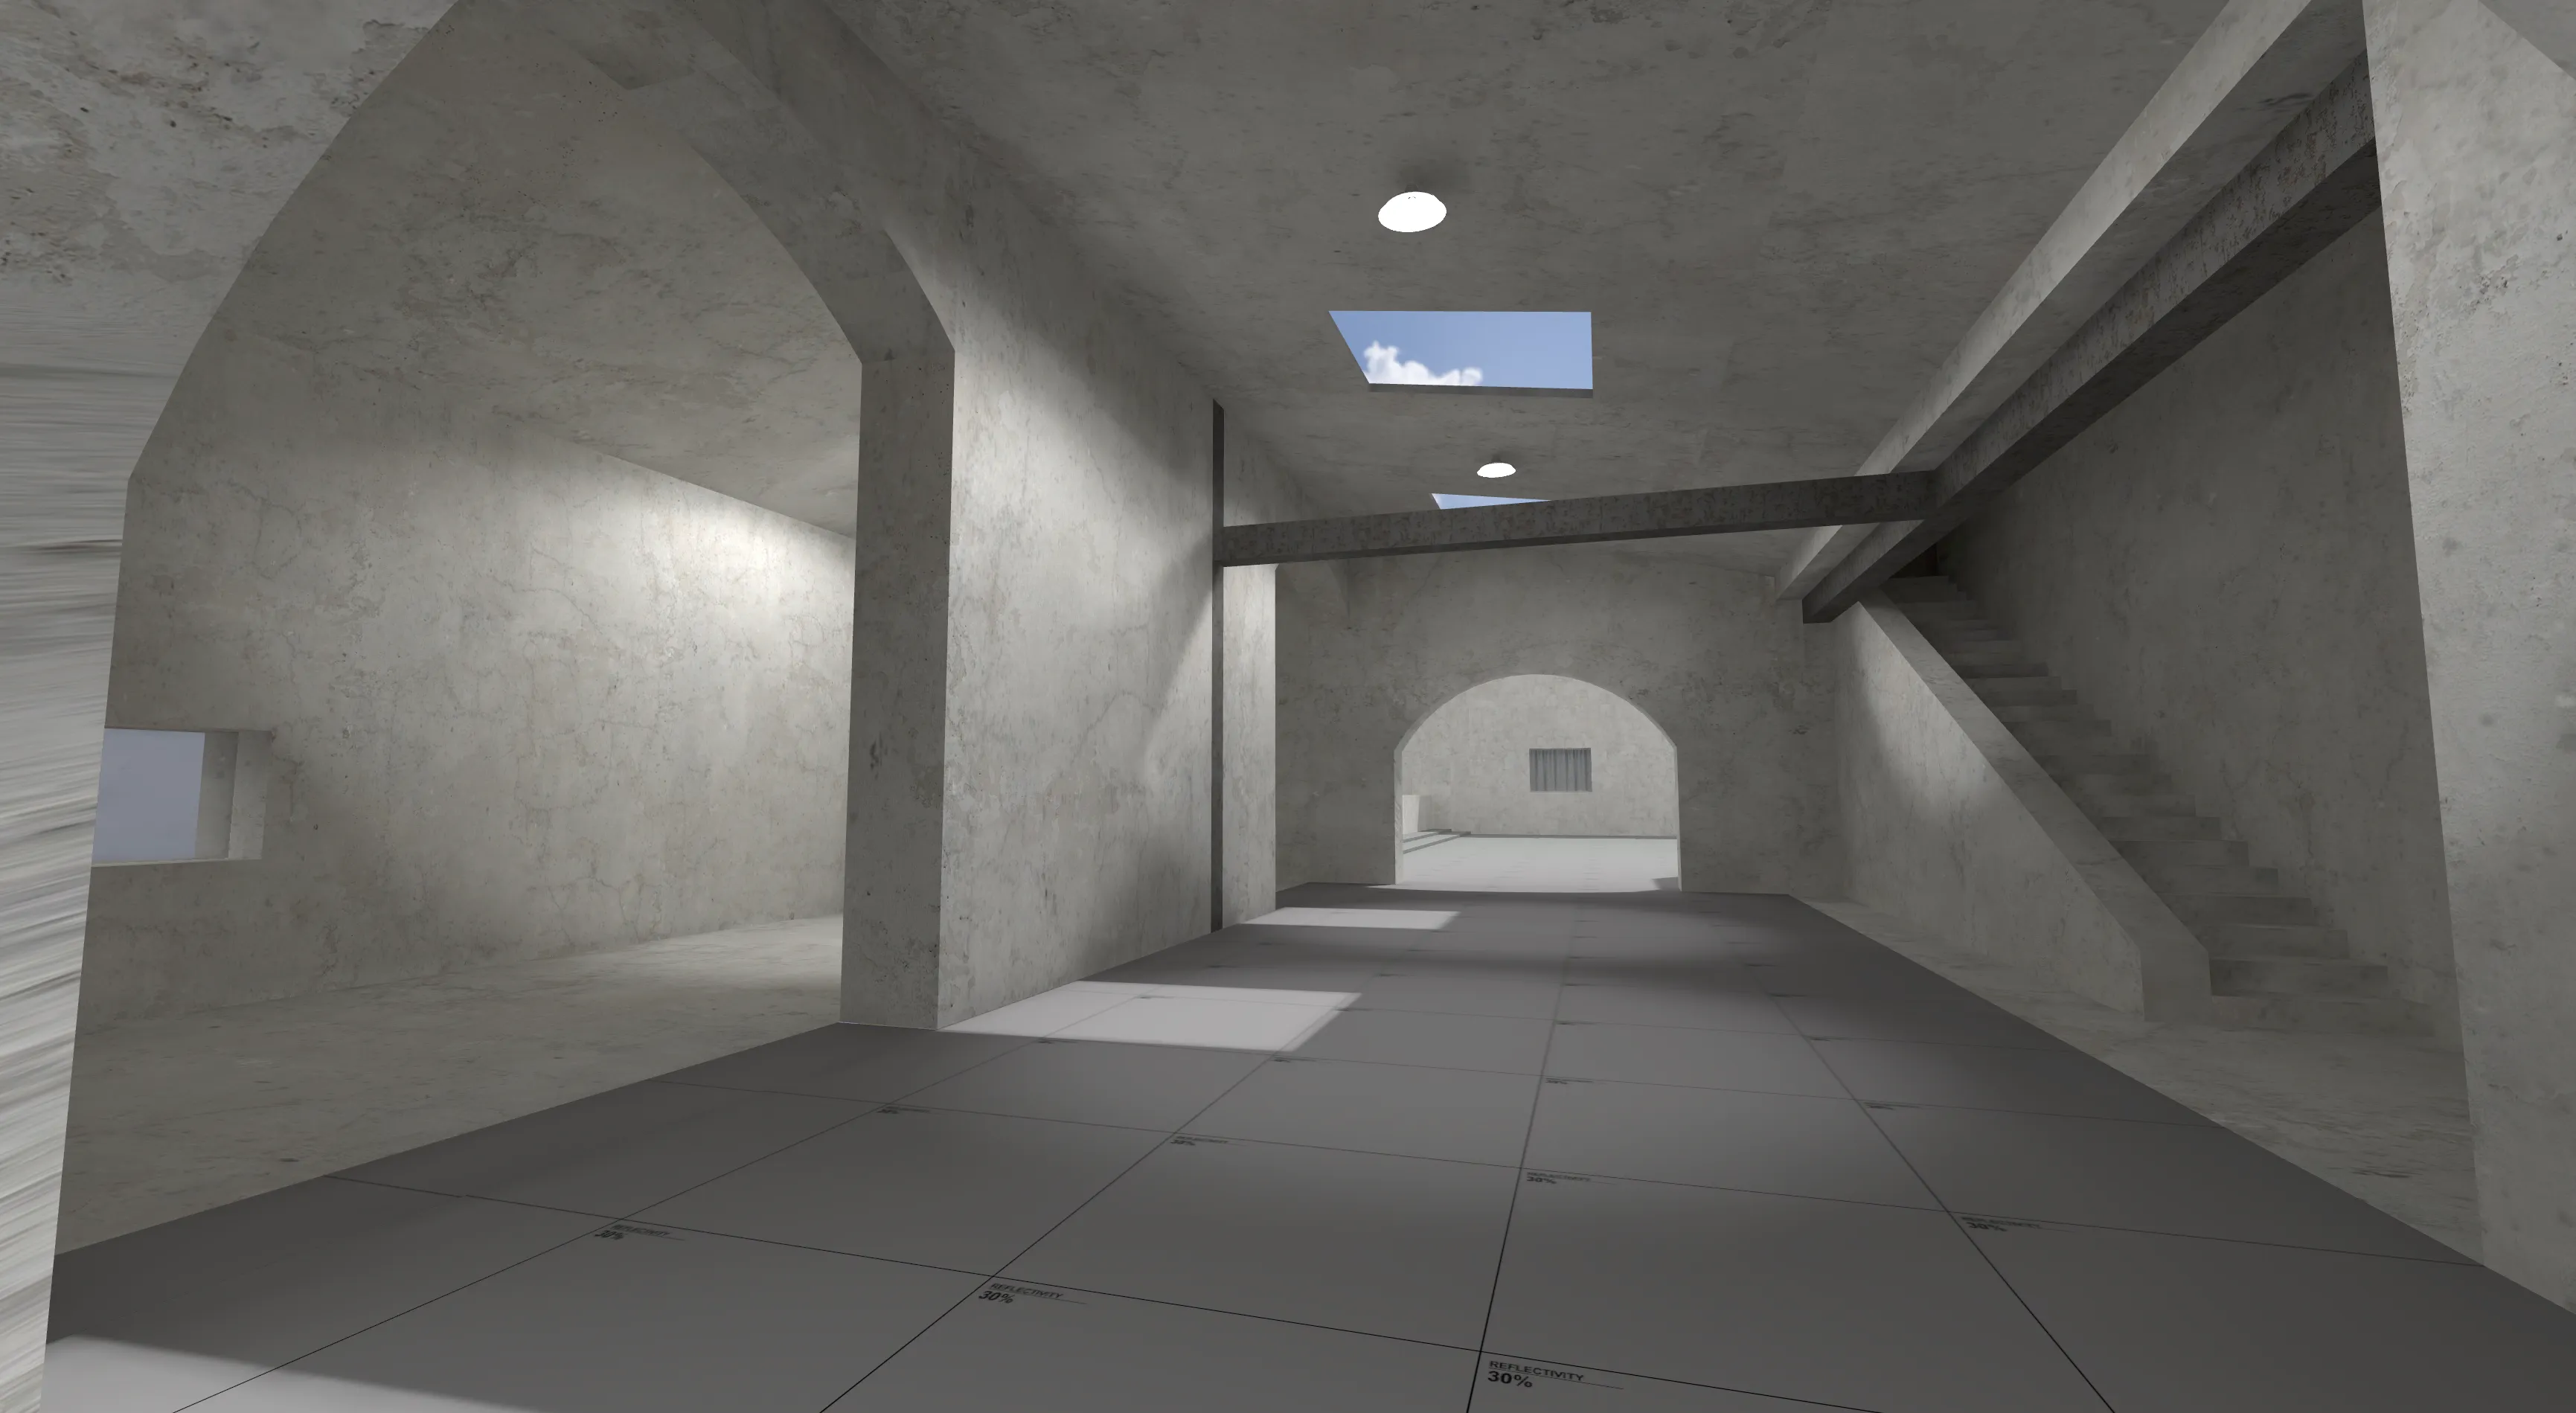
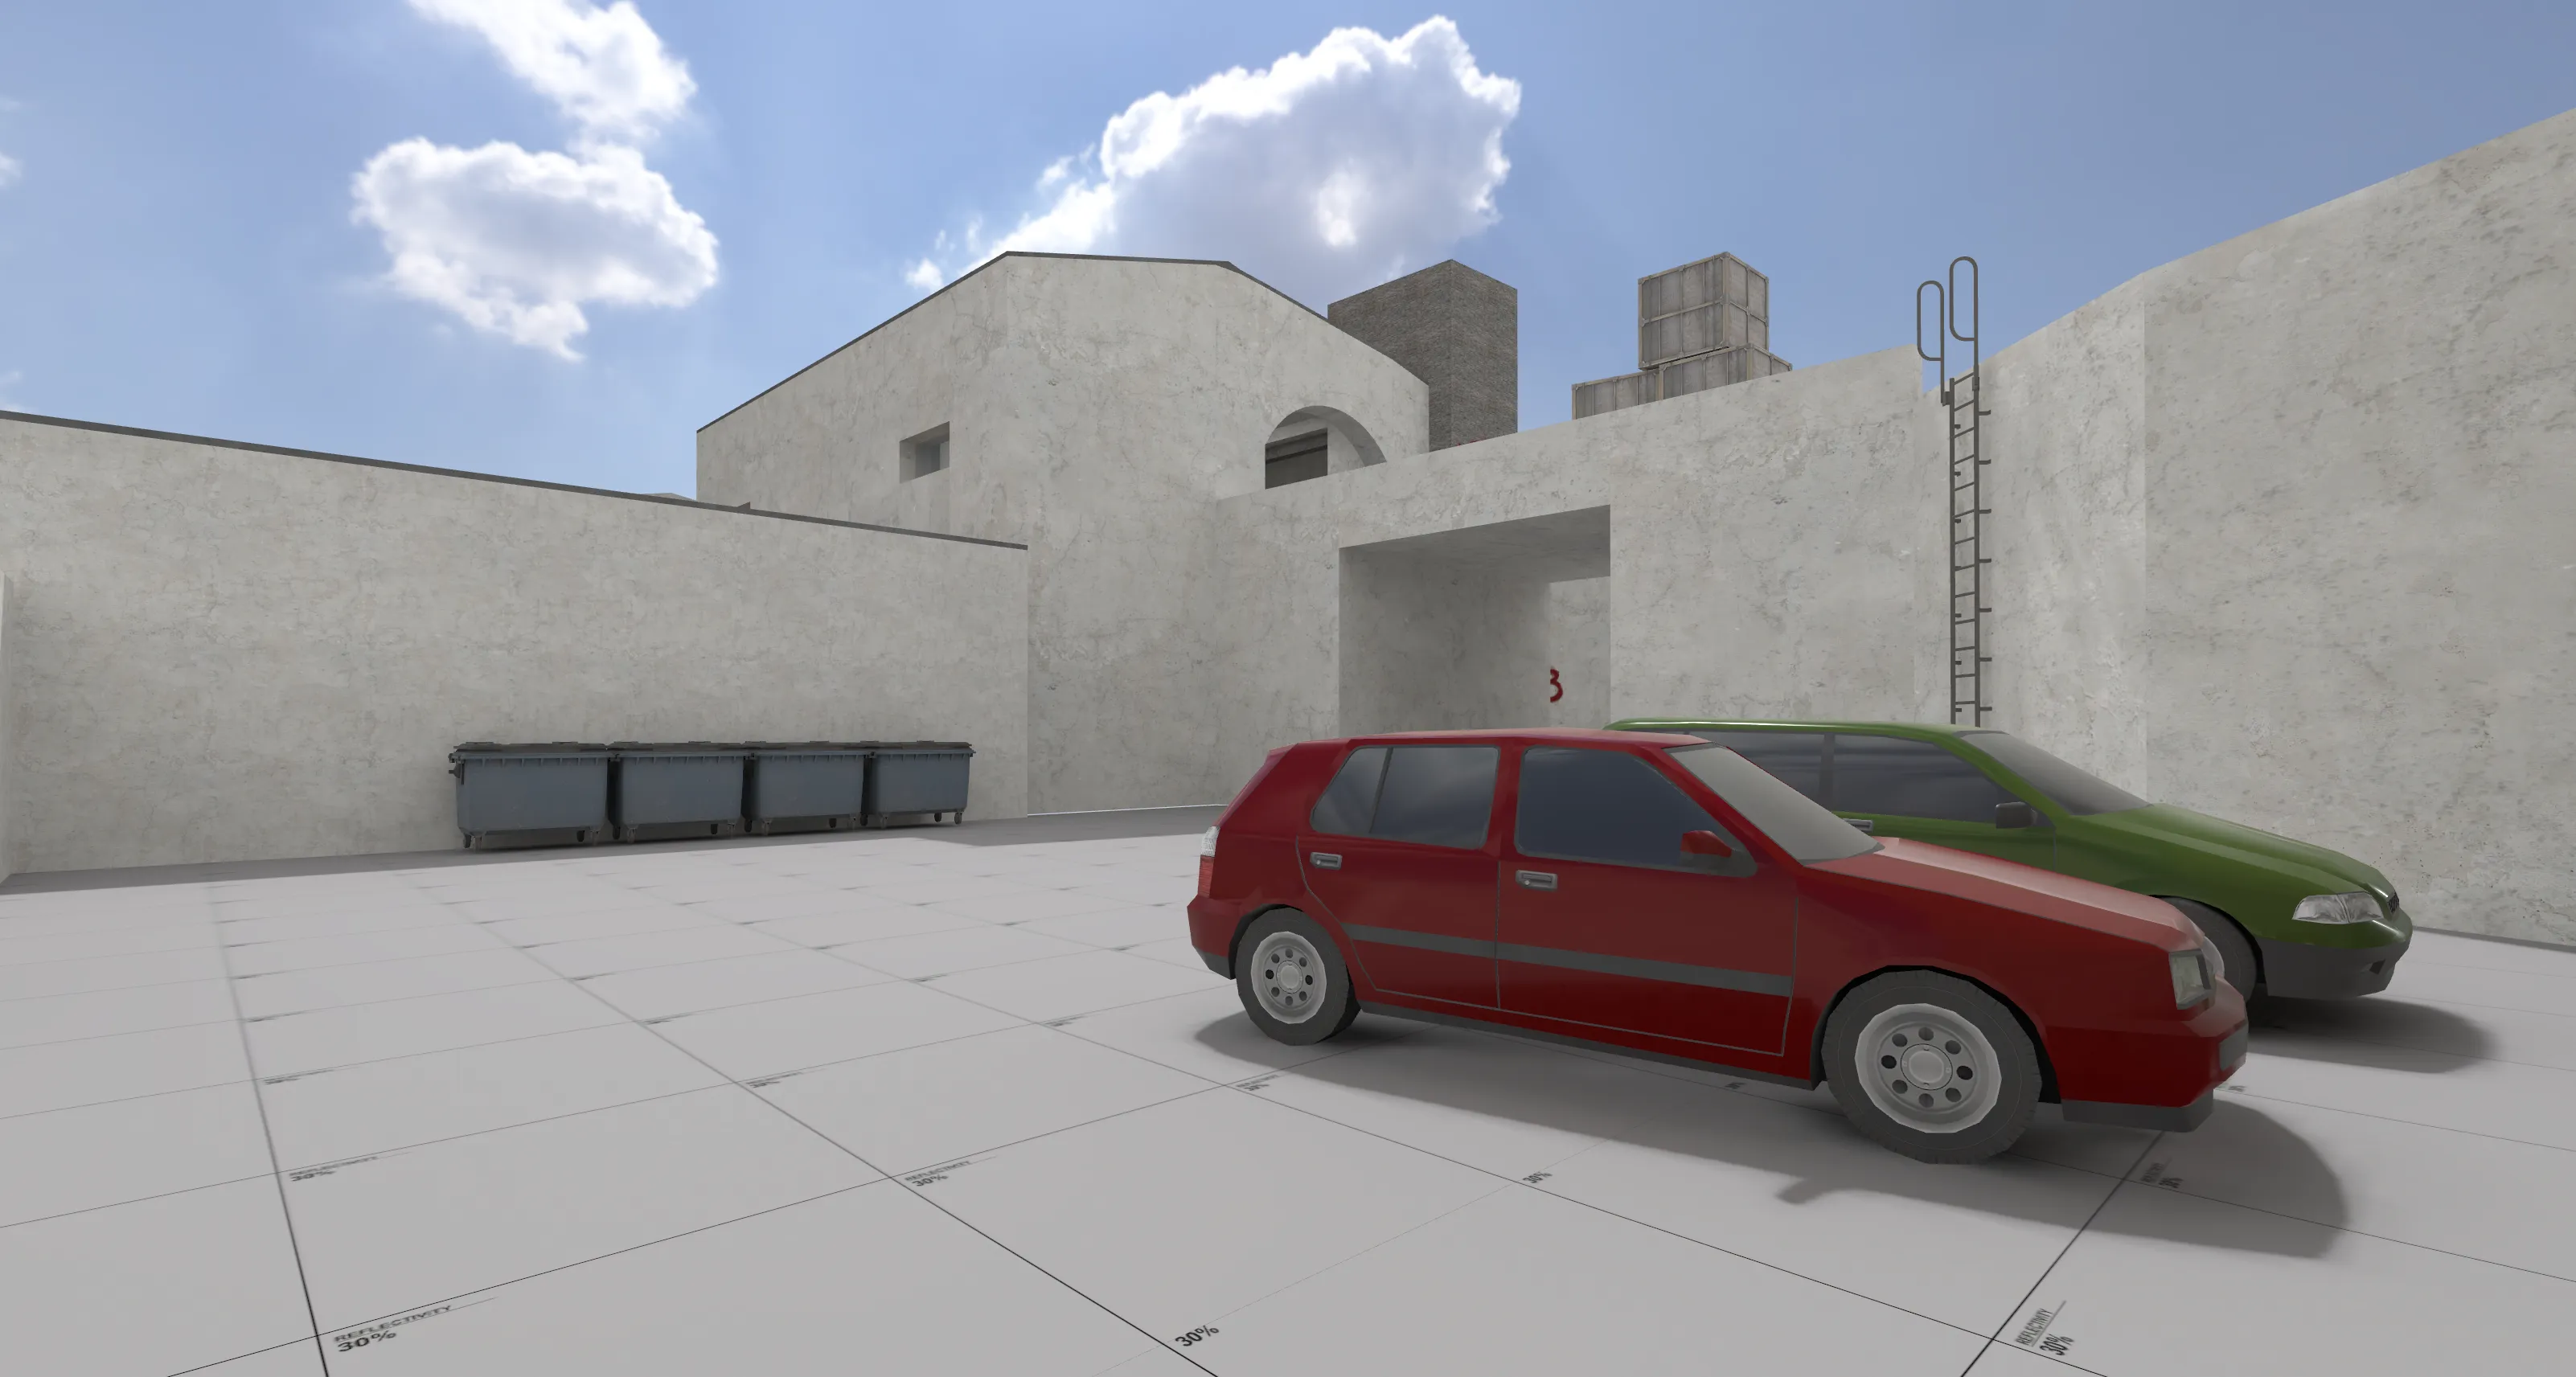
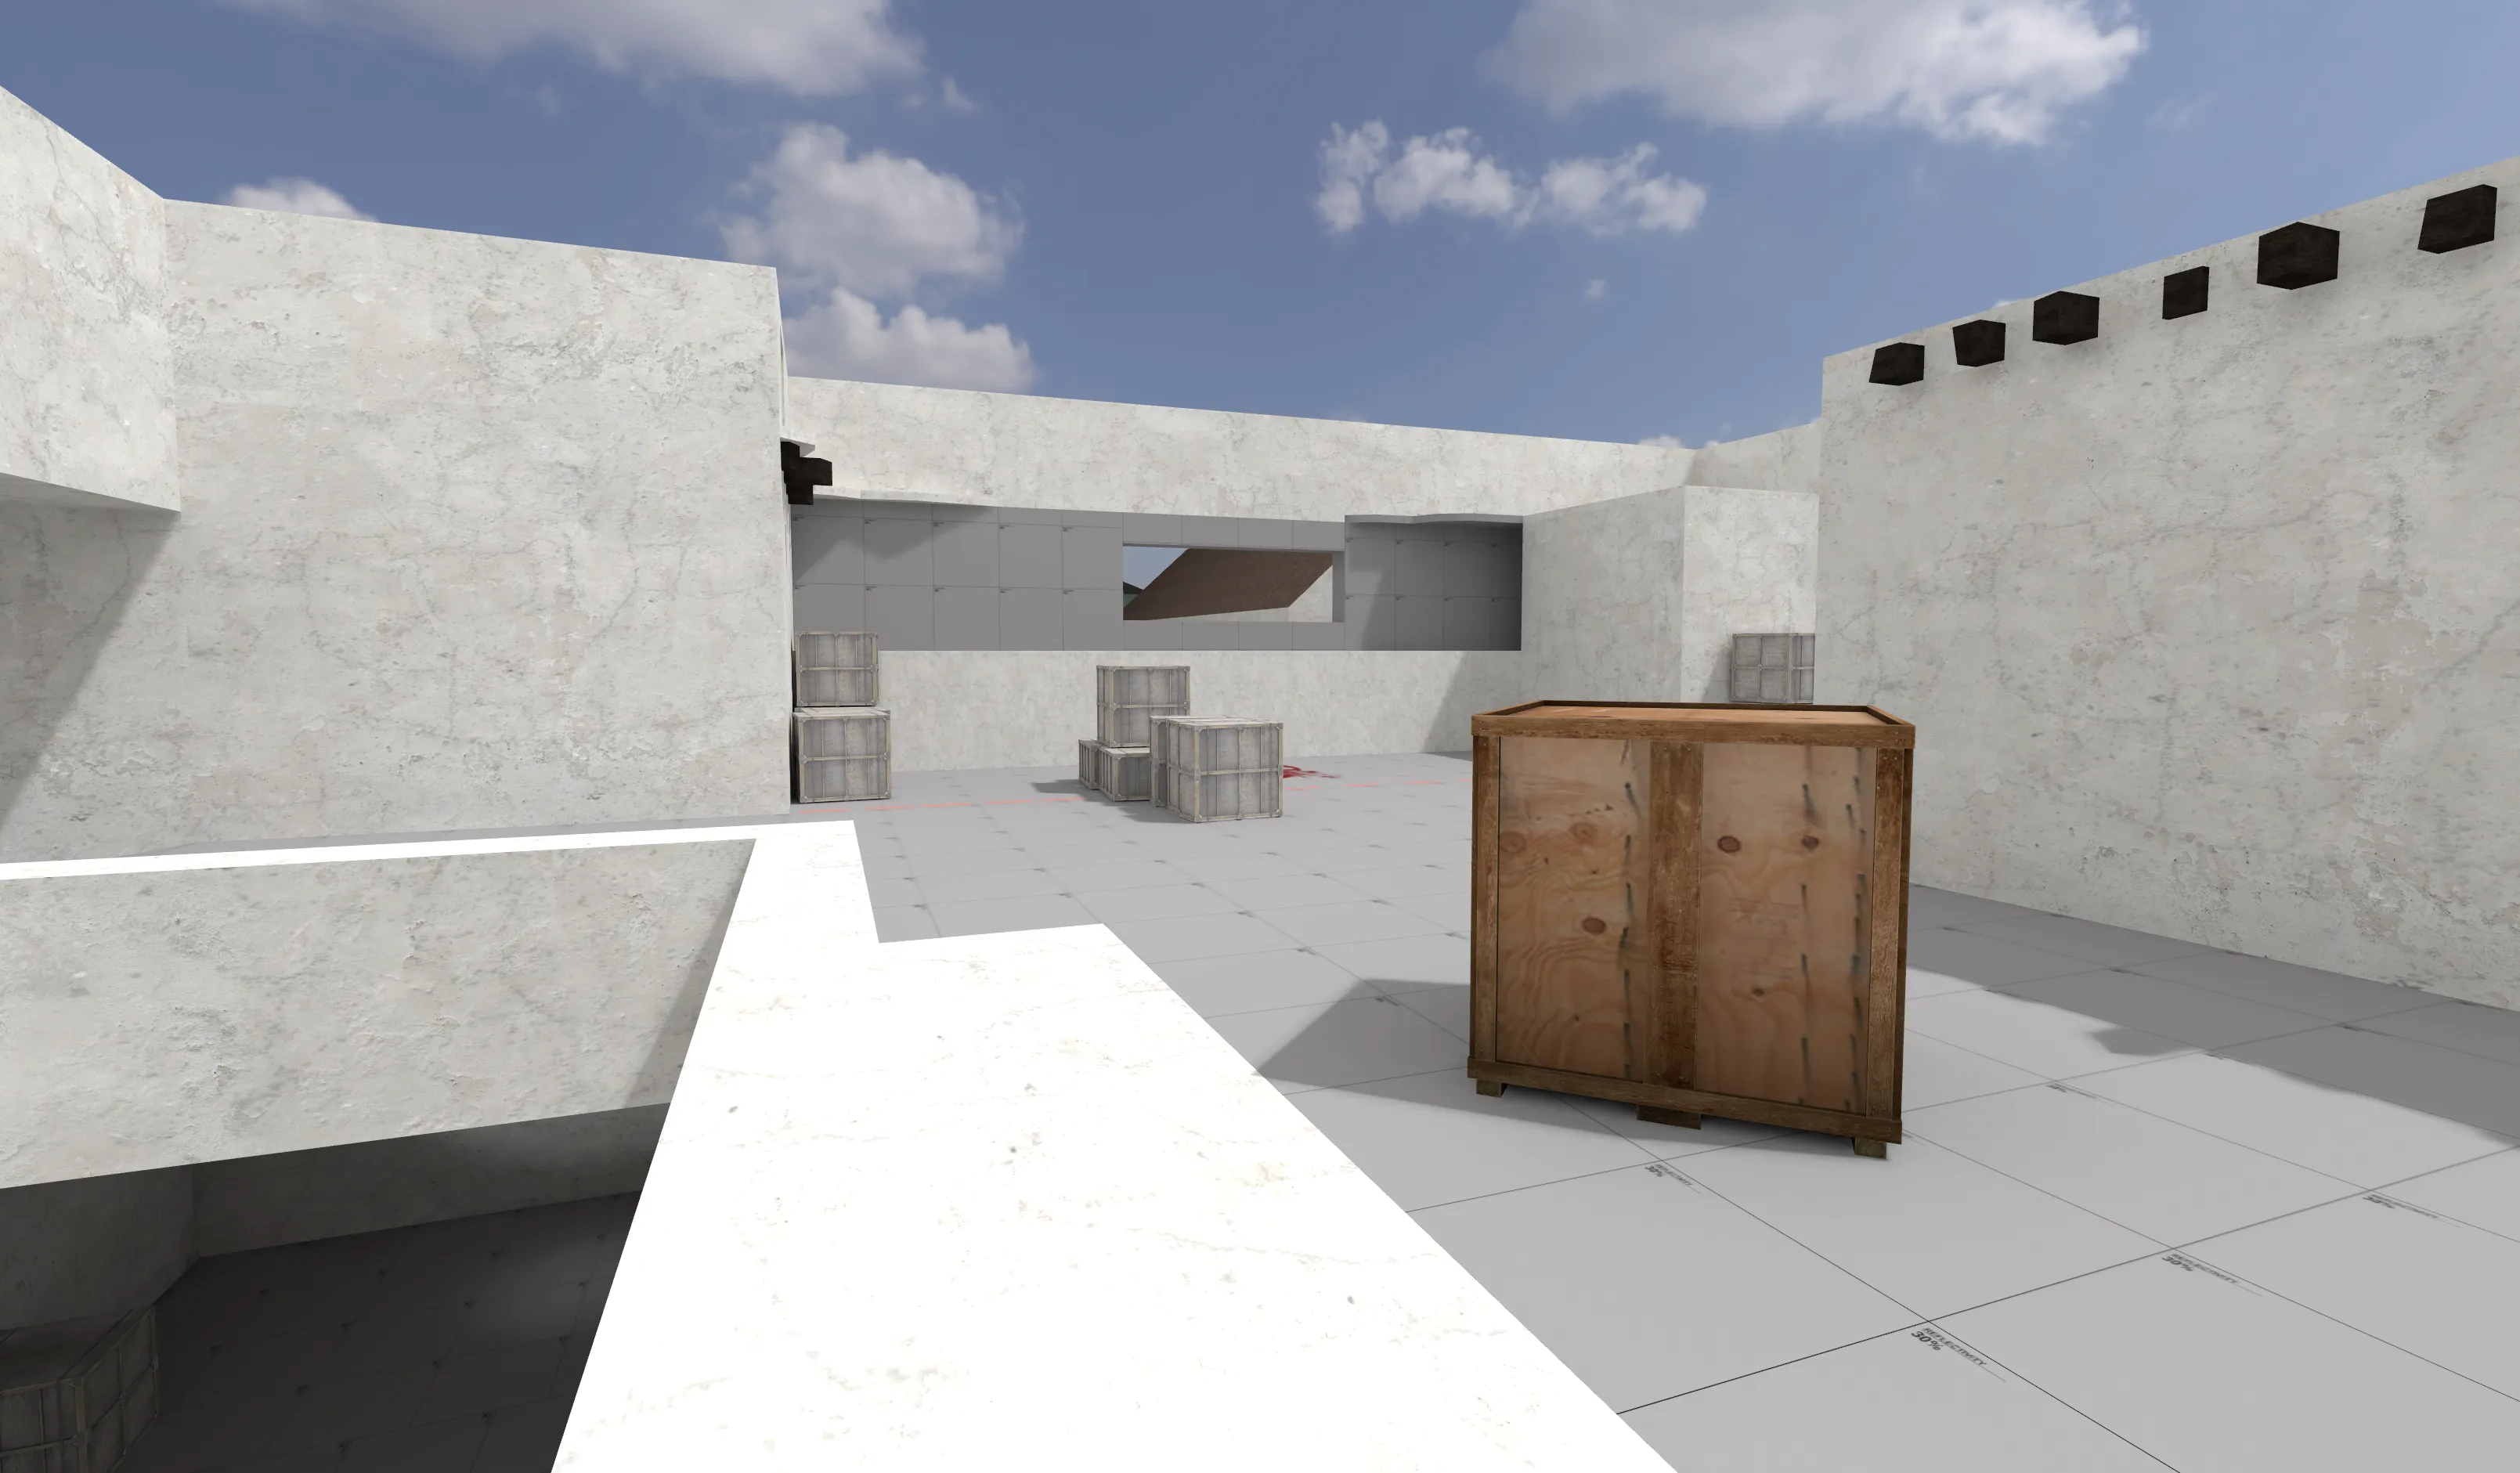
This area is solely responsible that I have continued developing the map past phase 1. I tried to recreate it as closely as I could to phase 2 version. The first section next to garage area is where Ts and CTs meet and who ever gains control over this room dictates what happens next as this position is where you can throw utility to A site and sniper spot. ❶ I added a window in this room looking towards B site. ❷ It allows to see upper mid and route to B. I made the access on a raised platform to make it as a decision and you should be only exposed when on the platform. Looking at the next room it is the last area before A site❸, it is vital for CTs because even if they don’t allow Ts direct route to A site the Ts can use the route at the collapsed tower to flank them❹. I made the exit from the collapsed tower to the left so that Ts can concentrate on one sightline instead of two. I added the dividing wall to the way to A to break up sight lines and make the approach have more tactical options. ❺
This area is in the part effected by the fire, recently the repair works have started. The old fortress tower has collapsed, and work has started to stabilize the remaining core. ❹